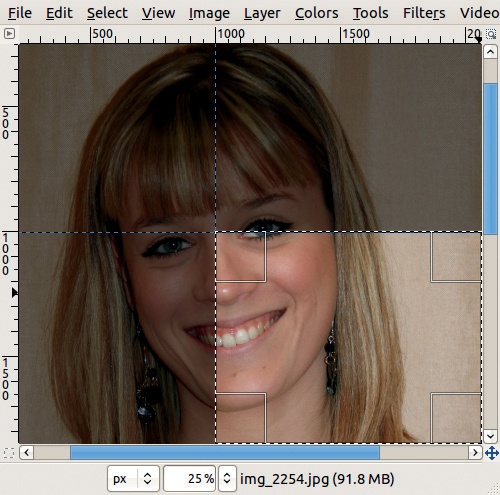
If we click and drag one of the rulers toward the center of the image, a movable dashed line appears in blue and black. This line is called a guide. In Figure 10-6, you see a vertical guide and a horizontal guide, which cross at coordinates (1000, 1000).
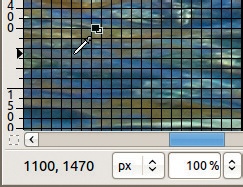
Guides have many useful options. Figure 10-7 shows the Image: View menu, which you use to access some of them. If the SNAP TO GUIDES box is checked, the mouse pointer “snaps up” to the nearest guide if it’s closer than the set threshold (threshold adjustments are covered in Chapter 22). Figure 10-8 shows how the guides can be used to ensure the upper-left corner of a cropped area is located at (1000,1000) in the original image.

SHOW GUIDES is also available in the View menu. When this option is checked, the guides are shown; when it’s unchecked, they are hidden. You can also toggle between these options using ![]() .
.
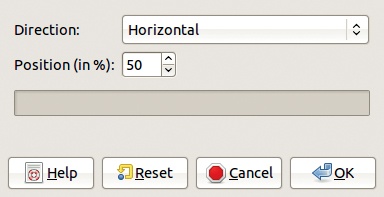
We can add any number of guides to an image. The Image: Image > Guides menu, shown in Figure 10-9, contains several entries; the first brings up the dialog shown in Figure 10-10. We can choose between a horizontal and a vertical guide and set its position as a percentage of the window (not the image). The second entry brings up a very similar dialog, but this time we set the position of the guide in pixels.

The third entry allows us to place new guides around the current selection. For example, to make an elliptic selection centered on the intersection of existing guides, as shown in Figure 10-11, choose the Ellipse Select tool (![]() ), click the intersection of the guides (with Snap to Guides enabled), press the
), click the intersection of the guides (with Snap to Guides enabled), press the ![]() key to expand the selection from the center, and move the mouse pointer to expand the selection. Then choose Image: Image > Guides > New Guides from Selection to get the result shown.
key to expand the selection from the center, and move the mouse pointer to expand the selection. Then choose Image: Image > Guides > New Guides from Selection to get the result shown.
Two methods are available for removing a guide: We can click and drag it back to the corresponding ruler, or we can remove all guides at the same time using Image: Image > Guides > Remove all Guides.
As shown in Figure 10-7, the View menu contains three more buttons related to snapping:
SNAP TO GRID is discussed in the next section.
SNAP TO CANVAS EDGES, which uses the edges of the canvas as if they were guides. Moving the mouse pointer very close to an edge places it exactly on that edge.
SNAP TO ACTIVE PATH, which does the same for the active path. See 13.3 The Paths Tool.