The Blur menu has six entries. All but the first one end with an ellipsis, which indicates that those filters bring up a dialog to set their parameters before acting on the image.
The Blur filter has no parameters and operates instantly. It works by computing the average of each pixel and its immediate neighbors. On a large image, its effect is imperceptible. Figure 17-3 shows only a small part of a photograph, which is zoomed in to make the effect visible. Figure 17-4 shows the same image after three applications of the Blur filter. This a rather clunky way to adjust the amount of blur on an image, but it is very fast.

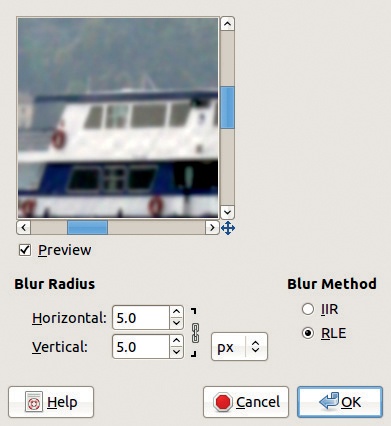
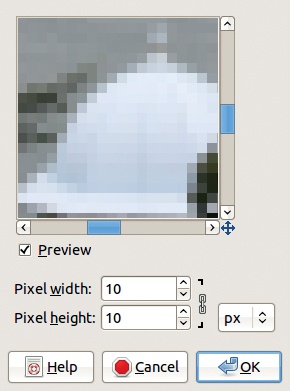
Gaussian Blur is the most useful blur filter. Like many filter dialogs, its dialog (see Figure 17-5) contains a preview and a button to toggle the preview on and off, which is checked by default. The preview is smaller than the image itself, but you can scroll around or enlarge it.
Adjusting the BLUR RADIUS determines the intensity of the effect. The blur radius is the radius of the circle containing the pixels that are averaged to compute new pixel values (see Chapter 7). You can change the units (pixels or an actual distance), but the result depends on the size of the image, so consult the preview when choosing the blur radius. A radius of 10 leads to a visible blur on a 600 × 400 image but has no perceptible effect on a 3000 × 4000 image.

You can break the chain between the horizontal and vertical radii and choose different values. The effect is that of a motion blur, as shown in Figure 17-6, where we chose a horizontal radius of 30 pixels and a vertical radius of 0 pixels.
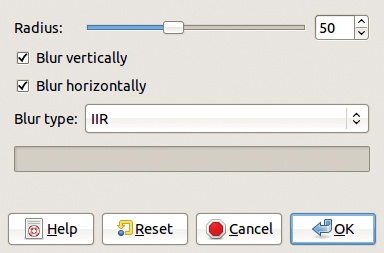
Two blur methods are available, selectable via radio buttons on the right side of the dialog:
IIR (Infinite Impulse Response) is best suited to photographs and large radius values.
RLE (Run Length Encoding) is best suited to computer-generated images or images with large areas of the same intensity.
Usually, the difference between these is minor, and you can safely choose either one.
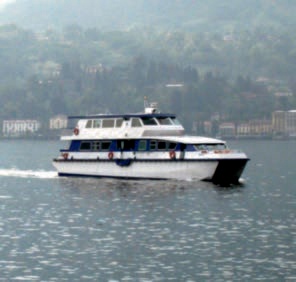
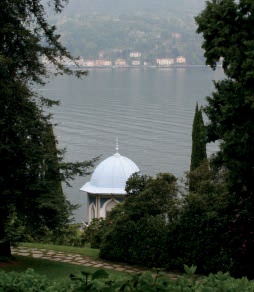
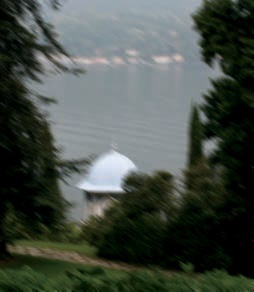
The Motion Blur filter is actually three different filters, with different properties. We demonstrate on the photograph shown in Figure 17-7. The Motion Blur filter dialog (see Figure 17-8) contains the following:
A preview similar to the one in the Gaussian Blur filter dialog.
Three blur types: LINEAR, RADIAL, and ZOOM.
Parameters that may be available, depending on the blur type: For linear type, LENGTH and ANGLE are available; for radial type, BLUR CENTER and ANGLE; for zoom type, BLUR CENTER! and LENGTH.
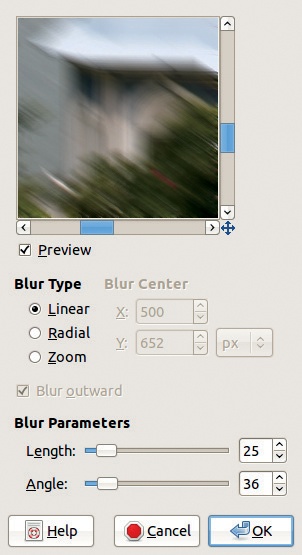
The BLUR CENTER is set numerically, which is not very intuitive. The default value is the center of the image. The easiest way to choose a specific location as the new center is to hover the mouse over the new center and note the pointer coordinates, which appear in the bottom bar of the Image window. You can then input the relevant coordinates into the field in the dialog.
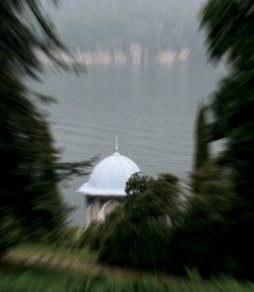
Linear motion blur appears to move the pixels in a direction determined by the angle and by the distance determined by the length parameter. This simulates the effect of movement in a photograph (see Figure 17-9).
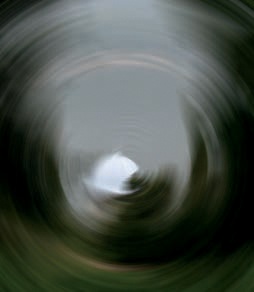
Radial motion blur simulates a spinning motion around the given center and by the given angle (see Figure 17-10). This effect is processor intensive and so takes a long time to run.
When a zoom motion blur is applied, the subject appears to be moving toward the camera (if BLUR OUTWARD is checked) or away from the camera (if BLUR OUTWARD is unchecked). The blur center determines where the image is sharp, and the length determines the intensity of the simulated movement. This blur type also takes a long time, but not as long as the radial motion blur (see Figure 17-11).
The Pixelize filter creates the effect often used for blurring out the face of a person captured on film or video who has not given the photographer permission to use his likeness. The filter divides the image into equal rectangles, and each one is filled with the average of all the pixels it replaces. In the dialog, shown in Figure 17-12, you can choose the size of the rectangles. They’re square by default, but you can break the chain to make them rectangular. Figure 17-13 shows the result of this filter with 30 × 30 pixel squares.

Selective Gaussian Blur applies a Gaussian blur selectively (as you may have guessed). Rather than applying the blur to all the pixels, Selective Gaussian Blur acts on pixels only if the value difference between the pixel and its neighbors is less than the MAX.DELTA value.
We demonstrate on the photograph shown in Figure 17-14, which we also used in Chapter 2. The Selective Gaussian Blur filter is designed to blur the background more than the foreground. We chose the parameter values shown in Figure 17-15 to exaggerate the effect so that it’s easy to see. In the result, shown in Figure 17-16, the cat is too blurry, but it does stand out from the background.


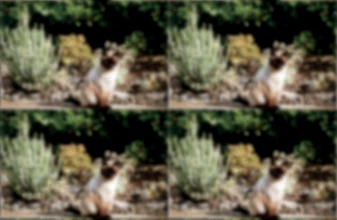
Tileable Blur is useful for building a tilable design from a single image, using Image: Filters > Map > Small Tiles. This filter blurs the image so that the left side fades into the right side, and the top fades into the bottom.
In the Tileable Blur dialog, shown in Figure 17-17, you can choose the radius of the blur and the algorithm. We chose a large radius to exaggerate the effect. The result, shown in Figure 17-18, is somewhat tilable, as shown in Figure 17-19.
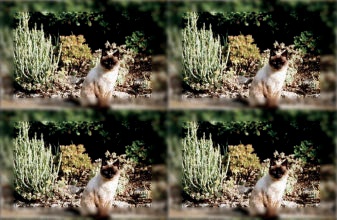
Tileable Blur affects the entire image. To avoid this, you could copy a central rectangle from the image and place it in a new, upper layer, then apply the Tileable Blur filter to the background layer. Merge the layers and apply the Small Tiles filter. The result is shown in Figure 17-20. The blurred border would look more natural if we feathered the outer edge of the crisp top layer.