The six Noise filters add noise to an image and therefore do the opposite of the Enhance filters.
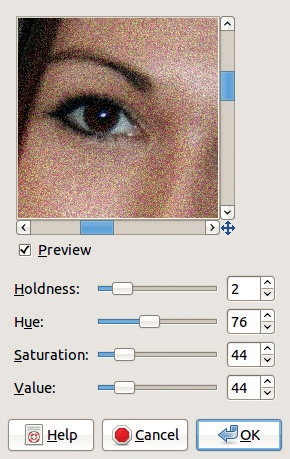
HSV Noise adds noise using the HSV model, so you can adjust the dynamics of the H, S, and V components.
In the dialog, shown in Figure 17-113, you can adjust the strength of the random variation in the three HSV components. HUE varies from [0 to 180], SATURATION and VALUE from [0 to 255]. HOLDNESS [1 to 8] is inversely proportional to the hue variation: 2 results in a stronger variation than 8.
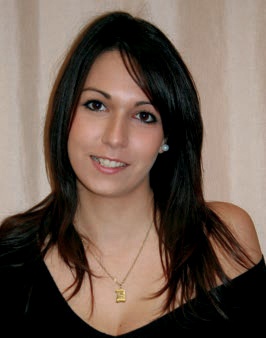
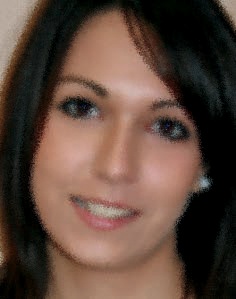
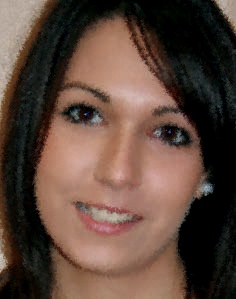
The initial image is shown in Figure 17-114 and the result in Figure 17-115.
Hurl applies randomization to all channels of every pixel, including the Alpha channel (if one exists), so the image will be semitransparent.


The dialog, shown in Figure 17-116, contains the following parameters:
In the first line, you can set the randomization process by inputting a seed value, clicking NEW SEED, or selecting full randomization.
RANDOMIZATION is the percentage of pixels that are changed. If it is set to 100%, the image will be unrecognizable.
REPEAT [1 to 100] sets the number of times the filter is applied; this compounds the effect.
The effect of Hurl is shown in Figure 17-117.

Pick replaces every pixel with one randomly chosen from the 3 × 3 square of pixels around it.
The dialog is very similar to that of the Hurl filter. However, because of the way the filter works, repeating it results in a very mild effect.
The result is shown in Figure 17-118.
RGB Noise works like the HSV Noise filter, but its randomization is normalized, which means that dramatic changes are much less probable than minor ones. Additionally, RGB Noise allows you to make changes to the Alpha channel.
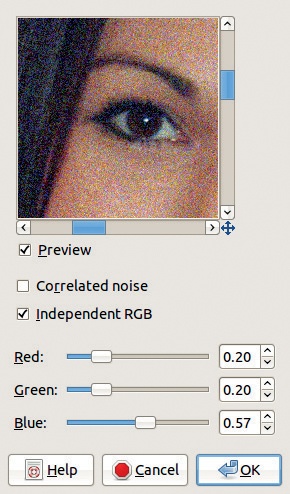
In the dialog, shown in Figure 17-119, the RED, GREEN, and BLUE sliders have a range of [0 to 1]. If INDEPENDENT RGB is unchecked, all three have the same value, resulting in gray noise. The CORRELATED NOISE box, if checked, enables multiplicative noise; otherwise the noise is additive. In correlated mode, the noise is correlated to the channel values in the pixel and so is exaggerated for bright pixels and subdued for dark ones.
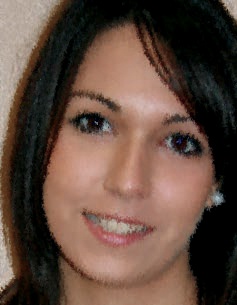
The result is shown in Figure 17-120.
Slur simulates melting, as if the pixels were dripping down. A random percentage of the pixels are selected to be slurred, and there is an 80% chance that those selected will be replaced with the pixel above; otherwise the remaining 20% are replaced with the pixel on the right or left.
The dialog is very similar to those of the Hurl and Pick filters. RANDOMIZATION sets the proportion of pixels that are changed. This filter works best if REPEAT is set to a high value. On the other hand, a very high randomization percentage can reduce the effect.
The result is shown in Figure 17-121.
Spread exchanges randomly matched pixels within a given distance, and it has no effect in areas that are a single, flat color.
The dialog is minimal, containing only two fields used to set the maximum distance between swapped pixels. You can break the chain to input uncorrelated values and select alternative units.
The result is shown in Figure 17-122.