
The Decor menu contains nine entries, but the first and third are grayed out if the image is in grayscale mode, and the last two entries are grayed out if the image is in a color mode. These filters are referred to as decor filters because they add some embellishment to the image, such as a border. We omit the last three filters (Slide, Stencil Carve, and Stencil Chrome) because they are not very useful.
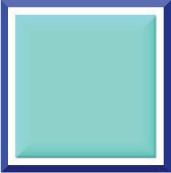
Add Bevel adds a slight bevel to a selection in the image by creating a new layer from the selection. The dialog contains one parameter, which allows you to set the thickness of the bevel [0 to 30]. The filter can generate a new image instead of changing the source, and the bump layer used for the bevel can be saved as an underlying layer.
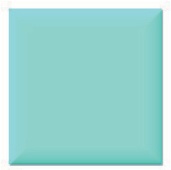
We applied the Add Bevel filter to the image shown in Figure 17-180, with the central square selected. The result is shown in Figure 17-181.

Add Border adds a border (with relief) around the image. The dialog is simple. It allows you to set the border size in X and Y; the color via the Color chooser; and the delta value [0 to 255], which specifies the difference in brightness between the top, bottom, left, and right borders. The delta value is added to the HSV value of the top border and subtracted from that of the bottom border, and half its value is added to the left border and subtracted from the right one. See Figure 17-182.
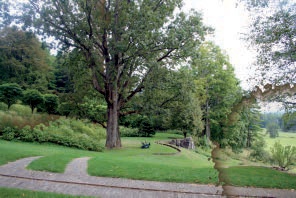
Coffee Stain simulates coffee stains.
The dialog has only two parameters: the number of stains [1 to 10] and a box to allow you to create the stain layers in Darken only mode. By default the layers are in Normal mode. Each stain is created in its own layer, each of which can be moved or removed afterwards.
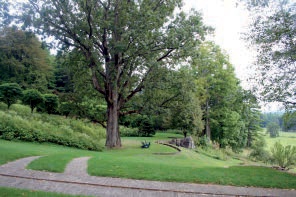
The initial image is shown in Figure 17-183 and the result in Figure 17-184.
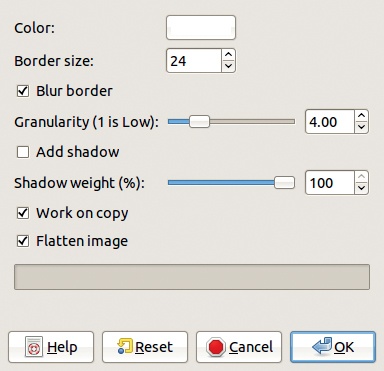
Fuzzy Border adds another type of border, one that seems to crumble into pieces at the transition between the image and the border.
The dialog shown in Figure 17-185 contains options for the color and size of the border. The first checkbox can be used to blur the border edge with the image. GRANULARITY, set with a slider [1 to 16], changes the size of the pieces of border that are crumbling. A low value leads to smaller pieces. The next checkbox adds a shadow, and the SHADOW WEIGHT slider [1 to 100] sets the shadow’s opacity. Two checkboxes at the bottom of the dialog can be used to create a new image (instead of altering the original) or flatten the result (rather than creating the border as a new layer).
The result of Fuzzy Border is shown in Figure 17-186.
Old Photo applies several transformations to an image in order to make it look like an old photograph.
In the dialog, shown in Figure 17-187, you can choose whether to defocus the photograph, add a blurred border of a specified size, convert the colors to a sepia hue, or add some imperfections. Once the settings have been chosen, either generate a copy of the image or work directly on the original.
The result is shown in Figure 17-188.


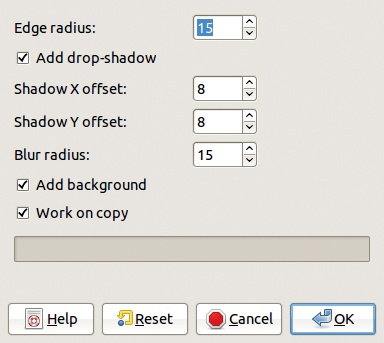
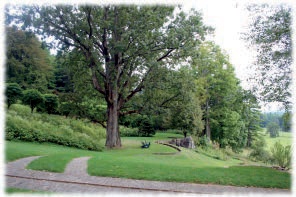
Round Corners simulates a photograph with round corners placed on some background with a drop shadow behind it.
At the top of the dialog (Figure 17-189) is a field that sets the radius of the round corners. Below that is a checkbox that turns the drop shadow on or off and fields to set its offset in X and Y as well as the radius of the shadow blur. At the bottom of the dialog are checkboxes to add a background (in the current background color) and to generate a new image.

The result of Round Corners is shown in Figure 17-190.