
Calling GIMP from the command line and controlling it using the Script-Fu language might be daunting unless you have some experience in programming. David’s Batch Processor, also called DBP, is an alternative for people less inclined to write code. For Debian and Ubuntu GNU/Linux distributions, David’s Batch Processor plug-in is included in the package called gimp-plugin-registry. Otherwise, visit http://members.ozemail.com.au/~hodsond/dbp.html to download the plug-in. Once it’s installed, you can access the plug-in via Image: Filters > Batch > Batch Process. Its dialog is shown in Figure F-1.
This dialog contains nine tabs. The first one is where you select the files to process, the next six tabs are where you specify the various processes to apply to these files, the eighth tab is where you change the filenames and specify global changes to the images, and the ninth tab is where you specify the final format and a few other global parameters.
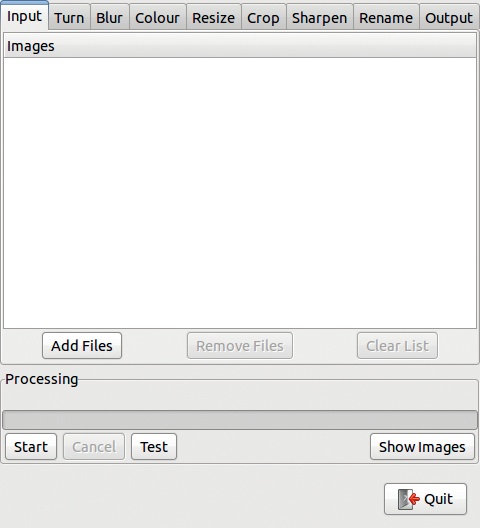
The INPUT tab is fairly self-explanatory. Clicking ADD FILES opens the file manager window. You can select several files at the same time by pressing ![]() or
or ![]() when clicking the filenames. When you click ADD, all the selected files are added to the list. Once the list has files, you can select and remove files or clear the whole list.
when clicking the filenames. When you click ADD, all the selected files are added to the list. Once the list has files, you can select and remove files or clear the whole list.
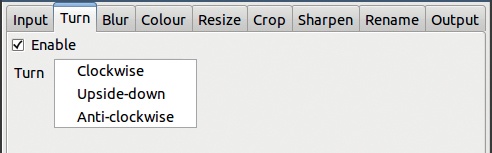
The tool dialog is inactive while the file manager window is open, which is unusual behavior for a GIMP dialog. After the file manager window is closed, you can make adjustments on the tool dialog tabs. On each transformation tab, the ENABLE box must be checked for the transformation to be active. The TURN tab (Figure F-2) lets you rotate the images only by a multiple of 90°.
The BLUR tab (Figure F-3) applies a Gaussian blur with the specified radius.

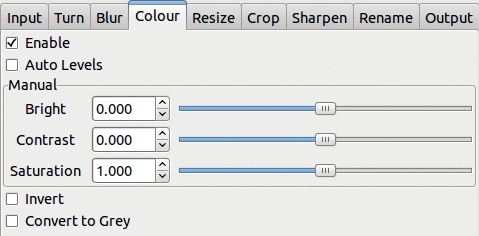
The COLOUR tab (Figure F-4) transforms the colors in several ways: level equalization; adjusting brightness, contrast, and saturation; inverting colors; and converting to grayscale. This tab is useful if you want to correct a systematic color distortion in a series of photographs, for example.
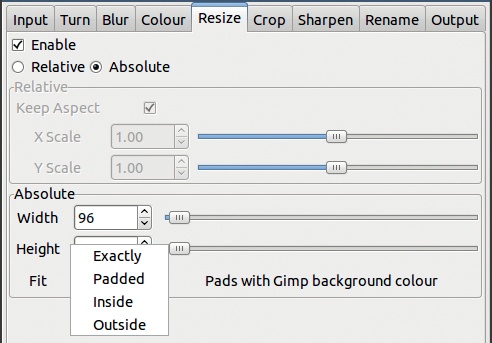
The RESIZE tab (Figure F-5) does what its name implies. You can choose between relative resizing, where the sliders change by a scaling factor, and absolute resizing, where you choose the final width and height. The FIT drop-down menu, shown in Figure F-5, lets you choose how the new dimensions are applied:
EXACTLY: The dimensions chosen are used, regardless of how the aspect changes.
PADDED: The aspect is maintained, and the resulting empty space is filled with the background color.
INSIDE: The aspect is maintained, and the image may be smaller than the specified dimensions.
OUTSIDE: Same idea, but the image can be larger than the specified dimensions.
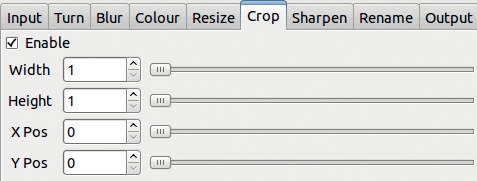

The CROP tab (Figure F-6) is where you crop the images. You can specify the origin (top-left corner, for example) of the cropping rectangle, as well as its width and height.
The SHARPEN tab (Figure F-7) works the same as the Image: Filters > Enhance > Unsharp Mask filter and has the same parameters. See 17.3 The Enhance Filters.
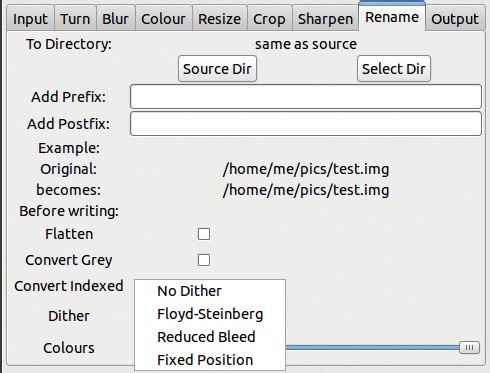
Be careful when using the RENAME tab (Figure F-8)—it’s easy to accidentally invert your file- naming scheme. This tab lets you choose how the new files will be named, but it won’t overwrite existing files. Attempts to overwrite the originals are ignored.
You can do the following:
Choose a target folder (directory) different from the source folder.
Append a prefix or a suffix to all filenames to prevent replacing existing files and to label the files with the new characteristics (thumb, gray, improved, etc.).
This tab also lets you make final transformations to the image, depending on the output format:
Flatten the image (merge into one layer).
Convert it to grayscale.
Convert it to indexed mode, with or without dithering, with a specified number of colors.
Note that you can convert to both grayscale and indexed mode.
The OUTPUT tab (Figure F-9) is mainly used to select the output format and its parameters. The available output formats are shown in Figure F-10, and Figure F-9 shows the parameters for PNG. For BMP, MIFF, PAT, TIFF, and XCF, no parameters are available.
When you’ve selected all the actions you want to perform and set all the parameters, click TEST to preview the result for the first picture, or click START and go grab a beverage while GIMP processes your images.

