Blending Morphs
If several morph target actions are included within the Actions palette, then you can use the Animation, Blend Morphs (Ctrl/Cmd+Shift+B) menu to access the Blend Morphs dialog box, shown in Figure 21.3. Using the sliders in the Blend Morphs dialog box, you can blend between the default shape and any defined morph targets to create an entirely new morph target.
Figure 21.3. Blend Morphs dialog box.

Tip
If you want to return any morph target to its original default shape, you can do so using the Default slider in the Blend Morphs dialog box or you can simply use the Draw, Reset All Points menu.
When blending morphs together, it is best to create a new action and make this new action active before blending. The blended morph will then be placed in the new active action.
To add an action to an animation, follow these steps:
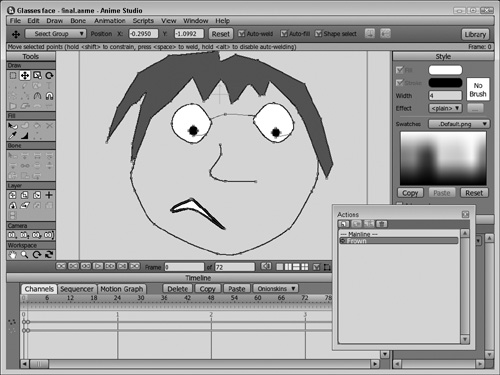
Open the Glasses face.anme file from the Chapter 21 folder on the CD. This file includes a single vector layer of a kid’s face.
Select the Window, Actions menu command (Ctrl/Cmd+K) to open the Actions palette. Then select the New Action from the top of the Actions palette and name the new action Frown.
With the Frown action made active in the Actions palette, drag the points of the mouth and eyes to make a frowning face, as shown in Figure 21.4.
Repeat Step #3 to create another action named Surprise with a surprised look, like the one shown in Figure 21.5.
Click the New Action button in the Actions palette and create another action named Grimace. Then choose the Animation, Blend Morphs menu command. In the Blend Morphs dialog box, drag the Frown slider all the way to the right and the Surprise slider about halfway. Figure 21.6 shows the resulting expression.