Using the Scatter Brush
The Scatter Brush tool is available in the Draw section of the Tools palette. Once it is selected, you can choose from several default scatter sets from a drop-down list located in the Options bar. The default scatter sets include Bubbles, Leaves, Letters, Smoke, and Stars. Figure 14.1 shows a simple tree populated with leaves using the Scatter Brush.

New Feature
The Scatter Brush tool is new to Anime Studio 6.
Caution
The Scatter Brush tool can add a huge number of points to a scene very quickly making it complex. The Scatter Brush tool should be used with caution.
After an object is selected from the drop-down list, you can simply drag the mouse in the working area and objects are placed automatically to follow the stroke.
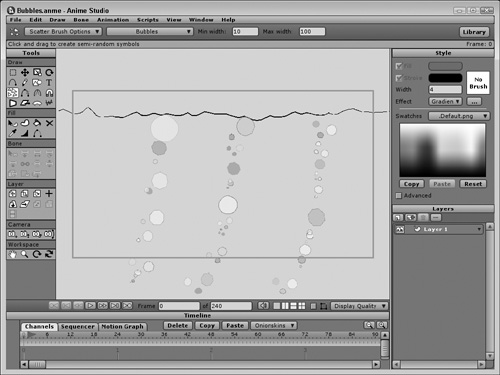
Setting the Object Size
The size of the Scatter Brush objects is determined by the Min Width and Max Width values found in the Options bar. Each of these values measures the square width in pixels of the randomly placed objects. The difference between these two values sets the range of sizes. If the Min and Max Width values are equal, then all objects will be the same size. Figure 14.2 shows a range of bubbles created by setting the Min Width value to 10 and the Max Width value to 100. Notice the vast different in the size of the different bubbles.