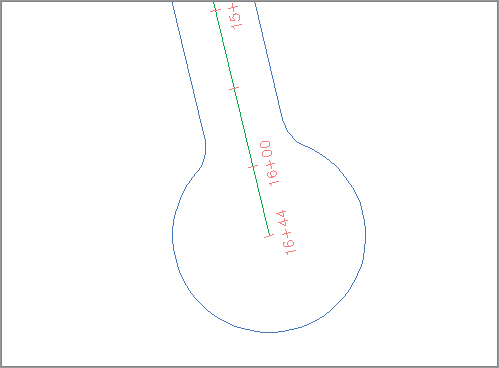
If you look at your drawing, on the lower-left side of your right of way it looks incomplete. We will add a cul-de-sac here. Rather than go through all the mechanics of a cul-de-sac, a block has been created for you and you will insert it and turn it into a parcel. This section also introduces some editing tools.
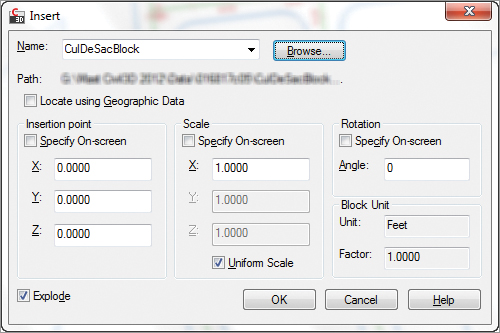
1. Insert the CulDeSacBlock.dwg file using the settings shown in Figure 5-17.
Figure 5-17: Inserting the cul-de-sac block settings
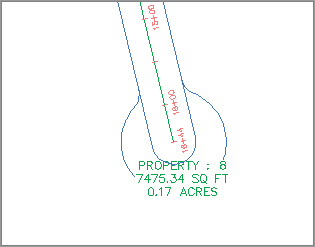
2. From the Home tab and Create Design panel, expand Parcel Create Parcel From Objects.
3. At the Select lines, arcs, or polylines to convert into parcels or [Xref]: prompt, draw a window around all of the cul-de-sac objects and press ↵.
4. In the Create Parcels – From Objects dialog, make sure Site is set to Subdivision Lots, Parcel Style is set to Property, Area Label Style is set to Name Square Foot & Acres, and Erase Existing Entities is checked. Click OK. Your drawing should look like Figure 5-18.
Figure 5-18: The cul-de-sac turned into a parcel
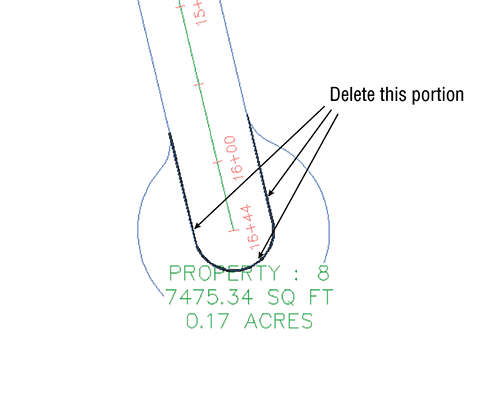
The cul-de-sac is now a parcel, but there are some extra lines that need to be taken care of. Let’s see how to clean this up a bit.
5. Select Parcel Creation Tools from the Home tab and Create Design Panel Parcel drop-down list. The Parcel Layout Tools palette opens.
6. Select the Delete Sub-entity tool. At the Select subentity to remove: prompt, select the right of way that interferes with the cul-de-sac, as shown in Figure 5-19.
Figure 5-19: Delete these portions.
7. Your cul-de-sac is complete, as shown on Figure 5-20.
Figure 5-20: The finished cul-de-sac