
Word notebooks are specialized documents in which you can record and organize various types of information, including typed and handwritten notes, drawings, images, and audio clips. Word notebooks are a simplified version of the notebooks you can create by using Microsoft Office OneNote for Windows.
Each Word notebook is divided into sections. The default notebook template creates three sections; you can add or remove sections to suit your needs. In Notebook Layout view, each section appears to contain only one page that supports scads of content, but in fact the content you insert is divided by Word onto separate pages in accordance with the document page setup. These pages are visible when you switch to a view such as Page Layout view, or when you preview the document before printing it.
By default, notebooks open in Notebook Layout view. The notebook appears to be just that—a ring-bound notebook—sitting on a colored background. The default visual representation is called Simple Contemporary. Other display options are Lucent Glass, Bright Academic, Snow Gloss, and Beige Plastique—each varies only slightly, such as in color scheme, tab shape and size, and minor design features. You can display the notebook in any of these designs, each with or without the notebook rings on the left side. (When you choose to display the notebook without the rings, the corresponding holes still appear on the pages.) To change the visual representation of the notebook, click the Appearance button on the toolbar and then click the representation you want.

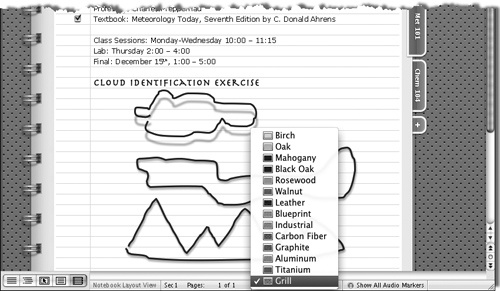
In Notebook Layout view, the notebook appears on a colored background called the workspace. (In some other programs, this is referred to as a pasteboard.) The Word notebook workspace doesn’t provide functionality as it does in OneNote, but you can change its color and texture from the default Graphite to any of 13 other background options, including 6 different wood tones with realistic grain representations. To change the workspace background, click Customize Workspace on the status bar and then click the background you want.
Note
You can display a notebook and edit its content in a view other than Notebook Layout view, although the fancy notebook functionality won’t be available. In other views, each section starts a new page. You can’t display a regular Word document in Notebook Layout view; you must first reformat it. When you switch to Notebook Layout view from a regular document, Word gives you the option of reformatting the document for use in Notebook Layout view.
You can insert text, graphics, handwritten notes, and audio notes into a notebook. If appropriate, you can organize the collection of notes in a multilevel outline.
By using the commands available from the Formatting Palette, you can format and organize content in each section.

In Notebook Layout view, the Formatting Palette displays additional panels of commands specific to organizing notebooks.
Handwritten notes are called Scribbles. To scribble in your notebook, click the Scribble arrow on the toolbar and then, from the list, select the pen you want to use. You can choose from Medium Point, Fine Point, and Very Fine Point, and specify any color (by using the standard color grid or choosing a color from the Color Wheel, Color Sliders, Color Palettes, Image Palettes, or Crayons). In Scribble mode, the mouse pointer looks like a pen. After you choose the width and color of the pen, hold the pen over the page, press and hold the primary mouse button, and scribble as you please.
When you release the pen, Word converts the Scribble to a graphic, complete with handles for moving and resizing it. Additional scribbling with the same pen can be incorporated into the same graphic. You can group and arrange Scribbles, control the way text on the page wraps around a Scribble, fill areas of a Scribble with color, and change the color, weight, style, and endpoints of the original lines. You can also control the existence and appearance of shadows cast by the Scribble. The only thing that remains static is the shape or pattern you originally scribbled.

If your computer system includes a microphone (built-in or otherwise) you can record audio notes to go along with other notebook content. Each notebook supports one audio recording. The audio notes you record are synchronized with your actions on the notebook page. As you play back an audio note, the audio icon appears in the left margin of the page and follows the movement of the insertion point on the page and between sections during the recording. To create an audio note, click the Audio button on the toolbar and then use the commands on the Audio toolbar to start, pause, stop, or play back the recording.
