In this exercise, you’ll personalize a standard Word notebook and then save it as a project template.
Note
SET UP You don’t need any practice files for this exercise. Open the Project Gallery and display the Blank Documents category.
In the Template list, click Word Notebook Layout. Then click Open.
A blank Word notebook opens in Notebook Layout view.
The notebook includes three sections identified by section tabs of different colors. The header area at the top of the page is the same color as the tab of the section the page falls in.
With Section 1 active, click at the left end of the Title line, type Status at a Glance, and then press the Tab key.
The insertion point moves to the first line of the notebook page, and a round dot appears in the left margin. The round dot, which we’ll call the paragraph selector, indicates the first line of the current paragraph. You can select a paragraph (for example, to format or move it) by clicking the paragraph selector.
Type the following text, and then press the Return key:
Provide a brief synopsis of the project status.
The insertion point and paragraph selector move to the next line.
Right-click the Section 1 tab, and then click Rename Tab. With the tab name active, type Status.
Repeat step 4 first to rename the Section 2 tab as Schedule, and then to rename the Section 3 tab as Team.
Display the Schedule section, and enter Project Schedule on the Title line.
Display the Team section. Enter Project Team on the Title line, press Return to create a second line, and then type Roles and Responsibilities.
Click the Add Section button below the Team tab.
A new section, Section 4, appears and is active. The new section tab is gray, as is the tab above it.
Change the name of Section 4 to Tools, and the section title to Programs and Utilities. Then right-click the section tab, point to Section Color, and click Orange.
You have created a generic project management notebook.
On the File menu, click Save As.
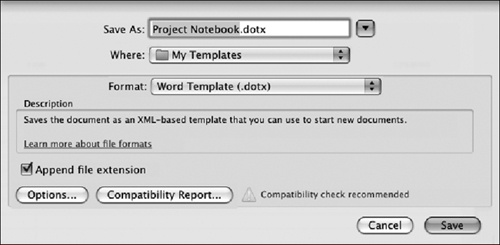
The Save As dialog box slides out from the toolbar.
In the Save As box, type Project Notebook. Then in the Format list, click Word Template (.dotx).
The folder shown in the Where box changes to My Templates.
In the Save As dialog box, click Save.
The status bar displays the progress as Word saves the document. When it is finished, the template name appears in the title bar.
Close the Project Notebook template, and then open the Project Gallery.
In the Category list, click My Templates.
Your personalized template appears in the Template list.
In the Template list, double-click Project Notebook.
Word opens a new, untitled document based on the selected template.