
Creating a Database
The Azure web app blade allows you to easily add a SQL database or a MySQL database to your website. Of course, you can add these and other data storage and access services directly from the Azure home page and then configure their access using the other features of Azure. However, here we will walk through the scenario of adding a SQL database to your Azure web app.
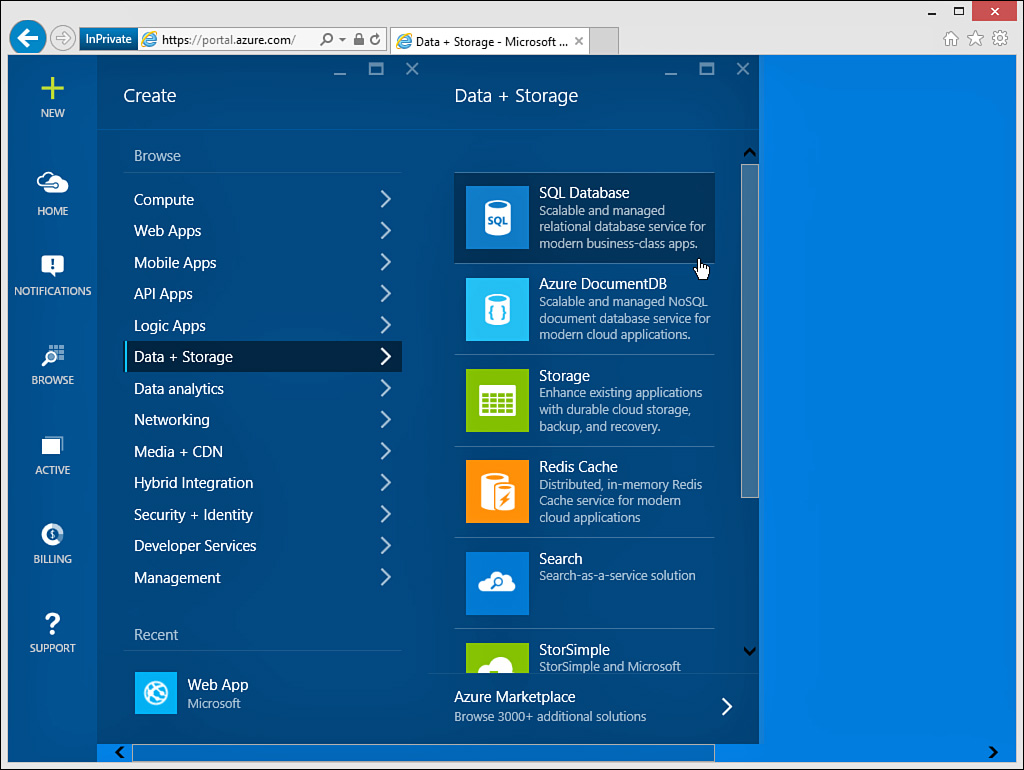
You use the New button on top left of the web app blade (refer to Figure 12.28) to get started adding a SQL database to your web app. This brings up the Create blade where you can select Data + Storage form the available categories. You can then select SQL Database from the possibilities as shown in Figure 12.29.
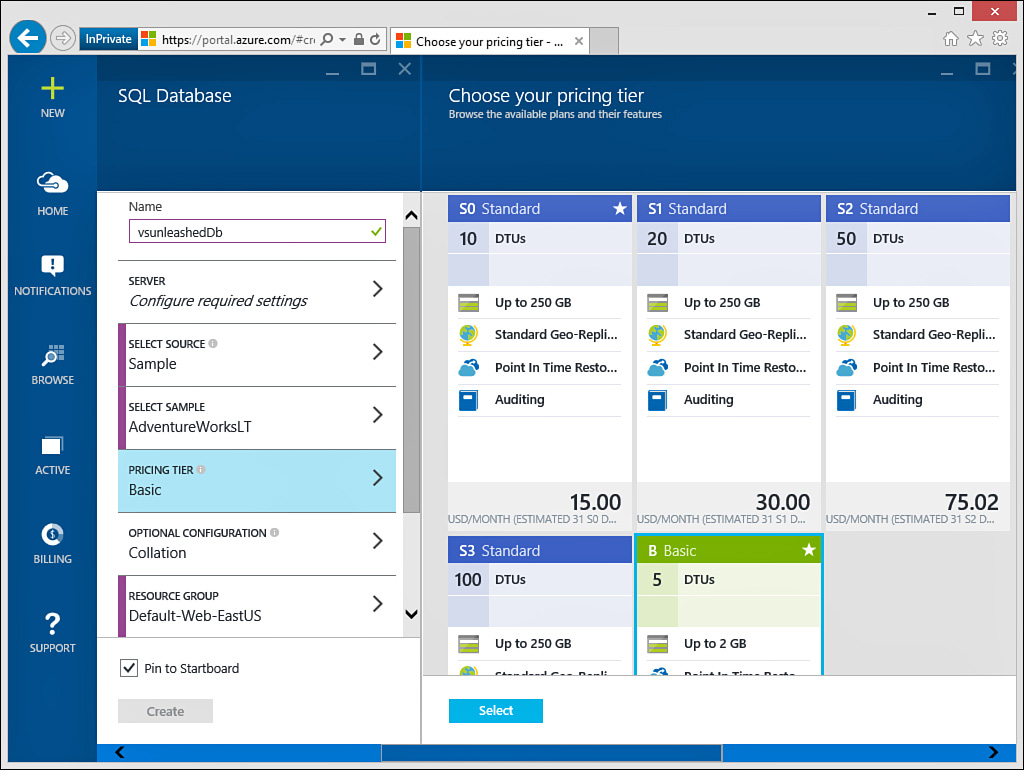
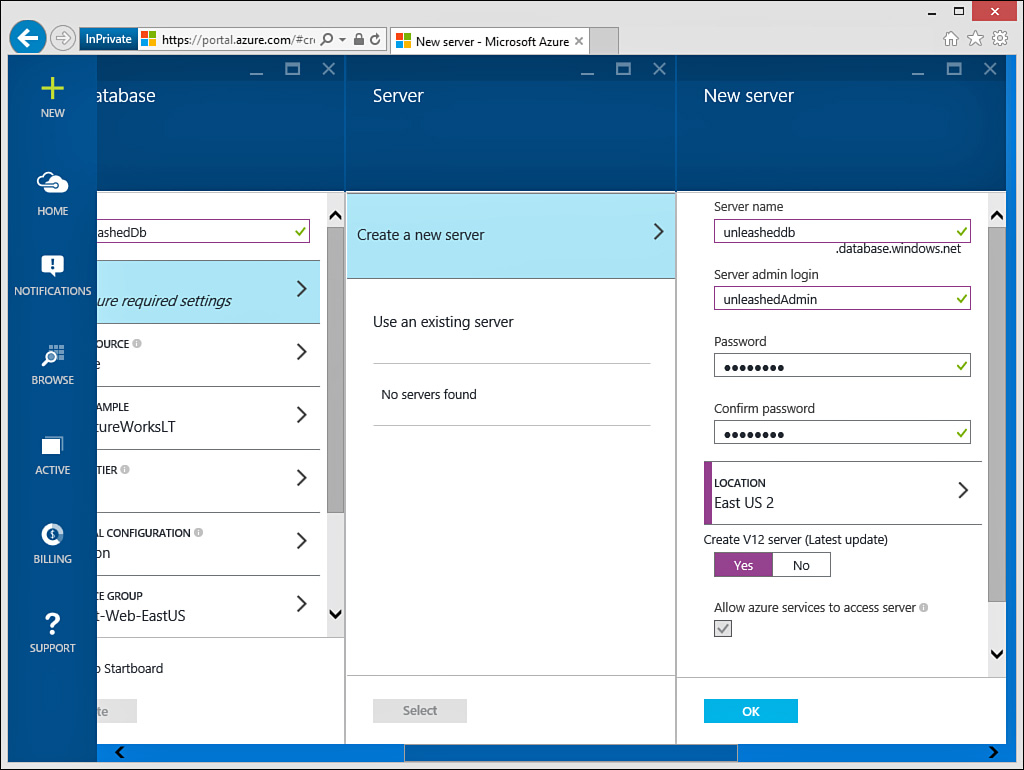
The next step is to provide additional details about your database. Here you define the name of your database, your pricing tier, resource group, server, and more. Figure 12.30 shows an example. In this case, the database name is set to vsunleashedDb; the pricing tier is set to B Basic. Notice too that this database uses the Adventure Works sample database; this sample database is an option inside Azure. Figure 12.31 shows the process of selecting (or in this case, creating) a database server for hosting the database.
Azure will now provision your database and link it correctly to your Azure web app. You can view provisioning progress using the notifications from the Startboard. Once it’s complete, you can view, monitor, and manage the SQL database from the Azure portal. To do so, you can browse to the database using the Browse button in the portal. Figure 12.32 shows accessing a SQL database from Browse, Recent. You can also filter the browse list by type (such as SQL Server).

Figure 12.33 shows the database up and running in Azure (and the related management Startboard). From here you can view and configure resource utilization, failed connections, events, alerts, geo replication, and more. Notice the button Open in Visual Studio. This allows you to open the database directly inside Visual Studio (more on this to come).
