
Azure Resource Group Deployment Projects
Previously in the chapter, you saw how you could create a Visual Studio ASP.NET project, link it to Azure, and deploy it when the time came. The two examples showed both the Azure setup and configuration required to host the site at the time of project creation and another example doing so post-project creation. This works great for working with web apps. However, a single Azure application might use many different Azure services, such as web app, SQL, and cache. In that case, you would like a means to build the entire Azure group of services for your application from within Visual Studio.
The Azure SDK includes the concept of Resource Groups. This is a method to manage the Azure resources that your application uses as a single group. This aids with deployment and management from within Visual Studio. You can even use PowerShell to further customize what get installed and configured inside Azure for your application environment.
To use resource groups, you first create a project using the Azure Resource Group project template. Figure 12.65 shows the project type for a new project and solution. Clicking the OK button on this dialog launches the Select Azure Template dialog, as shown in Figure 12.66. These are templates that can setup and configure the many services required for a common application. You can use these as a basis for your Azure resource group project.
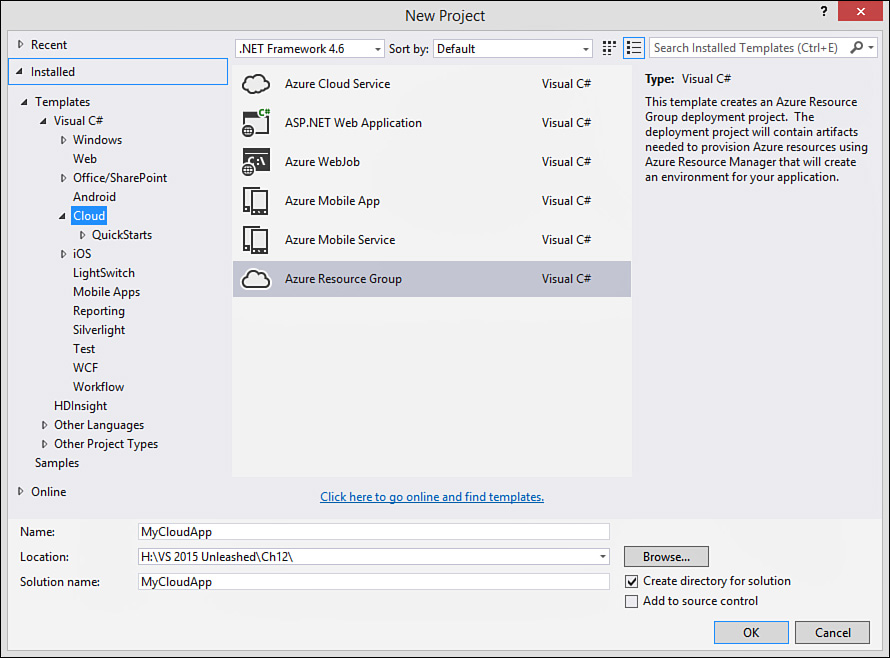
FIGURE 12.65 The Azure Resource Group template allows you to create resource group projects for deploying multiple Azure services in a single application.
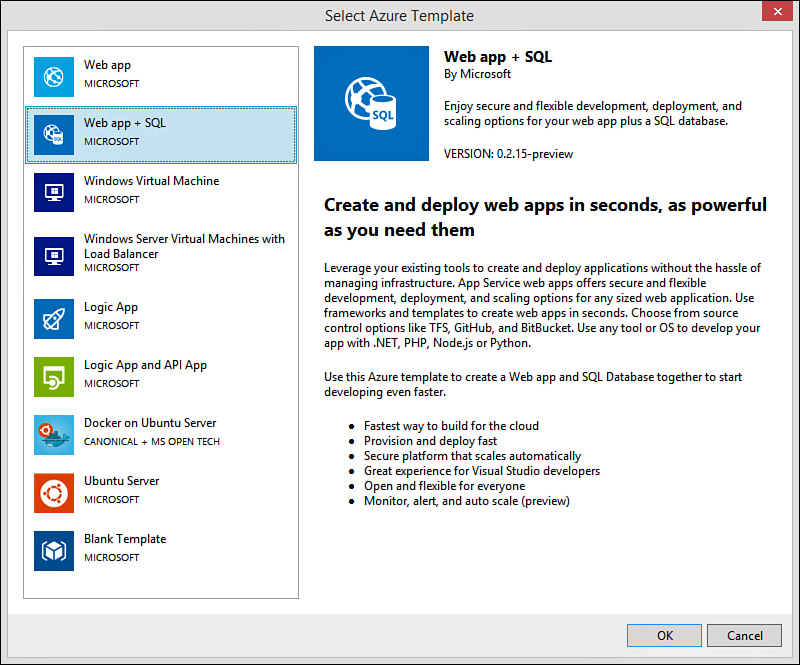
As an example, suppose you wish to provision a resource group inside Azure for hosting a Web app. You might write custom configuration that you wish repeated on each deployment. In this case, you can create an Azure Resource Group project (as its own solution by adding it to an existing solution). When prompted for the Azure template, we select the “Web app” template shown at the top of Figure 12.66.
Figure 12.67 shows an example of the newly created Azure resource group project. Notice that the project contains a Windows PowerShell script for deploying the application to Azure (Deploy-AzureResourceGroup.ps1). There is also a deployment template (WebSite.json) and a deployment template parameters file (WebSite.param.dev.json).

You can use the project to deploy your Azure resource group. To get started, you right-click the project in Solution Explorer and choose the Deploy option. This launches the New Deployment dialog, as shown in Figure 12.68. Here you can select your Azure account (upper-right). You then set your Azure subscription, the resource group, a deployment template (from the deployment project), deployment parameters, and a storage account (if required).

FIGURE 12.68 You can execute a new deployment and select a resource group for managing multiple Azure service deployments as a unit.
You must also set the deployment parameters to point to your site either inside the website.param.dev.json file or by using the Edit Parameters button in Figure 12.68. Figure 12.69 shows the parameter setup. The siteName parameter is the name of your site and new resource group. The hostingPlanName is your hosting plan as named inside Azure. The siteLocation is the Azure location you intend to use to host the resource group.

FIGURE 12.69 You configure your Resource Group deployment as a last step prior to final deployment to Azure.
The final step is to let Visual Studio deploy these resources to Azure on our behalf by hitting the Deploy button. You will see the progress of the deployment inside the Visual Studio Output window. You will also get a notification inside Azure once complete (success or failure). You can now use this project to make any changes to your hosting resource group and then simply redeploy as necessary.