
Creating the Customer Example Pages
The prior sections should have given you a good overview of writing ASP.NET 5 MVC 6 views. We will now use this information (helper methods, TagHelpers, Razor syntax, HTML input tags, layout, and the like) to create views using the customer example model and controller created previously.
This section steps you through writing each of the customer sample views. It contains complete listing for the two views. It then walks you through the salient points for creating the final view. Of course, the code for all this is available from the download for this book.
Add Basic Navigation
The first thing we are going to do is add navigation support for customers to the menu bar. The following walks you through this process:
1. With the project open in Visual Studio, use Solution Explorer to open the _Layout.cshtml page from the Views/Shared folder.
2. Find the menu items inside the page markup. They are near the middle inside a <ul> tag nested inside a <div> tag whose class is set to navbar-collapse collapse.
3. Add a navigation menu item using the anchor TagHelper. This helper allows you to write a simple <a/> tag but include the controller and action name. The following shows an example of navigating to the Index() action of the CustomerController.
<li><a asp-controller="Customer" asp-action="Index">Customers</a></li>
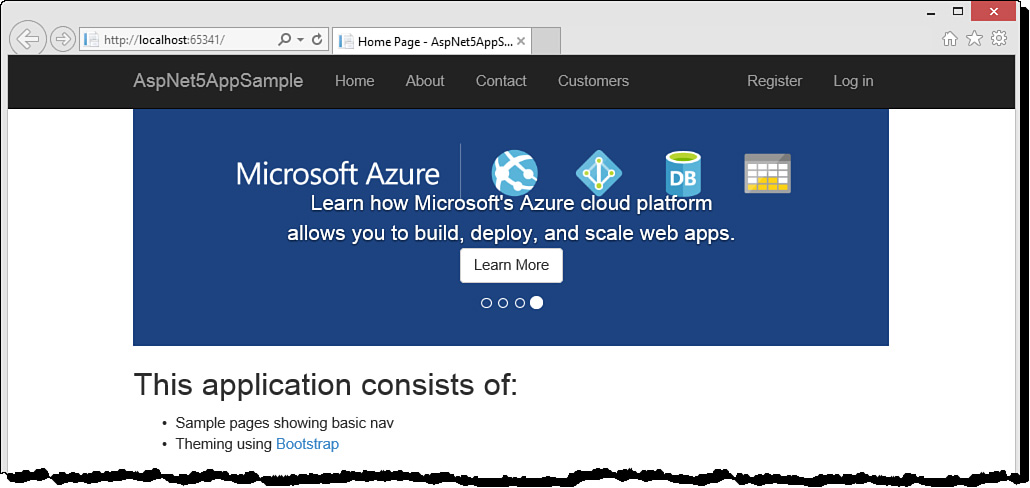
You should now see the menu link within your site (top navigation). You can run the application; it should look similar to Figure 17.23.
Display a List of Customer
When a user clicks the Customers link, the Index method of the CustomerController will fire. Recall that this method returns a view with a list of customer objects. What is needed now is to create that view. The following walks you through the process:
1. Right-click the Views folder in Solution Explorer and choose Add, New Folder. Name the folder Customer.
2. Right-click the newly created Customer folder and choose Add, New Item.
From the Add New Item dialog, select the MVC View Page template. Name the page Index.cshtml and click the Add button.
3. Remove the default contents of Index.cshtml.
4. Strongly type the view by adding a model reference to the top of the page. This should be for a list of Customer objects. The following shows an example.
@model IEnumerable<AspNet5AppSample.Models.Customer>
5. Use a TagHelper to create a link that takes the user to the new customer page. This should look as follows.
<a asp-controller="Customer" asp-action="Create">Create New</a>
6. Use HTML to define a table for holding customer data. This should include a table head for each of the columns (excluding Id).
For the rows, use Razor HTML Helpers to write a For...Each statement to loop through the model as you create a row, as in: @foreach (var item in Model). Use the HTML Helper, @Html.DisplayFor inside the loop to show each field the data set.
Add a final column to the table rows to include a link using TagHelpers for both editing and deleting a customer.
Listing 17.8 shows an example of what a completed Index.cshtml page might look like. You can now run the application and click the Customers link in the navigation bar at the top of the page. This should bring up the view as shown in Figure 17.24.
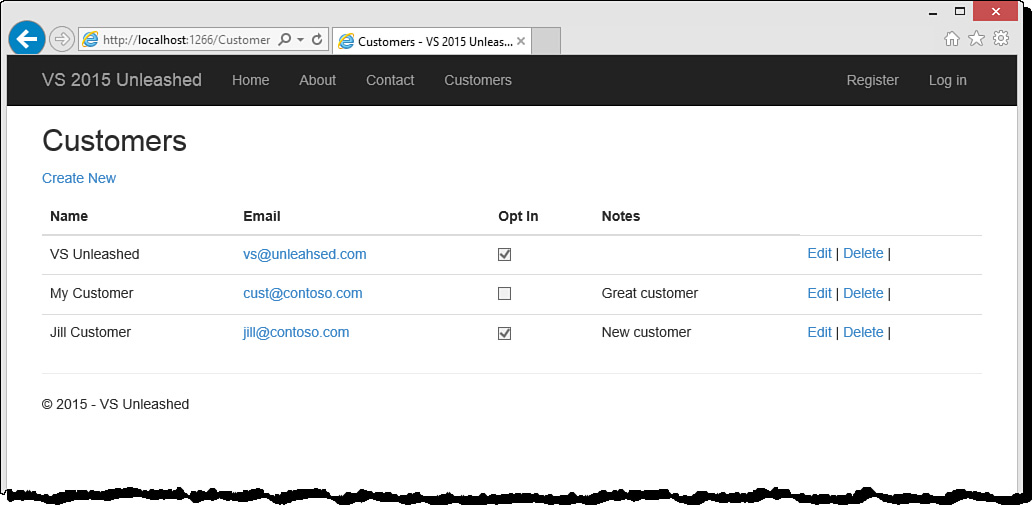
FIGURE 17.24 The list of customers returned from the model, processed by the Index method on the controller, and shown in the Index.cshtml view.
LISTING 17.8 The Index.cshtml Page Used to Display a List of Customers
@model IEnumerable<AspNet5Unleashed.Models.Customer>
@{
ViewBag.Title = "Customers";
}
<h2>@ViewBag.Title</h2>
<a asp-controller="Customer" asp-action="Create">Create New</a>
<table class="table">
<thead>
<tr>
<th>Name</th>
<th>Email</th>
<th>Opt In</th>
<th>Notes</th>
</tr>
</thead>
@foreach (var item in Model)
{
<tr id="[email protected]">
<td>
@Html.DisplayFor(modelItem => item.Name)
</td>
<td>
@Html.DisplayFor(modelItem => item.Email)
</td>
<td>
@Html.DisplayFor(modelItem => item.OptInEmail)
</td>
<td>
@Html.DisplayFor(modelItem => item.Notes)
</td>
<td>
<a asp-controller="Customer" asp-action="Edit"
asp-route-id="@item.Id">Edit</a> |
<a asp-controller="Customer" asp-action="Delete"
asp-route-id="@item.Id">Delete</a>
</td>
</tr>
}
</table>
Create a New Customer
We can now build a view to allow a user to create a new customer. The prior example embedded a hyperlink TagHelper on the customer list page for calling the Create method on the controller. The following walks you through key steps of building this view:
1. Right-click the Views/Customer folder and choose Add, New Item.
From the Add New Item dialog, select the MVC View Page template. Name the page Create.cshtml and click the Add button.
2. Remove the default contents of Create.cshtml.
3. Strongly type the view by adding a model reference to the top of the page. This should be for a single Customer object that will be created. We need the model to help build and validate the form. The following shows an example.
@model AspNet5AppSample.Models.Customer
4. Use the TagHelper for <form/> to help define the form for the page, as in the following. Notice you set the controller and action method for the form using TagHelper attributes.
<form asp-controller="Customer" asp-action="Create" method="post"
class="form-horizontal" role="form">
5. Use a TagHelper on a <div/> tag to add a section at the top of the form to display any client-side validation errors or those sent back by the server. The following shows an example.
<div asp-validation-summary="ValidationSummary.All"
class="text-danger"></div>
6. Add a <div> tag for each customer field on the page. Inside the <div> tag, use the TagHelpers for creating a label, an HTML input, and a validation message. The following shows one such field. Repeat this process for each field of Customer (except Id).
<div class="form-group">
<label asp-for="Name" class="col-md-2 control-label"></label>
<div class="col-md-10">
<input asp-for="Name" class="form-control" />
<span asp-validation-for="Name" class="text-danger"></span>
</div>
</div>
7. At the bottom of the form, add a button for submitting the form as in the following markup:
<div class="form-group">
<div class="col-md-offset-2 col-md-10">
<input type="submit" value="Create" class="btn btn-default" />
</div>
</div>
8. After the form, add an anchor tag using a TagHelper to allow navigation for cancelling the request, as in the following.
<div>
<a asp-controller="Customer" asp-action="Index">Back to List</a>
</div>
9. Finally, include the jQuery.validate plug-in script to the page using the Scripts section (see the example in the earlier section “User Input Validation”). The following shows an example.
@section Scripts {
@{await Html.RenderPartialAsync("_ValidationScriptsPartial"); }
}
Your page should be complete. Listing 17.9 shows a full example of the page.
LISTING 17.9 The Create.cshtml Page Used to Create a New Customers
@model AspNet5AppSample.Models.Customer
@{
ViewBag.Title = "Create Customer";
}
<h2>@ViewBag.Title</h2>
<form asp-controller="Customer" asp-action="Create" method="post"
class="form-horizontal" role="form">
<h4>Create a new customer.</h4>
<hr />
<div asp-validation-summary="ValidationSummary.All" class="text-danger"></div>
<div class="form-group">
<label asp-for="Name" class="col-md-2 control-label"></label>
<div class="col-md-10">
<input asp-for="Name" class="form-control" />
<span asp-validation-for="Name" class="text-danger"></span>
</div>
</div>
<div class="form-group">
<label asp-for="Email" class="col-md-2 control-label"></label>
<div class="col-md-10">
<input asp-for="Email" type="email" class="form-control" />
<span asp-validation-for="Email" class="text-danger"></span>
</div>
</div>
<div class="form-group">
<label asp-for="Notes" class="col-md-2 control-label"></label>
<div class="col-md-10">
<input asp-for="Notes" class="form-control" />
<span asp-validation-for="Notes" class="text-danger"></span>
</div>
</div>
<div class="form-group">
<label asp-for="OptInEmail" class="col-md-2 control-label"></label>
<div class="col-md-10">
<input asp-for="OptInEmail" class="form-control" />
<span asp-validation-for="OptInEmail" class="text-danger"></span>
</div>
</div>
<div class="form-group">
<div class="col-md-offset-2 col-md-10">
<input type="submit" class="btn btn-default" value="Create" />
</div>
</div>
</form>
<div>
<a asp-controller="Customer" asp-action="Index">Back to List</a>
</div>
@section Scripts {
@{await Html.RenderPartialAsync("_ValidationScriptsPartial"); }
}
Run the application and click the Customers link. From the customer list page, select the Create New link (upper left). This should show the view as displayed in Figure 17.25. Enter a customer and click the Create button. You should be returned to the list of customers and should see your newly created customer in the list. You can also verify client-side validation by filling out an invalid form and trying to submit it to the server.

FIGURE 17.25 The Create.cshtml view for creating a new customer and posting it back to the controller.
Edit an Existing Customer
The Edit view is pretty much the same as the Create view. In fact, you can copy the markup inside the Create.cshtml page created in the prior example, add a line of code, change a couple cosmetic things, and you will have an Edit.cshtml page. The following walks you through this simple process (assuming you built the Create view earlier):
1. Right-click the Customer folder and choose Add, New Item.
From the Add New Item dialog, select the MVC View Page template. Name the page Edit.cshtml and click the Add button.
2. Remove the default contents of Edit.cshtml.
3. Open the file you created in the prior example, Create.cshtml. Copy all the markup for the view. Paste this markup inside Edit.cshtml.
4. At the top of the page, change the page title (ViewBag.Title) to “Edit Customer.” You can also change the contents of the <h4/> tag to “Edit an existing customer.”
5. Edit the <form/> tag to point to the Edit action of the Customer controller as in the following.
<form asp-controller="Customer" asp-action="Edit" method="post"
class="form-horizontal" role="form">
6. Add a hidden field inside the form for working with the Customer.Id property. You can use the TagHelper for <input/> to do so as in the following example.
<input asp-for="Id" type="hidden" />
7. Near the bottom of the markup, edit the Submit button value attribute to read Save (instead of Create).
The Edit.cshtml page is now complete. Run the application, and then click the Customers link at the top of the page. Select a customer from the list and click the Edit link. This brings up the page shown in Figure 17.26. Make a few changes and click the Save button.

FIGURE 17.26 The Edit.cshtml view for editing an existing customer and saving the results to the database via the controller.
Delete a Customer
There is nothing more you need to do to process a delete request. Recall that the customer list view already includes an ActionLink for Delete. The controller accepts a GET request using a customer Id as a parameter. Simply run the code and select a customer you want to delete.