Creating a Test Project
Your unit tests must exist inside a test project. This is a project that has the right references to the unit testing framework and the configuration required to be run via the test tool built inside Visual Studio. There are two primary ways you can initiate the creation of a unit test project: You can create an empty test project from scratch, or you can automatically generate unit tests into a new test project for existing code. We start with the first option.
The Test Project Template
You create a new test project in Visual Studio through the Add New Project dialog box (File, New, Project). Inside this dialog box, you navigate to the Test node under your preferred language, as shown in Figure 8.1. Notice that you can put your test project inside a new solution or an existing solution. In most cases, you add test projects to existing solutions because they must reference the projects within your solution.

The recommended naming convention for test projects is to end the project name with “Test” as in BusinessDomainUnitTests. This also helps you recognize your unit tests versus other project types or even other test project types such as Coded UI Tests. This is useful not only in Solution Explorer but as part of the TFS build setup configuration; there, you select test projects for the build process to execute automatically as part of the build.
Tip
You should define a policy on how many test projects you want to create for your solution. Typically, you create a test project as a one-to-one ratio with a project you want to test. For example, if you have a project for your business objects and another project for your data services, you might create two test projects (one for each). This is not required; it just makes for an easily understood organization of your code.
A similar approach holds true for test classes. You should create a single test class for each class you have in your target project you want to test. For example, if you are creating a test project for your business domain objects that includes a Customer and an Order object, you should create a CustomerTest and OrderTest class. Again, this is not required; rather, it makes for a good, logical organization of your code.
The Test Project
Visual Studio sets a reference to the unit test framework (Microsoft.VisualStudio.QualityTools.UnitTestFramework) when you create a new test project. In addition, it creates a test class for you that encapsulate your unit tests. Figure 8.2 shows the default project files included in the unit test project along with the key references.

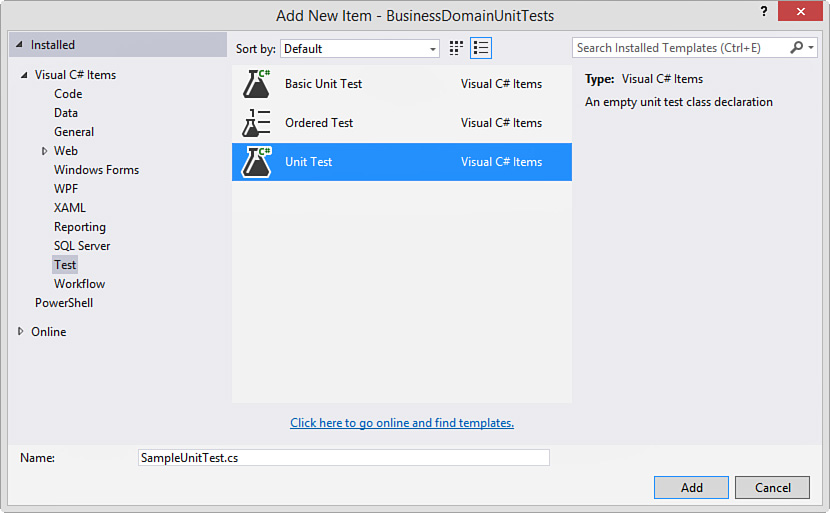
You can add additional test files to your test project by right-clicking the test project in Solution Explorer and choosing Add, Unit Test or Add, Ordered Test. This is a shortcut that adds the file directly to your solution (without presenting an Add New Item dialog). You then have to rename the file inside Solution Explorer. You can also add a new test file by right-clicking the project name in Solution Explorer and choosing Add, New Item and then selecting the Test node from the item templates (see Figure 8.3). This dialog give you three test type choices:
![]() Basic Unit Test—This template creates a unit test class that is almost a blank file. It includes just the basic lines of code required to get started (
Basic Unit Test—This template creates a unit test class that is almost a blank file. It includes just the basic lines of code required to get started (using statement, namespace definition, class definition, and blank test method.
![]() Ordered Test—This template enables you to create a sequential list of tests to be executed as a group. (See “Creating Ordered Tests” later in this chapter.)
Ordered Test—This template enables you to create a sequential list of tests to be executed as a group. (See “Creating Ordered Tests” later in this chapter.)
![]() Unit Test—This template creates a unit test class that includes stubbed out methods for managing a
Unit Test—This template creates a unit test class that includes stubbed out methods for managing a TestContext, calling various test startup and clean up events, and more (including comments).
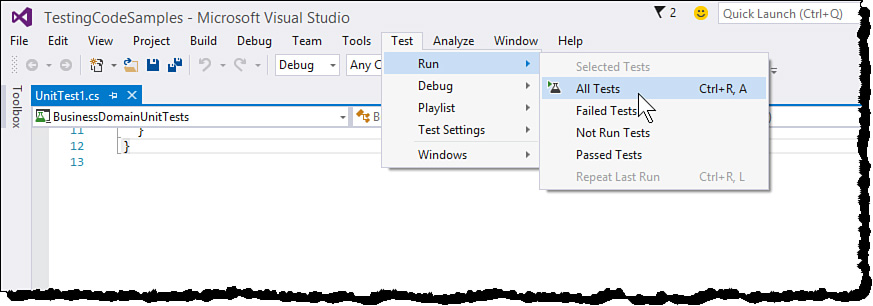
The Test Menu
The Test menu and the test toolbar access the common testing features, including running tests, managing test settings, and accessing the Test Explorer window. Figure 8.4 shows the Test menu open in the IDE. We touch on the details of all these actions shortly. But first, let’s explore how to create tests.