
Taking Content Offline by Using Outlook 2010
Taking Content Offline by Using the Local Drafts Folder
Using SharePoint Workspace 2010
In the not too distant past, going to work literally meant just that—getting in your car, driving to the office, and working in front of a desktop computer all day. Sure, there were a few intrepid souls (mostly consultants and salespeople) whose jobs required them to travel, but for most of us, the concept of having all of our important work available offline was just that—a concept.
Then we began to collaborate via email. Documents went back and forth over the Internet, which got the job done, but this process often resulted in confusion about which documents were the current revision. For some, this was an inconvenience; for others, this was unacceptable.
When Microsoft SharePoint was first introduced, it fostered a very real sense of team collaboration. Document and list libraries could be configured such that, although there were multiple versions of a document available, there was only one definitive version at any given time. This model held up well until the notion of offline availability was discussed. Suddenly, we were back to square one, emailing copies of documents to people who were on the road and then trying to re-integrate any changes or revisions that those individuals contributed to the information.
SharePoint 2007 had similar issues with offline availability, although the story was made somewhat better by the ability of Microsoft Outlook 2007 to store SharePoint document and list data on the local drive of a computer. This functionality was enhanced when paired with the Microsoft Groove platform, which allowed offline and remote collaboration functionality.
In SharePoint 2010, there are several ways to take content offline:
Synchronize content using Outlook 2010
Use the Local Drafts folder
Use a SharePoint Workspace
Use a Shared folder
The reason for having several choices is simple: some people only need to take a document or two offline while others need to interact with an entire list, folder, or library.
Tip
INSIDE OUT Office versions required for offline content
The Professional Plus edition of Microsoft Office 2010 is required to utilize the SharePoint workspace and shared folder functionality; if you do not have this program available to you, then only the first two options shown in the previous list would be of interest to you.
There are also tools available (from Microsoft and other vendors) that take the “offlining” process a bit further, allowing either single-direction or bi-directional synchronization with one or more sites within your farm. A good example of such a technology is Groove Workspace. These add-on tools are beyond the scope of what is covered in this chapter because they are not included in the SharePoint Foundation 2010 platform.
Some SharePoint 2010 lists and libraries can easily be synchronized and taken offline by using the Microsoft Outlook 2010 client. This client can be found in most versions of the Office 2010 client (see Chapter 11, for details).
SharePoint content that can be synchronized by using Outlook 2010 includes:
Calendars
Contact lists
Task lists
Document libraries
Other lists
Tip
INSIDE OUT Reference information for using Outlook 2010 with SharePoint 2010
You can find detailed information about using Outlook 2010 with SharePoint 2010 at http://office.microsoft.com/en-us/sharepoint-foundation-help/synchronize-sharepoint-2010-content-with-outlook-2010-HA101881295.aspx#_Toc262734698.
SharePoint sites often include calendars to track events, which are important to a team. These calendars can be synchronized with an Outlook 2010 client; this information is stored in a calendar alongside a user’s Microsoft Exchange calendar. Calendar information synchronized between SharePoint and Outlook is bi-directional, which means that changes made in Outlook appear in SharePoint (and vice versa).
To take a Team calendar offline, browse to the SharePoint site that contains the calendar, and then open the SharePoint calendar in your browser window. On the ribbon, select the icon labeled Connect To Outlook, as shown in Figure 12-1.

Your browser might prompt you to allow the SharePoint website to initiate a connection to your computer. If this appears, select the Allow button. Optionally, you can choose to have the browser never show you this prompt again for SharePoint content by simply clearing the Always Ask Before Opening This Type Of Address check box before clicking Allow, as shown in Figure 12-2.

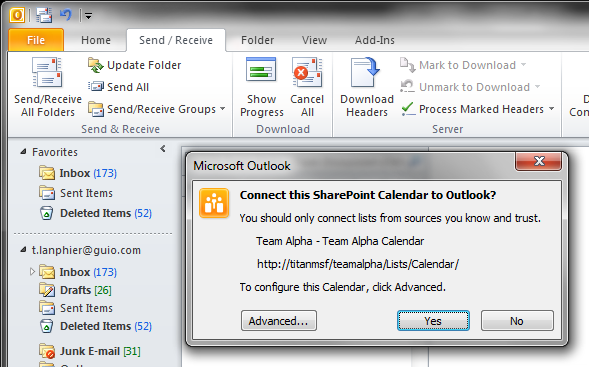
Outlook also prompts you for verification (see Figure 12-3) before connecting to your SharePoint calendar.

You can simply choose Yes to complete the connection, or optionally, you can click the Advanced button to view and configure additional information about the connection (shown in Figure 12-4). Click OK when you are through with the advanced settings.

Select the Yes button to complete the connection to Outlook, as shown in Figure 12-5.
Once your Outlook client has been connected to SharePoint, both Exchange and SharePoint Team calendars are displayed side by side, as shown in Figure 12-6.

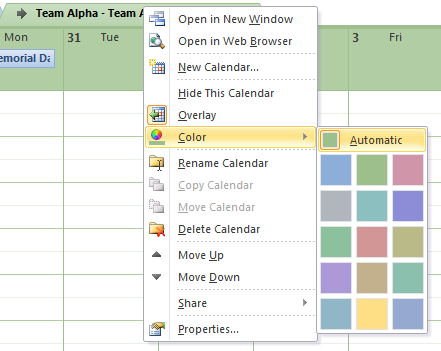
As with any other calendar in Outlook, the overall color can be modified to help distinguish your SharePoint calendar from other calendars. To change the color of a calendar, right-click it to display the context menu, select the Color menu item, and then choose a color (Figure 12-7).
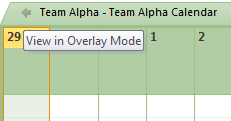
You might occasionally have the need to see a combined view of your calendars. To see multiple calendars in one view, click the arrow in the Calendar tab (Figure 12-8).
The calendars now appear on top of one another. To add an item to a particular calendar, select its tab by clicking once, and then add your calendar items. The next time your computer connects to the network, the calendars will update automatically as part of the Send/Receive process, as illustrated in Figure 12-9.

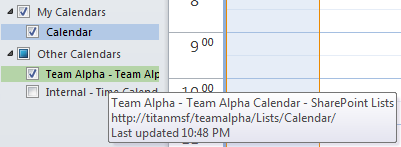
If you have limited space available on your computer’s screen, you can choose to display or not to display each calendar at a time by selecting or clearing its check box, as shown in Figure 12-10.
As with calendars, contact lists in SharePoint can be directly synchronized with the Outlook 2010 client. Contact list information synchronized between SharePoint and Outlook is bi-directional, which means that changes made in Outlook appear in SharePoint (and vice versa).
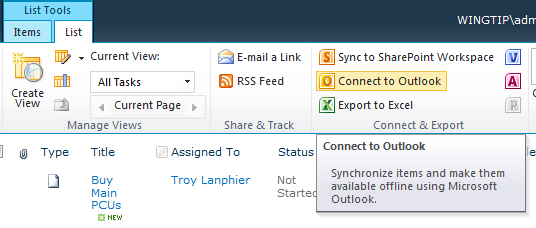
To take a contact list offline, browse to the Contact list that you wish to synchronize. Then, on the ribbon, click Connect To Outlook, as shown in Figure 12-11.

Your browser might prompt you to allow the SharePoint website to initiate a connection to your computer. If this appears, select the Allow button. Optionally, you can choose to have the browser never show you this prompt again for SharePoint content by clearing the Always Ask Before Opening This Type Of Address check box before clicking Allow, as shown in Figure 12-12.

Outlook also prompts you before connecting to your SharePoint contact list, as illustrated in Figure 12-13.
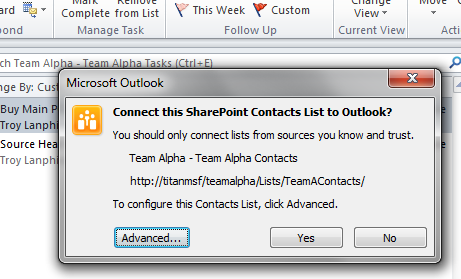
You can choose Yes to complete the connection, or optionally, you can select the Advanced to view and configure additional information about the connection (shown in Figure 12-14). Click OK when you are through with the advanced settings.

Select the Yes button to complete the connection to Outlook (see Figure 12-15).
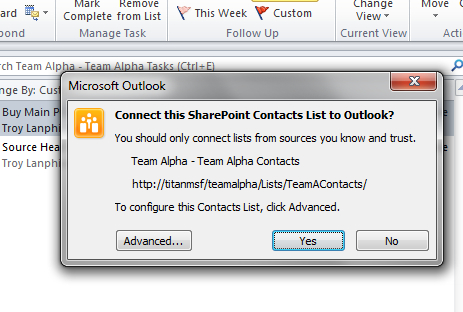
Figure 12-16 shows that SharePoint contact lists are presented in the Other Contacts group alongside the My Contacts list in Outlook 2010.

As with SharePoint calendars, Task lists in SharePoint can be directly synchronized with the Outlook 2010 client. These tasks are stored in a separate task list within Outlook. Task list information synchronized between SharePoint and Outlook is bi-directional, meaning that changes made in Outlook appear in SharePoint (and vice versa).
To take a Task list offline, browse to the SharePoint site that contains the list, and then open the SharePoint Task list in your browser window. On the ribbon, click Connect To Outlook, as shown in Figure 12-17.
Your browser might prompt you to allow the SharePoint website to initiate a connection to your computer. If this appears, click the Allow button. Optionally, you can choose to have the browser never show you this prompt again for SharePoint content by clearing the Always Ask Before Opening This Type Of Address check box before clicking Allow, as shown in Figure 12-18.

Outlook also prompts you before connecting to your SharePoint Task list, as shown in Figure 12-19.
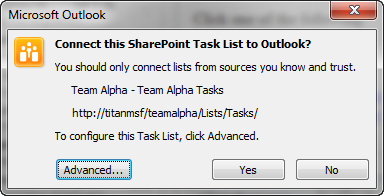
You can choose Yes to complete the connection, or optionally, you can select the Advanced button to view and configure additional information about the connection (shown in Figure 12-20). Click OK when you are through with the advanced settings.
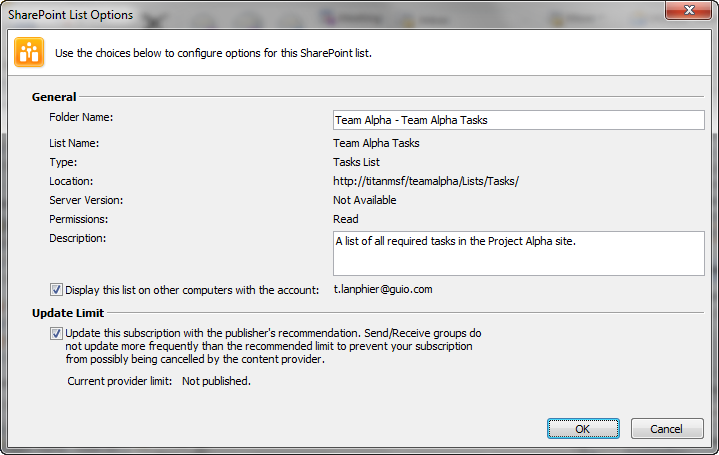
Select the Yes button to complete the connection to Outlook (Figure 12-21).

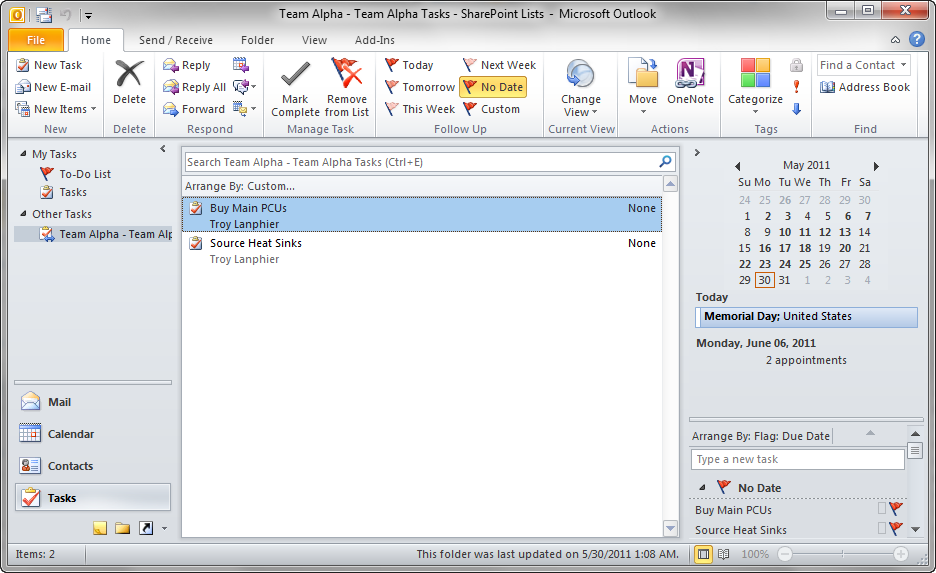
Figure 12-22 shows that SharePoint task lists are presented in the Other Tasks group alongside the My Tasks list in Outlook 2010.
Like calendars, Contact lists, and Task lists, SharePoint document libraries can be synchronized with Outlook. Unlike them, however, SharePoint document libraries can only synchronize in one direction—from SharePoint to Outlook 2010.
At first, this process sounds only marginally useful—after all, Outlook 2010 can only read from, but not write to a SharePoint document library. When this functionality is combined with the SharePoint drafts folder, documents that are downloaded can be edited offline and uploaded to the SharePoint site.
To take a document library offline, browse to the SharePoint site that contains the list, and then open the SharePoint document library in your browser window. On the ribbon, click Connect To Outlook, as shown in Figure 12-23.

Your browser might prompt you to allow the SharePoint website to initiate a connection to your computer. If this appears, select the Allow button. Optionally, you can choose to have the browser never show you this prompt again for SharePoint content by clearing the Always Ask Before Opening This Type Of Address check box before clicking Allow, as shown in Figure 12-24.

Outlook prompts you before connecting to your SharePoint Document Library, as shown in Figure 12-25.

You can choose Yes to complete the connection, or optionally, you can select the Advanced button to view and configure additional information about the connection (shown in Figure 12-26). Click OK when you are through with the advanced settings.
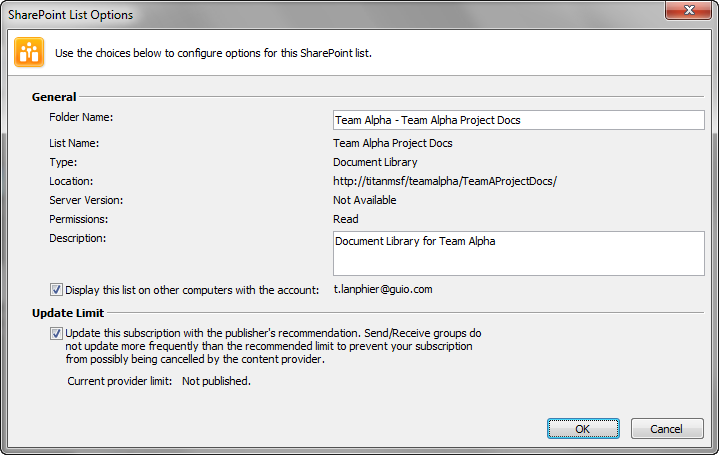
Select the Yes button to complete the connection to Outlook, as shown in Figure 12-27.

The synchronized document library appears in the left pane of Outlook 2010. When this library is selected, the items within it are displayed in the Downloaded Documents section in the center pane. When you select a document from the library, a preview of it appears in the right pane, as shown in Figure 12-28.

Although you cannot directly edit a document from within Outlook 2010, you can edit the copy that has been downloaded to it. To begin editing a document, double-click the downloaded copy.
Tip
INSIDE OUT When is the content synchronized?
Once a document library has been synchronized and its content appears in Outlook, you can disconnect your computer from the network and still have access to your local copy of the document library.
When the document appears, a message is displayed, indicating the document is in read-only mode, along with an Edit Offline button (see Figure 12-29). Select this button to begin editing by using the SharePoint Drafts folder.

To edit the document, it must be transferred into the SharePoint Drafts folder on your local computer. Once transferred, the document can be edited and uploaded to the SharePoint site. Select the OK button to begin offline edits of the document, as illustrated in Figure 12-30.
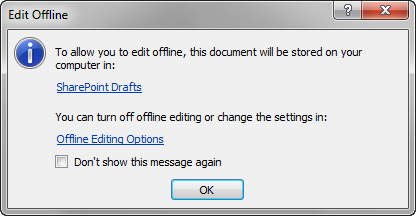
We will cover the use of the SharePoint Drafts folder in the upcoming section Taking Content Offline by Using the Local Drafts Folder.
There are other lists within SharePoint that fully synchronize with Outlook 2010, including standard SharePoint lists (such as Discussion Boards) and custom lists that you can create. The process for adding lists to Outlook 2010 is identical to how other lists (such as Contacts, for example) are added.
Additionally, SharePoint Foundation 2010 includes the ability to connect SharePoint lists to external, Line-of-Business (LoB) systems (such as non-SharePoint databases). The information retrieved from these systems can be used to populate list content in a SharePoint site, including the descriptive metadata associated with the database. When External lists are configured correctly, information can be both read from and written to the database.
Tip
INSIDE OUT Licensing requirements
The ability to connect SharePoint to these external systems is included in both SharePoint Foundation 2010 and SharePoint Server 2010 Standard; however, the SharePoint Server 2010 Enterprise license is required if you want to take this information offline by using Microsoft Outlook 2010.