Design Corner
Let's face it. When you were a kid, you liked to color outside the lines. Now that you're grown up and have PowerPoint to play with, you still like to do things a bit differently than PowerPoint wants you to.
Not only that, you also like to work fast and smart. Let's try something that lets you be creative and also efficient.
Suppose you frequently use a specially modified Autoshape in your slide presentations. Instead of having to re-create the shape each time you use it, you can record a macro to create the shape, and then create a custom toolbar icon to play the macro.
Before
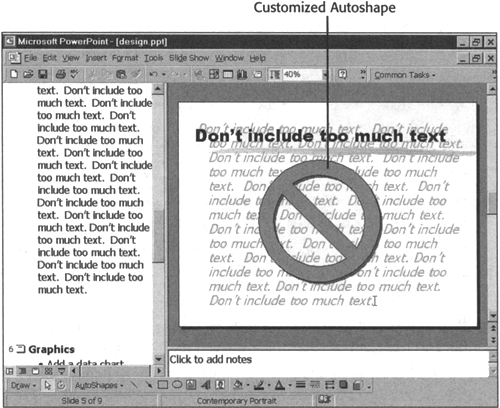
Begin by creating the macro (see Chapter 19, "Working with PowerPoint Macros," for details on recording macros.) For our example, we created a macro named "Nix" that builds the international "No" symbol, changes its fill color to red, and adds a shadow.
Figure . You can record a macro to automate the building of a custom Autoshape, like this one.

Next, create the toolbar icon for the macro following these steps:
Choose View, Toolbars, Customize... and click the Commands tab in the Customize dialog box (refer to Figure 20.8).
Click Macros in the Cate_gories list. Available macros, including the one you recorded, appear in the Commands list.
Drag the macro you create, for example, Nix, to the desired toolbar. PowerPoint displays a text button on the toolbar.
Close the Customize dialog box.
Figure . When you add a macro command to the toolbar, it automatically displays the name of the macro.


After
Now, whenever you want your custom Autoshape, simply click the macro button on the toolbar. If you want, you can also create a custom icon for the macro (see "Customizing Toolbar Icon Images" in this chapter.)
