In order to access and use JIRA, you need to be a valid user. Normally, while using the built-in JIRA user management feature, users are created and stored in the JIRA database. In this recipe, we will look at how to create new user accounts in JIRA.
Proceed with the following steps to create a user account in JIRA:
- Log in to JIRA as a JIRA administrator.
- Navigate to Administration | User Management | Users.
- Click on the Create User button.
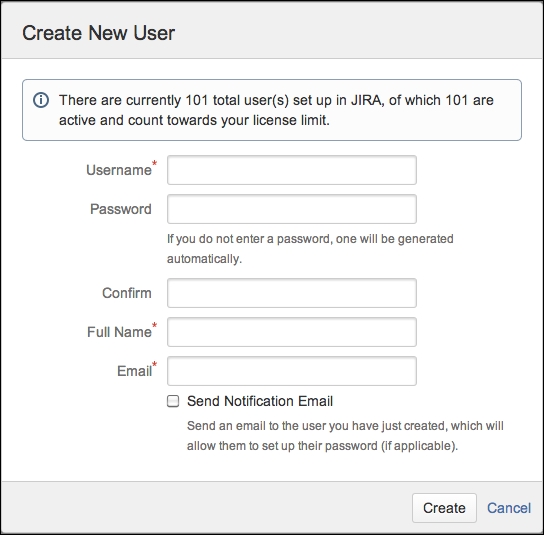
- Fill in the new user details and click on Create.
Field
Value
Username
This is a unique identifier for the user. This is what the user will use to log in to JIRA. You can use formats such as
firstname.lastnameor the user e-mail to ensure uniqueness.Since JIRA 6, the username can be changed after it is set.
Password
This is the password for the user to authenticate. You need to leave this blank for JIRA to generate a random password.
Confirm
This is to repeat the password.
Full Name
This is the full name of the user.
Email
This is the e-mail address of the user.
Send Notification Email
This sends an e-mail to the user (based on the Email field) with a link to reset their password.
This requires JIRA to have an outgoing mail server setup.
The previous fields in the table will create a normal user account. By default, the user will be added to the jira-users group. If you have set up other groups for the JIRA Users global permission, then the new user will be added to those groups. The following screenshot shows a normal user account: