
Just as in the Adding help tips to custom fields recipe, we can also add JavaScript code in the custom field description as long as we wrap the code in the <script> tags.
In this recipe, we will look at another way to remove the None option from select list custom fields.
This recipe uses the jQuery JavaScript library, which is bundled with JIRA. If you are not familiar with jQuery, you can find the documentation at http://jquery.com.
We will also need to use the custom field's ID in our script, so you will need to have that handy. You can find the ID by going to the custom fields page, clicking on the Edit link of the target field, and clicking the number at the end of the URL is the field's ID. For example, the following URL shows a custom field with the ID 10103:
http://jira.localhost.com:8080/secure/admin/EditCustomField!default.jspa?id=10103
Proceed with the following steps to add JavaScript to custom field description:
- Log in to JIRA as a JIRA administrator.
- Navigate to Administration | Issues | Custom Fields.
- Click on the Edit link for the custom field.
- Enter the following JavaScript snippets into the Description text box and click on Update. You will need to substitute it in your custom field's ID.
<script>
AJS.$('#customfield_10103 option[value="-1"]').remove();
</script>
The following screenshot shows that the Team custom field no longer has the None option:
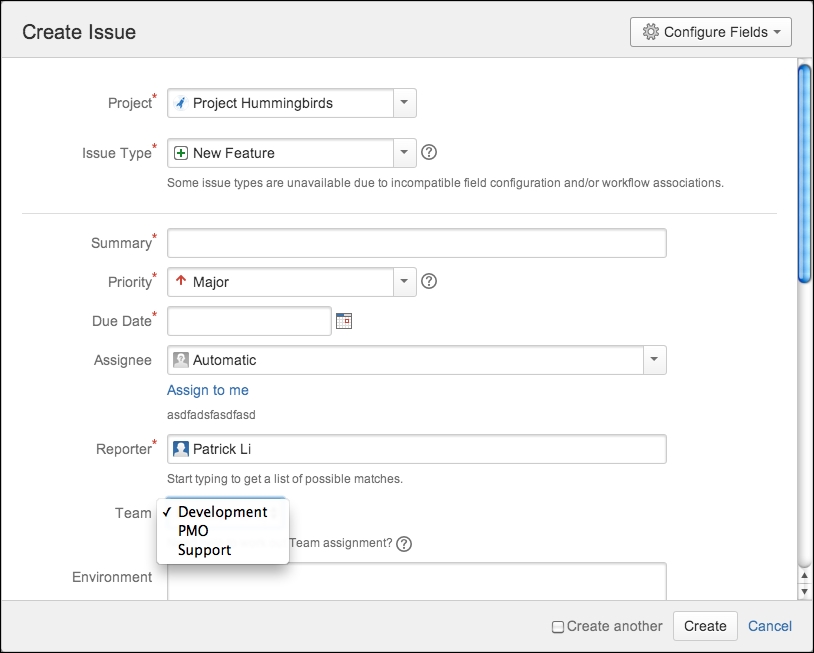
In our script, we use jQuery to select the Team custom field based on its element ID and remove the option with value -1 (which is the None option) with the selector #customfield_10103 option[value="-1"].
We use the
Atlassian JavaScript (AJS ) namespace (AJS.$), which is the recommended way to use jQuery in JIRA.