
An Elastic Beanstalk environment is designed to be very easy to deploy. In this section, we will demonstrate the features of how to create and manage an Elastic Beanstalk environment in the management console. Take a look at the following steps:
- We need to open the Elastic Beanstalk management console so that we can create an application and environment. Initially, if we have no Elastic Beanstalk deployments, we will see an introductory screen with a short description of Elastic Beanstalk. We can click the Get started button to initiate the creation of an environment:

- The Get started button automatically starts a Elastic Beanstalk app creation dialogue. The Elastic Beanstalk console assumes that we need to have an Elastic Beanstalk tier application before we can add any kind of worker tier. The next time we create an environment, a choice between the worker and Elastic Beanstalk tier will show but, for now, we will create the Elastic Beanstalk app. We need to specify an application name that will be used to group different application versions and environments, and we will need to choose a platform. In the following example, the choice of platforms is displayed:

- After we have chosen a platform, we need to either select a sample application that will show a sample Elastic Beanstalk page written in the programming language of our choice or upload our code. To upload custom code, select the Upload your code selector and then click on Upload:

- In the Upload your code dialog, we can select a local file from our computer or a file that has been posted in an S3 bucket. Using S3 here is a good idea as we can use the built-in versioning on S3 to deliver the latest or other previous versions directly by specifying the appropriate S3 path. We can think of the S3 option as a poor man's code repository. After we are happy with our selection, we also need to give the code a version label. This should reflect the application code version that you are deploying and will be visible in the application versions menu:

- At this point, we can click the Create Application button to begin the application creation or we can select Configure more options to open the option configuration dialogue that's shown in the following screenshot. As you can see, there are multiple options that can be configured in the configuration dialogue. We can choose to modify and configure any aspect of the environment. When we choose to configure more options, the following dialogue will open. Here, we can control the aspects of the operating system that help manage our software such as configuring and running the AWS X-Ray agent and redirecting logs. We can also modify instances, select the number of instances in a highly available deployment group, configure the load balancer, and manage security. More importantly, we also have the ability to control the way software updates will be preformed when updating the application:

- Selecting instances in the previous dialogue will allow us to modify the tape of an instance and the AMI ID to deploy from, as well as configure the root volume and EC2 security groups. When we have finished the selections, we can click on Save to return to the previous window:

- Clicking on the Security section will open up the security configuration of the application. Here, we can modify the service role ID that's required and select an instance profile, as well as add an EC2 key-pair for the instances that are created through Elastic Beanstalk. We will click Save to return to the previous window:

- By scrolling further down in the configuration dialog, we will see configuration options for monitoring, where we can select either detailed and standard monitoring. If we select detailed monitoring, we have the ability to select which metrics to deliver in a detailed manner. We can also control the managed updates that are delivered by AWS to patch and update our operating system and receive notifications about our environment. We can also control the network layout and place the application in a certain VPC. We also have the ability to create and add a database layer by using RDS. We can choose the engine the application will use and the type of instance to run, as well as whether we want to make the database highly available.
Finally, we can add tags to our environment so that it is easier to manage:

- After we are happy with our selections, we can click the Create environment button and the creation will begin. A window displaying the creation process and output will be presented, as shown in the following screenshot:

- Once the application has been created, we will be able to click on the environment URL that's displayed next to the environment name:

- Clicking on the environment URL opens up the Elastic Beanstalk site in a browser window, as demonstrated in the following screenshot:
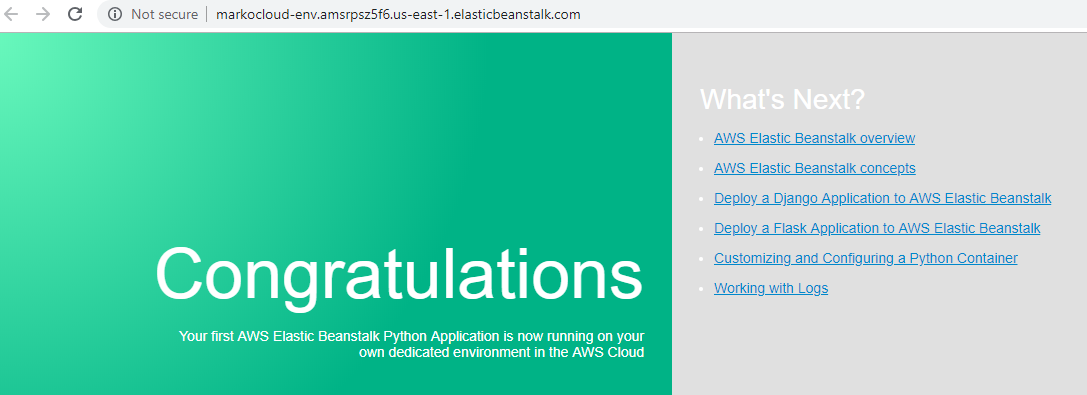
As you can see, managing an Elastic Beanstalk environment is very easy and gives us a lot of options when we want to configure the environment straight out of the box. In this example, we were able to deploy a fully operational application in just a few minutes.