
In this section, we will create a static website that is going to be hosted within our newly created bucket:
- We need to first create a small index file, which will deliver some content we can view in our environment. For example, you can create a file named index.html and paste the following code that we are using in our example:
<html>
<p>Everyone loves AWS!</p>
<p><a href="https://markocloud.com"><img src="https://markocloud.com/wp-content/uploads/2016/02/markocloud-180.gif" alt="" width="180" height="155" /></a></p>
 </html>
- We now need to save this file and upload it to the S3 bucket. Click on the bucket name on the previous screen and then select the Upload button:

- Add the index.html file to the Upload dialogue and skip through the permissions in Step 3, as we will maintain the same permissions as the bucket:

The index.html file should now be seen in the newly created bucket:

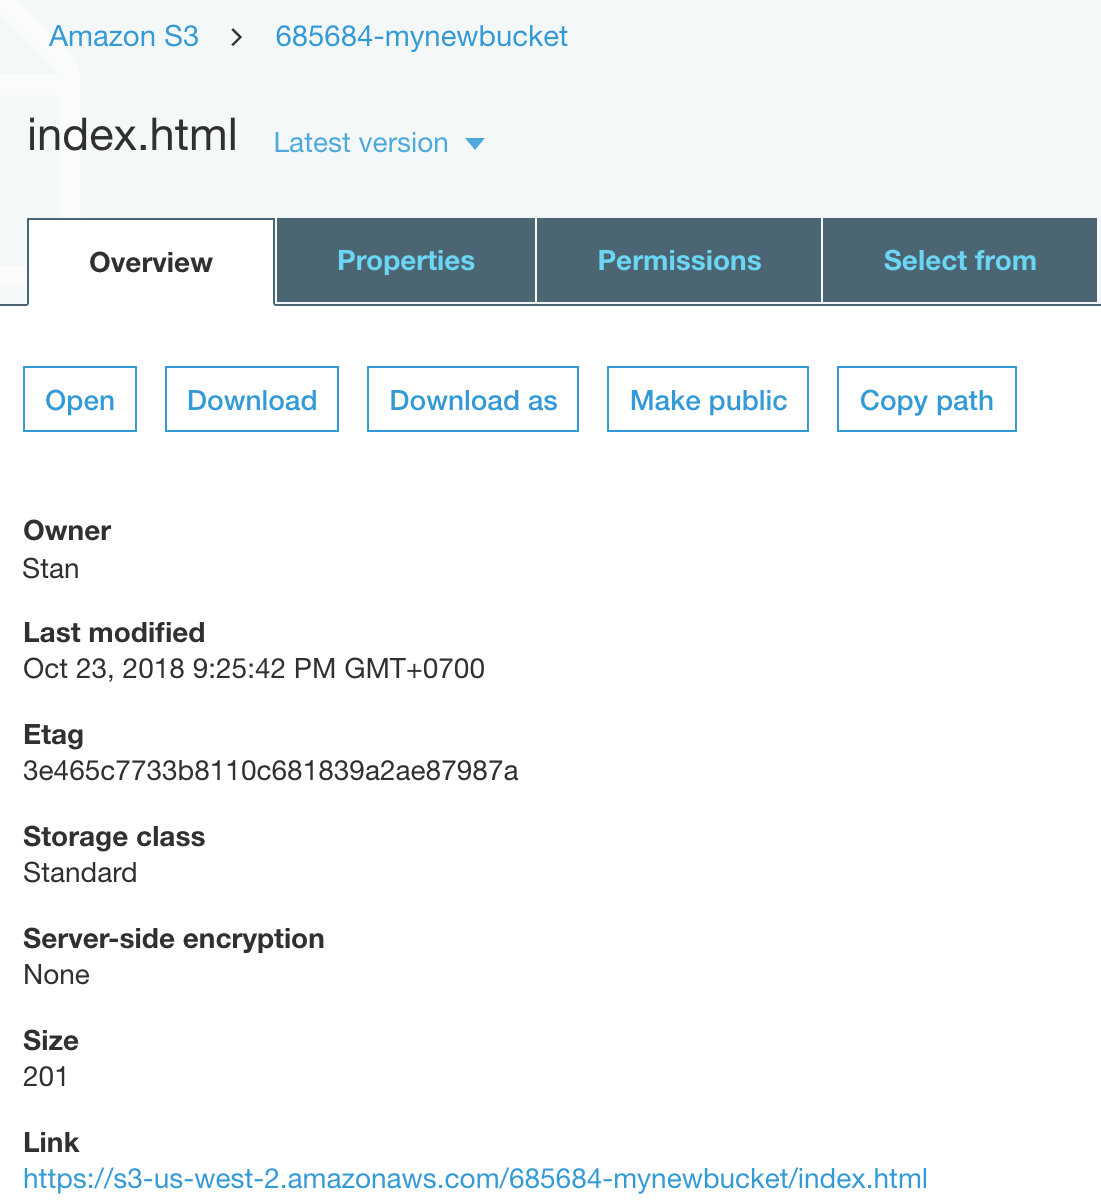
- By clicking the file, we can see the properties of the uploaded file and the link at the bottom of the page. From this dialog, we can also modify the properties and permissions of the file:
- You can click on the link provided in this dialogue and see that the link opens the index.html file directly. Since this file is an index file, you can also browse the bucket DNS name and get the same result:
http://685684-mynewbucket.s3.amazonaws.com
Let's look at the following screenshot for the output:
