
Ben Oshman
On Set Transformation
On Set Transformation
BY BEN OSHMAN
Artist, Art Director, Propmaster
New Jersey, USA
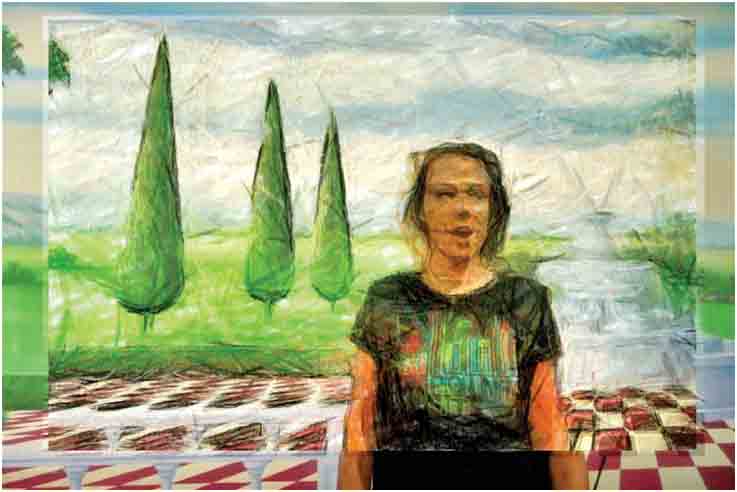
Photographs taken on film sets are usually incongruous to begin with, as reality blurs with fake backdrops and hollow architectural elements. Taking it a few steps further, Ben Oshman’s work finds its own reality.
Step 1
I opened the original photo in the app “ToonPAINT” and adjusted the sliders that yielded this high contrast image, which then was saved to the camera roll.

Original iPhone Photo Taken on a Film Set.


“ToonPAINT” Screen Shot.
Step 2
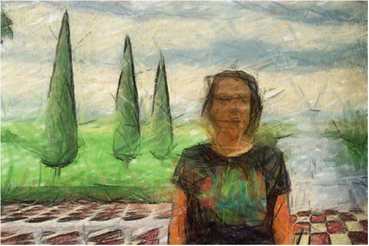
The original photo was opened in the app “AutoPainter II” and the Felt Tip setting was applied. The result was saved to the camera roll.
Step 3
I imported all three versions into the app “Brushes”. After the original was placed, I added the version from Step 2, slightly smaller, and offset it to create the sense of transformation.
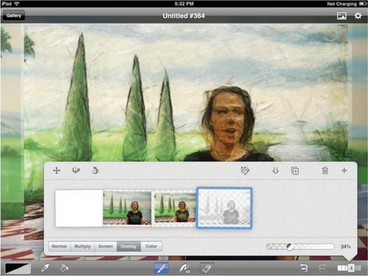
“Brushes” Screenshot.
Step 4
The “ToonPAINT” version was added on top as a 34 percent overlay to bring back some facial features and details lost in Step 2 to finish the piece.
BY BEN OSHMAN
Artist, Art Director, Propmaster
New Jersey, USA
Working in the flim industry, especially in the art department, expands your thinking to include set pieces, and how to create illusions. This thinking inspires me to create unlikely visual environments and fill them with unlikely components. The iPhone, iPad and the multitude of photo/art apps makes visualization of ideas a matter of inspiration, the tools are right there.

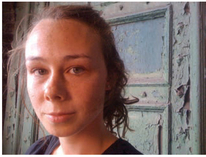
Original Photo.
Step 1
I opened the app “123D Sculpt” and imported the portrait into the apps photo library. Using the Image Rub tool, I positioned the head model to line up with the photo and “painted” the photo onto the model.
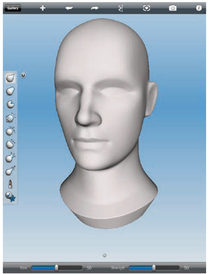
123D Sculpt” Screenshots.

Step 2
I rotated the 3D model to the final position and saved the file without a background to the camera roll.


Step 3
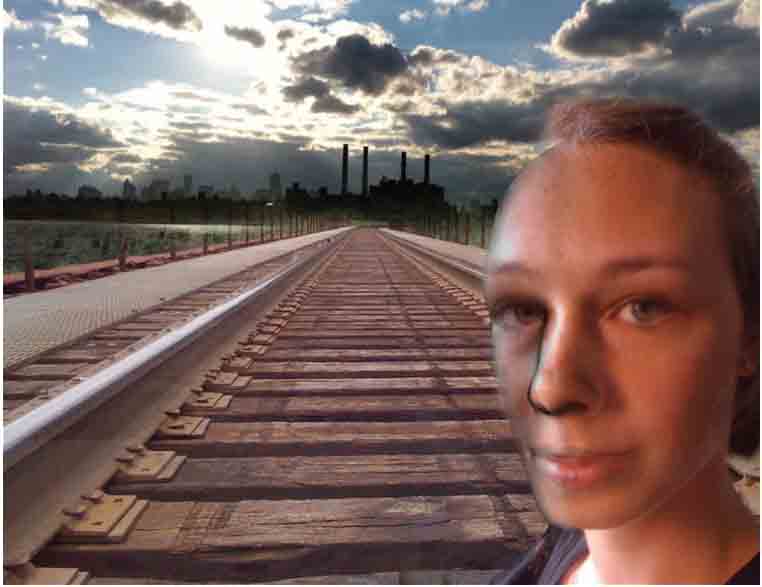
I opened both images above in the app “Brushes” on separate layers. Using a large soft eraser, I created a perfect blend of the images by erasing the top portion of the tracks image to reveal the city and sky on the layer below.

Blended in “Brushes”.
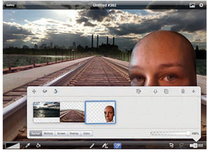
“Brushes” Screenshots.

Step 4
I brought the saved file from “123D Sculpt” into “Brushes”, resized it, and positioned it as shown.
Step 5
To finish the piece, I brought the original photo into “Brushes” on another layer, resized and repositioned it to overlay the 3D portrait and painted pieces of it back in using a soft brush at a low opacity. I restored her neck, hair, and half of her face, leaving an eerie portrait that subliminally reinforces the forced perspective and feeling of depth and dimension.
