
Kyle Lambert
Atmospheric iPad Portrait
Atmospheric iPad Portrait
BY KYLE LAMBERT
Artist
Manchester, UK
Kyle is a trained oil painter and illustrator from Manchester in the UK, who currently works as a freelance digital artist. He studied Fine Art Painting and Illustration with Animation at Manchester Metropolitan University and he specializes in creating striking images for storyboards, character designs and conceptual artwork.
Kyle creates his latest mobile art through a host of apps from Adobe. He shows his considerable Photoshop Touch ‘chops’, fine-tuning his portrait and showing us how it’s done.

Colours
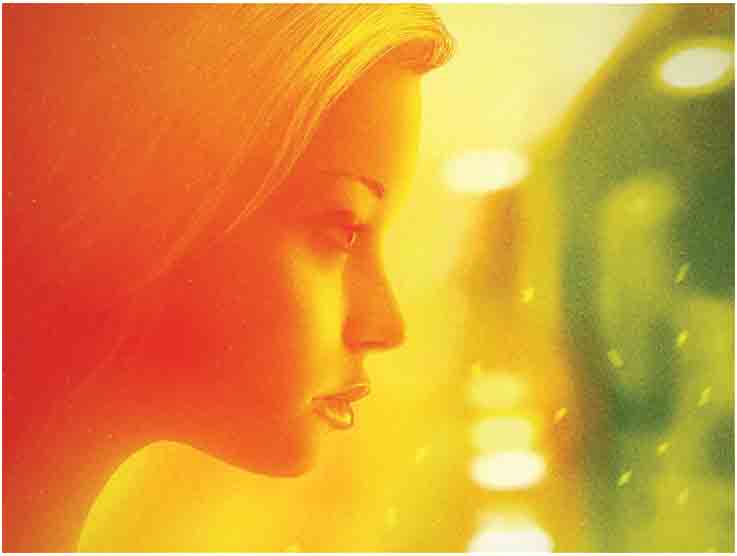
I began this painting by selecting five key colours to establish the mood of the portrait. Using ‘Adobe Kuler’ I exported the colours via the Creative Cloud to use later in the process.

Composition
With the colours selected, I sketched a number of potential compositions using ‘Adobe Ideas’. On a separate layer I then quickly mocked up how I was going to apply my chosen colour scheme.
Tone
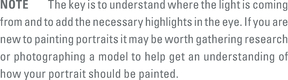
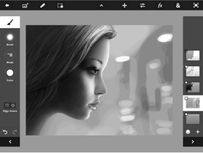
I imported my final composition sketch into ‘Adobe Photoshop Touch’ and created two layers: one white layer to mask the edge of the face and a second layer beneath it to paint the basic tonal values of the face using the paint tool. I then turned my focus to painting the detail of the eye using a smaller brush. The eyes are always a great challenge when painting a realistic portrait because they are such an important part of a person’s identity.

Opacity and Blur
Using a paint brush with low opacity I gradually built up the dramatic lighting of the portrait in greyscale. To soften the shading I occasionally used the blur tool. With the head painting complete, I then removed the white mask layer and procee ed to paint a background on a new layer beneath the head. I painted very loose shapes to suggest a city background and used the Gaussian blur effect to give the look of depth of field.

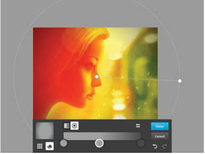
Colour and Blend Modes
With the greyscale portrait complete, I then began introducing colour to the image. I created two coloured fill layers and used Blend modes to combine them with the painting: a yellow layer with the Multiply Blend mode to replace the light areas and a red layer with the Screen Blend mode to replace the dark areas.
Gradient Colours
Happy with the red and yellow colours, I then added green to the background to balance the image. To do this I did a Copy Merge of the whole painting and pasted it to a new layer. I then used the Multi Gradient Map filter to alter the colour range by adding the two green colours from my initial colour scheme.

Effects and Details
I then used the Add Fade option to composite the new colours into the background only. I created snowflakes on a separate later and used the Directional Blur effect to give them movement.


Final Touches
To finish the painting off, I continued to experiment with the range of effects available in ‘Photoshop Touch’. I used the Add Gradient tool to add a vignette and added the Grainy Night and Scratches effects to complete the image.