In the previous recipe, we looked at how to use Application Links to link other Atlassian applications with JIRA. In this recipe, we will expand on this by linking JIRA with Confluence—the enterprise collaboration platform.
Since we will be using Confluence in this recipe, you will need to have an instance of Confluence running on your system. If you do not have one, you can download a free Confluence trial from https://www.atlassian.com/software/confluence.
The first step is to establish the link between JIRA and Confluence:
- Navigate to Administration | Add-ons | Application Links.
- Enter your Confluence URL and create the application link. JIRA should automatically detect the target application as Confluence; if, for some reason, it does not, make sure you select Confluence as the Application Type when prompted.
We also need to enable the Remote access API (disabled by default) in Confluence:
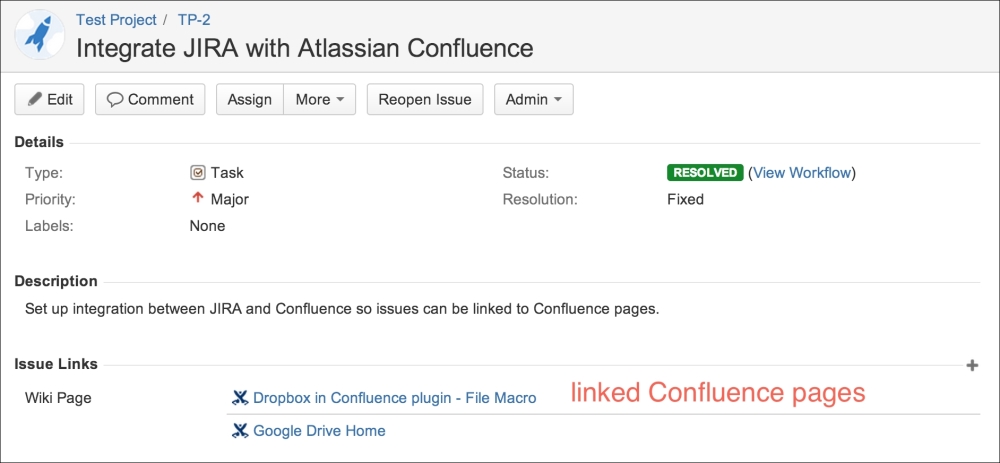
After we have linked JIRA with Confluence, there will be a new option called Confluence Page, which appears when you select the Link option in the More issues menu:
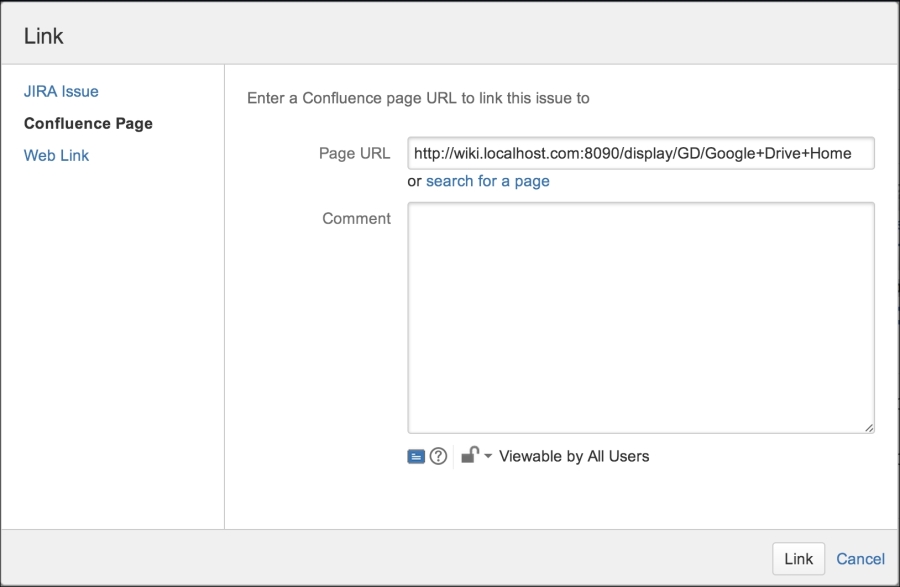
If you know the exact URL to the Confluence page, you can enter it in the Page URL field, or click on the search for a page link and search for the page you want to link to:

Once you have found the page you want, simply click on it and then click on the Link button. Linked pages will be shown under the Issue Links section, above the Wiki Page category: