
In order to install the BitNami Redmine stack we need to download the installer first. You can do this by going to the URL at http://bitnami.org/stack/redmine.
The BitNami Redmine installer comes with everything you need to run Redmine, thus, it includes Apache, MySQL, Rails, Ruby, Passenger for Linux and Mac, and Thin for Windows. If you check the above URL you will also notice the "module" installer. This installer should be used if you have already installed another BitNami stack (not the Redmine one). In this case, the installer will add Redmine to the existing installation.
Under this topic, we will review how to install the BitNami Redmine stack on Microsoft Windows. We will use the stack, not the module, assuming that you have not installed any other BitNami stacks before. The installation procedure is very much the same for all OSs due to the cross-platform BitRock installer which is used by BitNami.
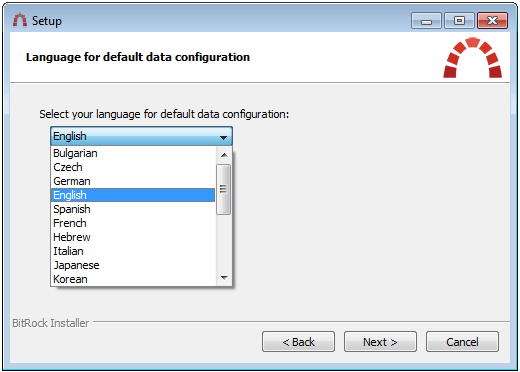
So let's now run the installer which is bitnami-redmine-2.2.0-0-windows-installer.exe in my case. The first question it asks is the language of installation:

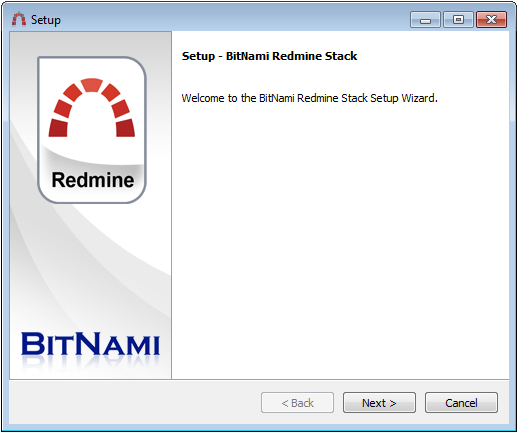
Here we choose English, which is default, and press the OK button. The next screen is the welcome screen of the BitRock installer:
Click on the Next button here after which you will be asked to choose installation components:

As you see in addition to the Redmine component the BitNami Redmine stack also includes DevKit, which is needed to run Redmine 2.1.x and higher under Windows, and PhpMyAdmin, which can be very useful if you plan to use Redmine for development. As I don't plan to use it this way I uncheck PhpMyAdmin here and click the Next button.

The default installation folder is fine so we just click on the Next button here and get to the window:

With this dialog window the BitNami Redmine stack is configuring the administrator account of Redmine, the one default login and password of which are "admin". It's really great that BitNami included this dialog in the installation!
Just enter your data into this dialog, as I have done, and click on the Next button:
Here we choose the language of Redmine. Thus, for example, tracker names in Redmine will be in this language. We select English here and click on the Next button. The next window asks whether we would like to configure email notifications:

Email notifications are essential for Redmine so you should really check the checkbox in this window. When you do this two email provider types become available: GMail and Custom. I would not recommend using GMail as it is an external mail server and there can be issues with connectivity, sending emails may be slow and so on. For this reason I choose the Custom option. But to be able to use the Custom type you need to know the authorization credentials of your local SMTP server.
The next window asks for the information needed to connect to your SMTP server:

Enter here the authorization credentials of your SMTP server and click on the Next button.
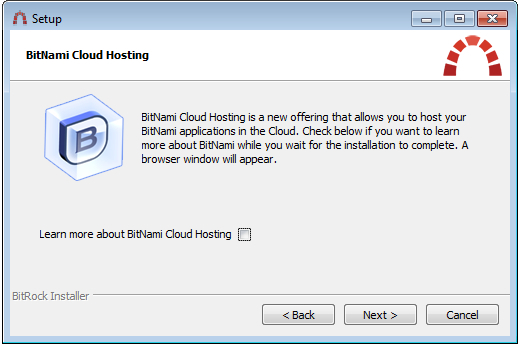
Like TurnKey Linux BitNami offers cloud hosting services which are also based on Amazon. You can read more about the offering if you check the checkbox in this dialog. This will open a browser window pointed to the URL describing the services.
The next window will ask you to confirm that you want to install BitNami Redmine stack on your computer. Just press the Next button in that window and the installation process will start:
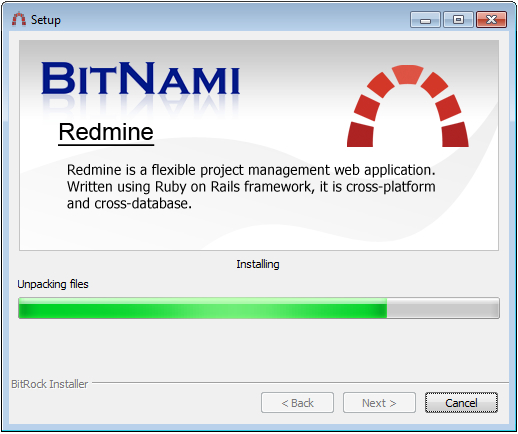
This will take a while so you can read about BitNami cloud hosting services meanwhile. When the installation ends you get the following window:
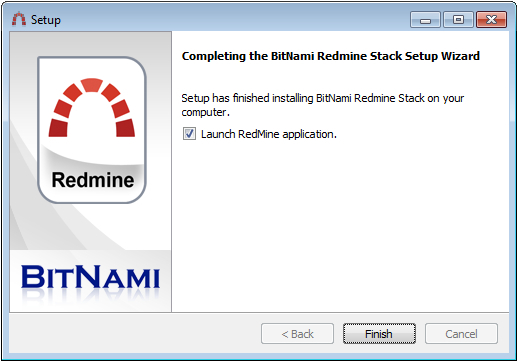
Congratulations! Redmine has been installed on your computer! You can check the Launch RedMine application checkbox, this will open a new browser window pointing to the page:

This is your BitNami stack home page. If you have installed several BitNami modules you will see here several links like Access BitNami Redmine Stack.
Clicking on the Access BitNami Redmine Stack link will redirect you to the redmine location under which the just installed Redmine will be available.