
Let's first learn how to create a Mahara group:
- Click on the Groups option on the main menu bar. This is the area that contains all the options you need to access the social aspects of Mahara.
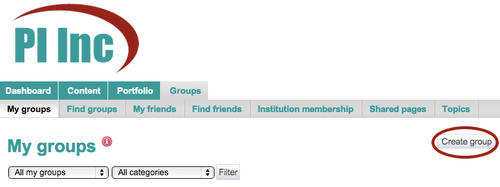
- By default, now you will be on the My groups page. Currently, you don't belong to any groups, but that's about to change. Click on the Create group button as shown in the following screenshot:
- Now, you will see the Create group page. This contains all the options you need to configure your new group. Start by giving your group a relevant name in the Group name box.
- Next, take some time to fill in the Group description section. The information you enter here will show up in the group's About page.
- Click on the Settings link to open a drop-down list. First look at the Membership section. This lets you decide how other users can join your group.
- The first decision to make is whether you would like to make your group open or not. Open means that anyone from the Mahara site can join. Janet has made a Clinical Trials group and decided that she doesn't mind it being open, so left the Open option checked:

- Notice that if you have unchecked the Open option, the Request option becomes available. This allows users to request membership of the group.
- Look at the two other options in the Membership section — Friend invitations and Recommendations. Decide whether group members can invite their friends or if they can send recommendations to join the group. It is only possible to have one of these options selected. So, choose which you would prefer. Janet has decided it would be nice to have a button on her Group homepage for recommendations, so ticked that option:

- Next, choose who can create and edit group pages. There is the choice between the options All group members, Everyone except ordinary members, and Group administrators. You will find out more detail about group roles in the next chapter.
- Now look at the Visibility section. Here you can decide if your group will be shown up publicly for users who aren't logged-in to the site; this will enable logged-out users to see the group's About page and forum posts. Janet has decided that her Clinical Trials group could have sensitive information in it and so left this option unchecked. You can also decide to hide a group so that it can't be found, to hide membership so that non-members don't see who's in the group, and to even hide membership from members so that only the group admin knows who's in the group.
- Finally, you can decide if you would like to allow notifications on the Shared page. This option sends notifications if and when a member shares a page with the group. Janet doesn't want her group members to receive these messages and so left it unchecked.
- When you're happy with your settings, click on Save group to finish.
You just saw how to make a new Mahara group.
Revisit the My groups screen. Here, you will see the group that you have just created along with the title and description that you entered earlier. It is important that you choose a sensible summary for your group, so that when you are looking through all your groups on this page later, you will know exactly what the different groups are for. You will notice that the My groups page also shows the number of members that currently belong to the group (if the group admin hasn't decided to hide the group members). Here is what Janet Norman's Clinical Trials group looks like:

Finally, this is the place you should come to if you want to edit or delete the group. The Edit option allows you to change any of the group settings that you chose originally. Clicking on the Delete option brings up a warning page asking if you would like to delete the group, as shown in the following screenshot:

Always be certain that you know you are doing the right thing before you decide to delete your group. There may be important forums or pages in there that other users want to keep. Once the group has been deleted, it can't be retrieved!
Now, before you go on to explore what else you can do in your group, let's go back and have a look at some of the settings that were available when you created the group.