
In this section you will see how to view and edit existing notes as well as how to re-use notes in your pages:
- Click into Content on the main menu and then into Notes in the submenu.
- Now, you will be on the My Notes screen. This is where you can manage notes that you have created. You aren't able to create notes here, they are created via the text box block in pages. Have a look at the notes listing. You are likely to see a few notes already listed that you added to your profile page in Chapter 2, Getting Started with Mahara. Janet has created one note so far — the About Mahara information that she added to her profile page:
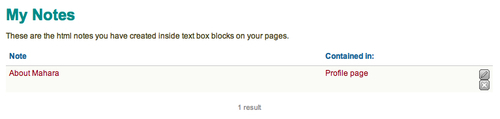
- You will see that the Note column shows you the name of the note, which is the title of the text box where they are first defined. The Contained in column shows you the pages to which this note has been added. Janet's note is shown only on the Profile page at the moment.
- Let's add an existing note to another page. Janet decides she would like to include the About Mahara note on her dashboard page. Click on Portfolio and then click on the pencil edit icon next to the page to which you would like to add the note.
- Drag the Text box block onto your page.
- Click on the link below the input box labeled Use content from another text box.
- You will see a section displaying all the notes available to use. Click on the one you want to add. Janet clicked on her About Mahara block:

- Notice that the content of the note is now displayed in the input box. You should also see a message informing you that if you change the content, it will be changed in all other pages that display this note.
- Click on Save to add the block to your page.
- Revisit the My Notes page. You will now see that the block you added is displayed on more than one page:

- You are able to edit and delete notes. Click on the pencil edit button. Janet decided that she would like to change her About Mahara note slightly, so she edited the text. You will also notice that you can allow comments on your note: decide whether you would like to do that or not, and click on Save. Remember, when you edit a note, it will change on every page in which it is contained.
- That's all there is. When you revisit the pages in which the note is contained, you will see that its content has changed.
You just re-used an existing note in a page and edited the note from the My Notes screen.
This is so useful! No longer will you have to type out commonly useful blocks of text every time you need them.
Here are some ideas for the kind of notes you could re-use:
- A project introduction text box on every page in a collection
- A list of links to your social media or web profiles
- Interesting quotes and thoughts from experts in your field
It's important to remember that you can't use the My Notes screen for creating notes. That happens when you create a text box in a page — it automatically gets turned into a note.
You can use the My Notes screen for managing, editing, and deleting your notes. You saw that editing a note here edits that note wherever it has been included in your portfolio. You can also edit a note globally from any page that it is included on via the text box block.
Be careful before deleting a note, because that will remove it from all of the pages in which it is included.
You may have noticed when re-using the note on a new page that there was also the option to make a copy of it:

This is a way of using the same note and being able to make changes to it without affecting all other instances — that may be useful in some cases.
You are going to finish this chapter by revisiting your dashboard page.