
Let's see how you can add an image to a text box in Mahara:
- Find an image on the Internet that you would like to add to your text box. Janet went straight away to a free images site that she knows — Stock xchng at http://www.sxc.hu. She entered the word e-portfolio into the search box and found some suitable images. She has chosen an image of a man jumping in the air with his portfolio in hand:
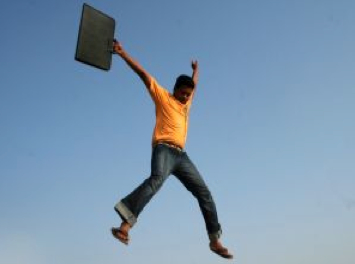
Image by Asif Akbar (http://www.sxc.hu/photo/991217)
- Copy the link of the image. You can usually do this by right-clicking on the image and clicking on Copy image location.
- Reopen the text box on your profile page that you created earlier and click on the Insert/edit image button.
- You will see a dialog box pop up. In the Image URL field, paste the location of the image that you copied in step 2.
- Give your image a relevant Image description. This shows when you hover over the image with your mouse.
- Select the Alignment, Dimensions, Border, and Vertical space/Horizontal space for your image.
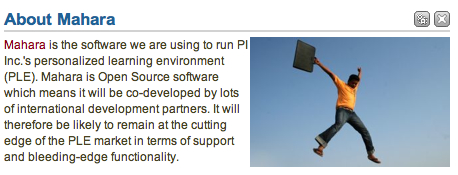
- When you have finished, click on Insert. This is how Janet configured her image:

- You may find that you have chosen the wrong dimensions for your image. Rather than going back into the image editor by clicking on the image itself and then clicking on the Insert/edit image button again, you can resize the image in the text editor itself by clicking and dragging the corners to stretch it. Seeing her image on the page, Janet decided that she wanted it to be bigger:
You just saw how to add an image to a text box in Mahara.
Why don't you play around yourself with a few text boxes on your profile page? Have a go at inserting an image into the text box. When you feel you are finished editing, don't forget to click on the button to save your changes.
When using images that aren't your own, it's important to ensure that the person who took the image has given permission for it to be used. Some people choose to use a Creative Commons license (http://creativecommons.org/licenses/) as a simple way for making it clear when their images can and can't be used. Some, for example, allow their images to be used as long as it's for a strictly noncommercial purpose. Whatever license is present it's always good to provide a link back to the original source and credit them.