Earlier in this chapter we discussed the AutoFit feature, which shrinks the size of text that overflows a placeholder so that it fits in the allocated space. If you want to keep the size of the text in a presentation consistent, you can turn off this automatic text shrinking. You then have two ways to adjust the size of placeholders to fit their text:
By manually dragging the handles around a selected placeholder.
By clicking Resize Shape To Fit Text on the Text Box page of the Format Shape dialog box.
Note
See Also For more information about AutoFit, see Correcting and Sizing Text While Typing earlier in this chapter.
Of course, you can also manually control the size of text by using options in the Font group on the Home tab. You can either click the Increase Font Size or Decrease Font Size button or set a precise size in the Font Size box.
To control the way text is aligned within a placeholder, you can click the text and then click one of the following alignment buttons in the Paragraph group on the Home tab:
The Align Text Left button aligns text against the placeholder's left edge. It is the usual choice for paragraphs.
The Center button aligns text in the middle of the placeholder. It is often used for titles and headings.
The Align Text Right button aligns text against the placeholder's right edge. It is not used much for titles and paragraphs, but you might want to use it in text boxes.
The Justify button aligns text against both the left and right edges, adding space between words to fill the line.
You can adjust the vertical spacing between all the lines of text in the placeholder by clicking the Line Spacing button in the Paragraph group and making a selection. If you want to adjust the space before or after a paragraph, you need to display the Paragraph dialog box, either by clicking the Line Spacing button and then clicking More at the bottom of the menu or by clicking the Paragraph Dialog Box Launcher. You can then adjust the Before and After settings for the paragraph as a unit.
In addition to changing the look of paragraphs, you can also manipulate the look of individual words. After selecting the characters you want to format, you can make changes by using buttons in the Font group on the Home tab, as follows:
You can change the font.
You can apply attributes, including bold, italic, underlining, and shadow and strikethrough effects.
You can increase or decrease the space between the letters in a selection.
You can change the capitalization of the words—for example, you can change small letters to capital letters.
You can change the color of the characters.
In this exercise, you will change the size of the text in a placeholder and then adjust the size of the placeholder both automatically and manually. You will experiment with text alignment, decrease line spacing, and increase paragraph spacing. Then you will use buttons in the Font group to format words so that they stand out and look attractive.
Note
USE the Changing presentation. This practice file is located in the DocumentsMicrosoft Press2007OfficeSBS_HomeStudentPptWorking folder.
OPEN the Changing presentation.
Move to Slide 2, and in the Slide pane, click anywhere in the bulleted list.
 On the Home tab, in the Editing group, click the Select button, and then click Select All.
The note at the bottom of the slide is not selected because it was entered in a separate text box, not in the placeholder.
 On the Home tab, in the Font group, click the Decrease Font Size button twice.
 Experiment with the size by clicking the Font Size arrow, and then pointing to various sizes in the list to get a live preview of the effect.
Finish by clicking 24 in the list.
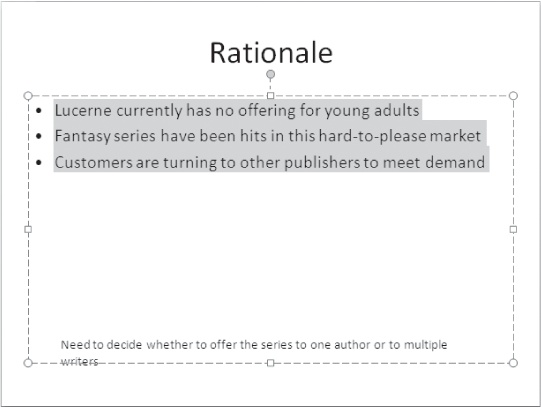
Now suppose you want to make room for a graphic to the right of the bulleted list.
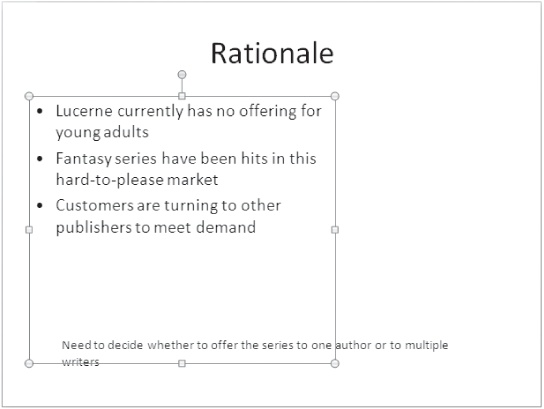
Point to the placeholder's right-middle handle, and when the pointer changes to a two-headed arrow, drag to the left until the right border of the placeholder is aligned with the right end of the slide title.
Right-click the placeholder's border, and then click Format Shape.
Note
Troubleshooting This command is available only if you right-click the placeholder's border while the pointer is a four-headed arrow. If you don't see the command, click away from the menu, and try again.
The Format Shape dialog box opens.
Click Text Box, click Resize shape to fit text, and then click Close.
The placeholder shrinks in size so that it is just big enough to hold its text.
Move to Slide 7, and then click the text box containing the Web addresses.
If this text box contained only one paragraph, you could simply click the text box and then click a button in the Paragraph group to apply the paragraph formatting you want. However, the text box contains multiple paragraphs, and you first need to select them all.
On the Home tab, in the Editing group, click the Select button, and then click Select All.
 In the Paragraph group, click the Align Text Left button.
The text is now left-aligned and easier to read.
Tip
You want your slides to be as easy to read as possible, especially if you will be delivering your presentation to a large audience, some of whom might be sitting some distance away from the screen. Constantly evaluate whether the effects you apply to your slides enhance readability and understanding.
 In the Paragraph group, click the Line Spacing button, and then click 1.5.
Click the first paragraph, and then click the Paragraph Dialog Box Launcher.
Under Spacing, change the After setting to 12, and then click OK.
The line spacing and paragraph spacing have both increased.
Move to Slide 5, and then select all the text in the text box at the right side of the slide.
In the Font group, click the Change Case arrow, and then in the list, click UPPERCASE.
The terms lowercase and uppercase come from the old days of typesetting, when individual letters were manually assembled into words, sentences, and paragraphs for printing. The small versions of the letters were kept in alphabetical order in the lower case, where they were easier for the typesetter to reach, and the capital versions were kept in the upper case.
 With the text still selected, in the Font group, click the Italic button.
 Click the Font Color arrow, and then in the palette, point to each of the colors in the top Theme Colors row in turn.
As you point, the selected text changes color to give you a live preview of the effect.
At the right end of the top Theme Colors row, click the orange box (Orange, Accent 6).
Click a blank area of the slide to see the effect of your changes.