When you add a new slide to a presentation, you can specify which of several predefined layouts you want to use, or you can add a blank slide and create a custom layout. If you decide after you create a slide that you want it to have a different predefined layout, you can change the layout by displaying the slide, clicking the Layout button in the Slides group on the Home tab, and then making a selection.
Note
See Also For information about adding slides, see Creating a Presentation Based on a Ready-Made Design in Chapter 9, Chapter 9.
If the slide already contains content, you can add the elements of a different layout to the existing layout without disturbing the existing content. For example, if you decide to add a chart to a slide that already contains a title and a bulleted list, clicking the Layout button and then clicking the Two Content layout adds a content placeholder to the right of the bulleted list placeholder.
If you make changes to the layout of a slide—for example, by sizing or moving a placeholder—but then decide you want to revert to the original layout, you can reapply the layout (without losing text you have already entered) by clicking the Reset button in the Slides group on the Home tab.
In this exercise, you will change the layout of a slide, change the size of the layout's placeholders, and then restore the layout.
Note
USE the Layout presentation. This practice file is located in the DocumentsMicrosoft Press2007OfficeSBS_HomeStudentPptAdjusting folder.
BE SURE TO start PowerPoint before beginning this exercise.
OPEN the Layout presentation and display the Outline tab.
 Display Slide 3, and then on the Home tab, in the Slides group, click the Layout button.
The Layout gallery includes the same layouts that are available for new slides.
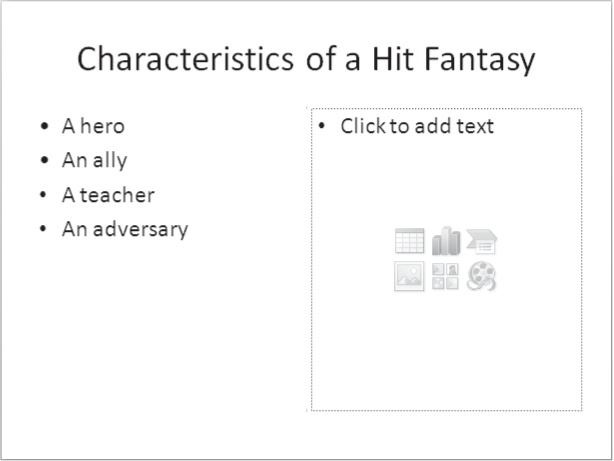
Click the Two Content layout.
PowerPoint adds a placeholder to the right of the bulleted list.
Click the bullet in the placeholder on the right side of the slide, and then type the following bullet points, pressing
 after each one except the last:
A problem
A journey
A skill or power
A battle
On the Outline tab, the bullet points are grouped to indicate that they appear in different placeholders.
Drag the bottom middle handle of the right placeholder upward until the placeholder is big enough only for its bullet points.
Repeat step 4 for the left placeholder.
Now suppose you want to add more bullet points to each placeholder. You could manually enlarge the placeholders, but here's a quicker way.
 On the Home tab, in the Slides group, click the Reset button.
The placeholders expand to their original size.
Click to the right of adversary in the left placeholder, press
, and then type An innocent.Click to the right of battle in the right placeholder, press
, and then type A twist.