Establishing a strong corporate identity helps customers remember your organization and the products and services you offer. Setting aside the obvious need for sound management, two important physical attributes of a strong retail business are a well-conceived shop space and an eye-catching, easy-to-remember logo. After you or your graphic artist has created a logo, you should add the logo to all your documents, especially any that might be seen by your customers. Not only does the logo mark the documents as coming from your company but it also serves as an advertisement, encouraging anyone who sees your worksheets to call or visit your company.
One way to add a picture to a worksheet is to display the Insert tab, and then in the Illustrations group, click Picture. Clicking Picture displays the Insert Picture dialog box, which enables you to locate the picture you want to add from your hard disk. When you insert a picture, the Picture Tools contextual tab appears with the Format contextual tab right below it. You can use the tools on the Format contextual tab to change the picture's pictures contrast, brightness, and so on. The controls in the Picture Styles group enable you to place a border around the picture, change the picture's shape, or change a picture's effects (such as shadow, reflection, or rotation in three dimensions). Other tools, found in the Arrange and Size groups, enable you to rotate, reposition, and resize the picture.

You can also resize a picture by clicking it and then dragging one of the handles that appear on the graphic. If you accidentally resize a graphic by dragging a handle, just click the Undo button to remove your change. If you want to generate a repeating image in the background of a worksheet, forming a tiled pattern behind your worksheet's data, you can display the Page Layout tab, and then in the Page Setup group, click Background. In the Sheet Background dialog box, click the image that you want to serve as the background pattern for your worksheet and click OK.
Tip
To remove a background image from a worksheet, display the Page Layout tab, and then in the Page Setup group, click Delete Background.
In this exercise, you add an image to an existing worksheet, change the graphic's location on the worksheet, reduce the size of the graphic, change the image's brightness and contrast, rotate and crop the image, delete the image, and then set the image as a repeating background for the worksheet.
Note
USE the CallCenter workbook and the callcenter and acbluprt images. These practice files are located in the DocumentsMicrosoft Press2007OfficeSBS_HomeStudentExcelAppearance folder.
OPEN the CallCenter workbook.
Browse to the DocumentsMicrosoft Press2007OfficeSBS_HomeStudentExcelAppearance folder, and then double-click callcenter.jpg.
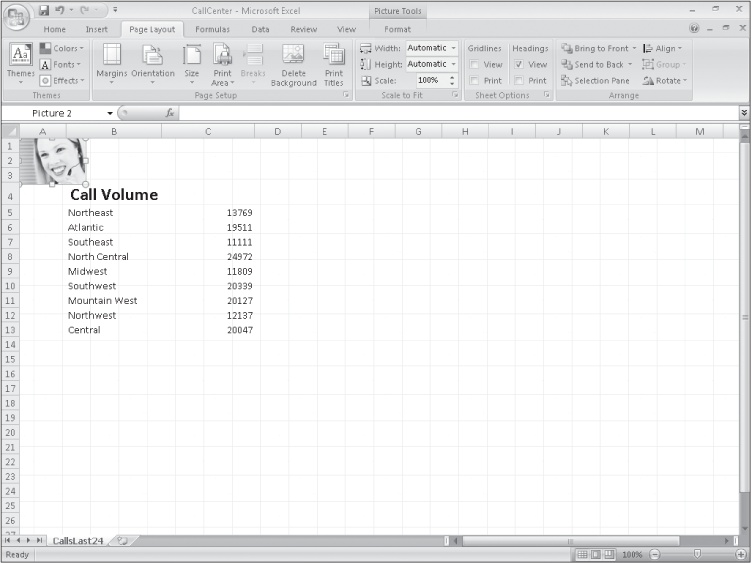
The image appears on your worksheet.
Move the image to the upper-left corner of the worksheet, grab the handle at the lower-right corner of the image, and drag it up and to the left until it no longer obscures the Call Volume label.
 On the Page Layout tab, in the Page Setup group, click Background.
Browse to the DocumentsMicrosoft Press2007OfficeSBS_HomeStudentExcelAppearance folder, and then double-click acbluprt.jpg.
Excel 2007 repeats the image to form a background pattern.
 On the Page Layout tab, in the Page Setup group, click Delete Background.
Excel 2007 removes the background image.