We all make mistakes while typing test in a presentation. To help you ensure that these mistakes don't go uncorrected, PowerPoint uses the AutoCorrect feature to catch and automatically correct common capitalization and spelling errors. For example, if you type teh instead of the or WHen instead of When, AutoCorrect corrects the entry.
You can customize AutoCorrect to recognize misspellings you routinely type or to ignore text you do not want AutoCorrect to change. You can also create your own AutoCorrect entries to automate the typing of frequently used text. For example, you might customize AutoCorrect to enter the name of your organization when you type only an abbreviation.
In addition to using AutoCorrect to correct misspellings as you type, PowerPoint uses the AutoFit feature to size text to fit its placeholder. For example, if you type more text than will fit in a title placeholder, AutoFit shrinks the font size so that it all fits. The first time AutoFit changes the font size, it displays the AutoFit Options button to the left of the placeholder. Clicking this button displays a menu that gives you control over automatic sizing. For example, you can stop sizing text for the current placeholder while retaining your global AutoFit settings. You can also display the AutoCorrect dialog box, where you can change the AutoFit settings.
In this exercise, you will add an AutoCorrect entry and use AutoCorrect to fix a misspelled word. Then you will use AutoFit to size text so that it fits within its placeholder and to make a long bulleted list fit on one slide by converting its placeholder to a two-column layout.
Note
USE the Correcting presentation. This practice file is located in the DocumentsMicrosoft Press2007OfficeSBS_HomeStudentPptWorking folder.
OPEN the Correcting presentation.
 Click the Microsoft Office Button, click PowerPoint Options, and then in the left pane of the PowerPoint Options window, click Proofing.
Under AutoCorrect options, click AutoCorrect Options.
The AutoCorrect dialog box opens.
In the lower part of the dialog box, scroll through the huge table of misspellings.
When you type one of the entries in the first column, PowerPoint automatically substitutes the correct spelling from the second column.
In the Replace box above the table, type travil, and then press
 .
.In the With box, type travel, and then click Add.
Now if you type travil in any presentation, PowerPoint will replace it with travel.
Click OK to close the AutoCorrect dialog box, and then click OK again to close the PowerPoint Options window.
Move to Slide 4, click to the left of the word advisories, type travil, and then press
 .
.PowerPoint corrects the word travil to travel.
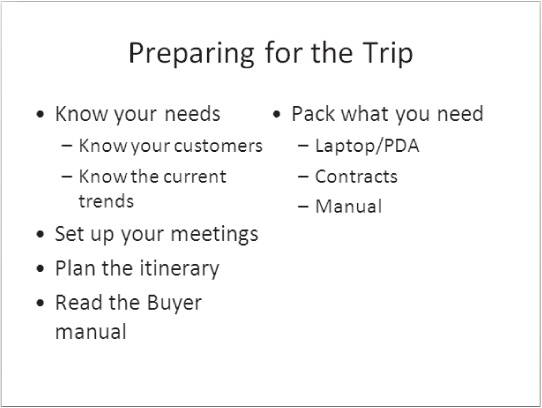
Move to Slide 3, click to the right of the word need in the last bullet point, and then press
 .
.Press
to convert the new bullet point to a subpoint, type Laptop/PDA, and then press .Add Contracts and Manual as two additional subpoints, pressing
after each one.PowerPoint makes the text of the bulleted list smaller so that all the bullet points and subpoints fit in the placeholder. The AutoFit Options button appears in the lower-left corner of the slide.
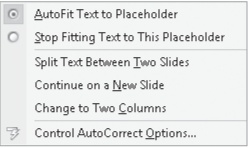
 Click the AutoFit Options button to display a list of options.
The placeholder is instantly formatted to accommodate a two-column bulleted list, with the last bullet point and its subpoints at the top of the second column. All the bullet points in both columns increase in size.
Click a blank area of the slide to deselect the placeholder.