
Most web APIs we use will specify a way of supplying authentication credentials that allow requests to be made to them, and typically every HTTP Request we make must include authentication information. APIs require this information for the following reasons:
- To ensure that others can't abuse your application's access permissions
- To apply per-application rate limiting
- To manage the delegation of access rights, so that an application can act on the behalf of other users of a service or other services
- Collection of usage statistics
All of the AWS services use an HTTP Request-signing mechanism for authentication. To sign a request, we hash and sign unique data in an HTTP Request using a cryptographic key, then add the signature to the request as a header. By recreating the signature on the server, AWS can ensure that the request has been sent by us, and that it doesn't get altered in transit.
The AWS signature-generation process is currently on its fourth version, and an involved discussion would be needed to cover it, so we're going to employ a third-party library, that is, requests-aws4auth. This is a library for the Requests module that automatically handles signature generation for us. It's available at PyPI. So, install it on a command line with the help of pip:
$ pip install requests-aws4auth
Once you are logged in to the Amazon console at https://console.aws.amazon.com, you need to perform the steps shown here:
- Click on your name in the top-right, and then choose Security Credentials.
- Click on Users, which is in the list on the left-hand side of the screen, and then click on the Create New Users button at the top.
- Type in the username, and make sure that Generate an Access Key for each user has been checked, and then click on the Create button in the bottom right-hand corner.
- You'll see a new page saying that the user has been created successfully. Click on the Download credentials button at the bottom-right corner to download a CSV file, which contains the Access ID and Access Secret for this user. These are important because they will help in authenticating to the S3 API.
- In the Policies section, a list of policy templates will appear. The policy we are going to use is the AmazonS3FullAccess:
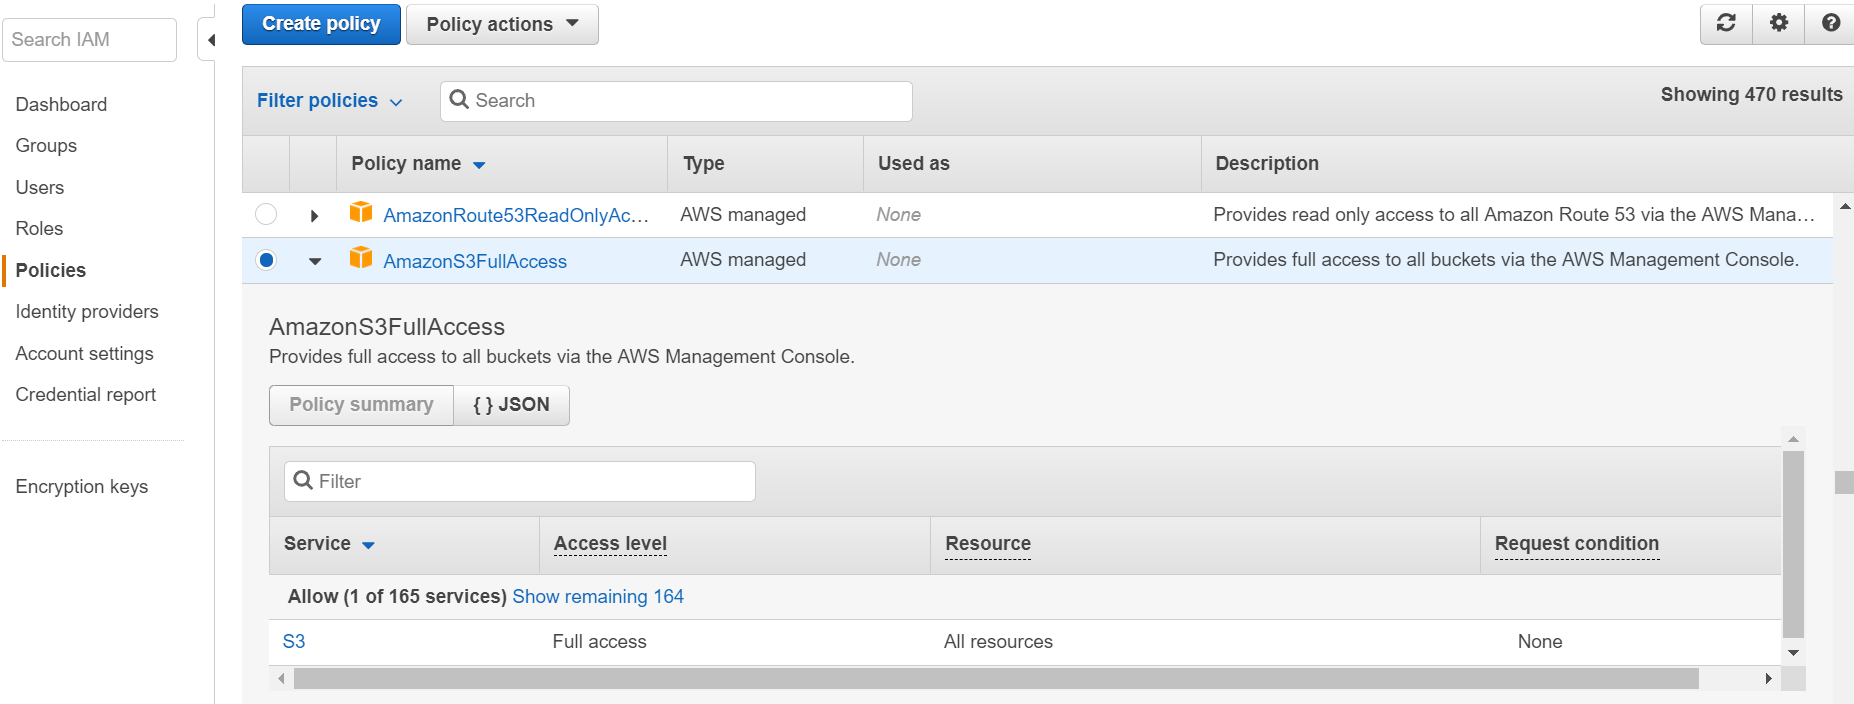
- Scroll down this list and select the AmazonS3FullAccess policy, as shown in the following screenshot:

- Finally, select the user or the user group and click on the Attach policy button. Now, our selected user or the user group has full access to the S3 service:
