The simplest type of information you will store in your OneNote notebook, and probably the most common, is text. You can enter text by typing directly on the notebook page or by pasting it from another source. But you aren't limited to simple text entry. You can insert attachments, formatted file contents, images, multimedia objects, and handwritten notes, all with a minimum amount of effort.
Tip
When deciding how much information to include on a notebook page, consider whether you want to scroll the page. If you want to see all the information at a glance, limit the content to about 30 lines of standard text.
When conducting research, you might identify an entire file of information—such as a document, image, or video clip—that you want to include in your notebook. You can store this information in the following three ways:

Note
See Also For information about capturing multimedia clips directly in OneNote, see Capturing Audio and Video Notes later in this chapter.
Tip
OneNote automatically inserts the date and time when you send content from another source to OneNote. (See Sending Content to OneNote, later in this chapter.) To add this information to notes that you enter directly, click Date And Time on the Insert menu.
On any computer that has a mouse, you can enter "handwritten" notes by using a pen tool that you control with the mouse. On a Tablet PC, you can enter handwritten notes by using the tablet pen, just as you would in other handwriting-enabled programs.
Tip
OneNote automatically saves all your changes, so you don't need to. For this reason, you will never be prompted to choose whether to save a notebook when you close it.
Formatting Notes, Pages, and Sections
You can change the appearance of text in notes, in much the same way that you do in other Microsoft Office system programs.
OneNote supports character-level formatting such as font face, size, and color, but doesn't support styles. So, for example, you can indicate a heading within text by formatting the characters as bold or in a larger font, but you can't format it or assign it an outline level by applying a style. You can, however, assign outline levels (1 through 5) to paragraphs by indenting the paragraph. OneNote allows you to choose to hide levels, which gives you the equivalent of an outline view.
To change the paragraph indentation for the purpose of assigning a level:
To hide one or more levels of text within a note:
Right-click the note container header, point to Hide Levels Below, and then click the lowest level you want visible.
OneNote does not support as many paragraph formatting options as you might be accustomed to using within a typical word-processing program such as Word. You can change the width of all the paragraphs in a note by dragging the right edge of the note container. However, you can't do any of the following:
Change the width of an individual paragraph (except by inserting carriage returns).
Change the paragraph alignment to right-align, center, or justify its content.
Outline a paragraph.
By default, OneNote displays notebook pages with a blank white background. You can modify the appearance of the page in several ways. For example, you can:
Change the page size, orientation, or margins.
Change the page background to a picture, or to any of 16 pre-selected background colors. The available colors are reasonably muted so they don't obscure the page content.
Display any of four horizontal rule patterns (Narrow, College, Standard, and Wide) or four grid rule patterns (Small, Medium, Large, and Very Large).
Hide or change the color of the rule lines.
These and other options are available from the Page Setup task pane, which you can display by right-clicking a page tab and then clicking Page Setup.
Tip
Changing the size, orientation, background, or other attribute of a page does not affect other pages of the notebook.
You can change the color of a section tab and the pages within the section by clicking the page tab, pointing to Section Color, and clicking the color you want.
In this exercise, you will enter text; insert, attach, and manipulate images; and create a handwritten note by using the OneNote writing tools.
Note
USE the SBS Collecting notebook, the Organization101 presentation, and the Arizona01, Arizona02, Arizona03, and Logo_ADatum images. These practice files are located in the DocumentsMicrosoft Press2007OfficeSBS_HomeStudentOneCollecting folder.
BE SURE TO start OneNote before beginning this exercise.
OPEN the SBS Collecting notebook, and display the Entering Content section.
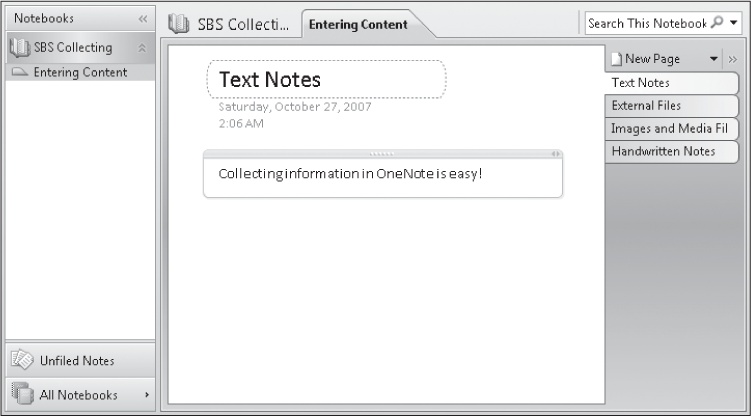
On the Text Notes page, click to position the insertion point on the page, and then type Collecting information in OneNote is easy!
OneNote creates a visible note container when you type the first character, and then expands the note container to fit the remaining text.
On the Insert menu, click Files as Printouts.
The Choose Document To Insert dialog box opens.
Browse to the DocumentsMicrosoft Press2007OfficeSBS_HomeStudentOneCollecting folder. Click the Organization101 presentation, and then click Insert.
OneNote inserts the presentation file as an attachment, the Inserted From reference, and then each slide of the presentation. Each slide is an individually sizable object.
In the Page Tabs area, click the Images and Media Files page tab.
On the Insert menu, point to Pictures, and then click From Files.
The Insert Picture dialog box opens.
If necessary, browse to the DocumentsMicrosoft Press2007OfficeSBS_HomeStudentOneCollecting folder. Click the Logo_ADatum image, and then click Insert.
The inserted image appears on the page.
Point to the inserted image.
Instead of a note container, a dotted outline appears, to indicate that the image can be sized on the notebook page.
Click the image.
Sizing handles appear on each side and corner of the inserted image.
Drag the handles to change the height and width of the image, making it smaller and roughly square.
Right-click the image to view the additional options.
Click to place the insertion point to the right of the logo. Then on the Insert menu, click Files.
The Choose A File Or Set Of Files To Insert dialog box opens.
If necessary, browse to the DocumentsMicrosoft Press2007OfficeSBS_HomeStudentOneCollecting folder. Click the Arizona01 image, hold down the
 key, and then click the Arizona03 image.
In the Choose a file dialog box, click Insert.
The icons and filenames representing the inserted images appear on the page.
Point to the Arizona01 image to display a ScreenTip containing file information.
Double-click the Arizona01 image. If a warning message appears, select the Don't show this again check box, and then click OK.
The image opens in the default program.
Close the image to return to OneNote.
Display the Handwritten Notes page. Right-click in the toolbar area, and then click Writing Tools to display the Writing Tools toolbar. Arrange the toolbars so all the writing tools are visible.
 On the Writing Tools toolbar, click the Pen arrow, and then in the list, click Blue (thin).
Point to the notebook page.
The pointer resembles a blue dot.
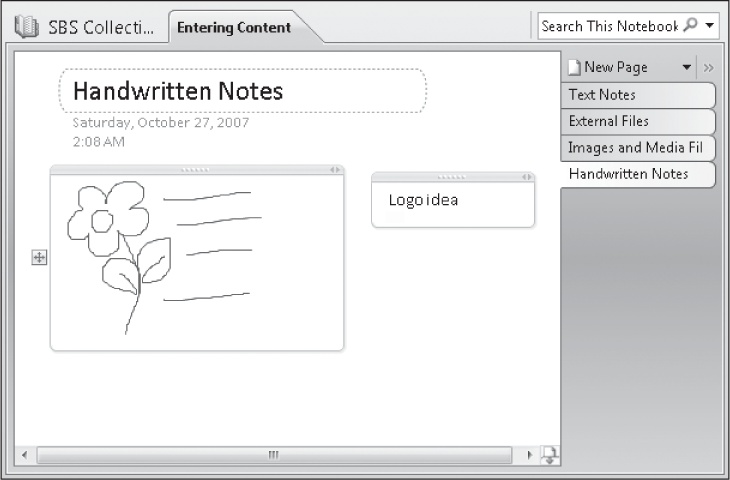
By dragging the pen on the notebook page, draw a picture depicting a possible business logo.
 On the Writing Tools toolbar, click the Type Text or Select Object button. Then point to your drawing.
A note container appears around the drawing.
Click to place the insertion point on the page to the right of the note containing the logo, and then type Logo idea.
Experiment on your own with additional pens, colors, and commands from the Writing Tools toolbar.