
A common practice before a meeting in my place of employment (and possibly yours) is to circulate prospective PowerPoint slides for comments. This means a bevy of emails fly around with slides attached, and comments are requested within a few hours, if possible. It can really be a pain to fulfill such a request if you're on the train, at home, or away from your computer! Fortunately, Microsoft has included a special mobile version of PowerPoint with Windows Phone 7 called Microsoft Office PowerPoint Mobile. This program lets you view and edit PowerPoint slide shows with ease!
To get started, we'll walk through how to open a PowerPoint slide show. You can do this in one of two ways with the current version of Windows Phone. First, you can open a PowerPoint document from a Sharepoint server (you'll learn more about Sharepoint in the next chapter). Second, you can open a PowerPoint document attached to an email by following these steps:
If the PowerPoint document you want to view hasn't already been sent to you through email, attach it to an email and send it to yourself, so that it appears in your inbox.
Turn on and unlock your phone.
Open the inbox that contains the email with the appropriate PowerPoint document attached, and then open that email message. You'll see something similar to the image shown in Figure 20-1 (see Chapter 4: "Using Email" for more information on opening emails).
Tap the PowerPoint document attached to the email. This will tell your phone to download the document. Once the download completes, tap once more to open the document.
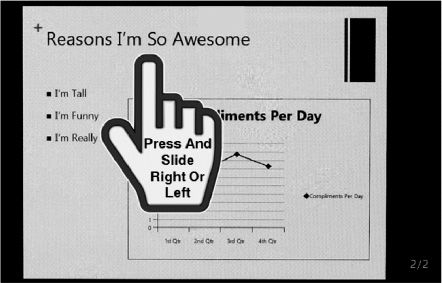
The slide show will open (see Figure 20-2).
To move to the next slide or trigger the next animation, press the screen and slide to the left (see Figure 20-3). To move back a slide, press the screen and slide to the right.


We've got a slide show open; next, we'll walk through editing the slides. Remember that, while Windows Phone 7 allows you to edit text easily on a slide, you will need to perform more complex edits such as layout or image editing on your computer. Still, sometimes all you need is to perform a quick text edit! Follow these steps to edit a PowerPoint slide show:
Follow the steps in the earlier "Viewing a PowerPoint Document" section to open a slide show.
Tap to the right of a slide, and the menu buttons will appear (see Figure 20-4).
Pressing the Ellipsis button brings up four more options (see Figure 20-5). Custom show is active if your slide show has any custom shows saved in it (you make these using the desktop version of PowerPoint). Send... lets you send the current PowerPoint presentation through email. Save is active if you've made any changes to this presentation; choose this option if you wish to save any changes to the PowerPoint document to your device. Save as... lets you save changes to this document under a new name on your phone.
Note
You can save slide shows to your phone; however, to allow others to access them, you must either send them via email or upload them to a SharePoint server.
You're now ready to edit this document. Tap the edit button (see Figure 20-4), so that you can make a few changes. Doing this brings up the editing buttons (see Figure 20-6).
Pressing the Ellipsis button lets you either move the slide to another position in the deck or hide it so that it won't be shown during a regular presentation (see Figure 20-7).
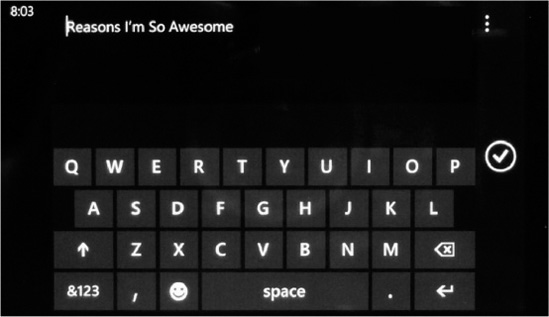
Editing any single element of the slide is easy. Simply tap the desired element (e.g., the title or a bulleted list) and then tap the edit button (see Figure 20-6). A screen similar to the one shown in Figure 20-8 will appear, letting you edit the text. In my example, I added the word "totally" to the slide title for heightened dramatic effect. Choose your own title to edit and make a change to it. Once done, press the Checkmark icon to finish the edits.
Once you finish editing a slide, you can see the updated title in the slide (see Figure 20-9 for my example).
To finish editing, press the Back button. If you've made changes, a box similar to the one shown in Figure 20-10 will appear, asking whether you'd like to your save changes.
If you choose to save changes, a box similar to the one shown in Figure 20-11 will appear, asking for a name to save this presentation as. Naming this document will help you find it on your phone later.
If you haven't saved an Office document on your phone before, a box similar to the one shown in Figure 20-12 will appear. This box asks you to enter your username. If you're collaborating with colleagues through Sharepoint, you may want to use your first and last name. Otherwise, your first name will probably be sufficient.


Now that you've got a slide show saved on your Windows Phone 7 device, it's useful to know how to open it again. Follow these steps to do so:
Turn on and unlock your device.
Press the Arrow icon in the upper right of the screen, then scroll down and tap Office (see Figure 20-13).
Press and swipe your finger from right to left to move from the OneNote screen to the Documents screen (see Figure 20-14).
On the Documents screen, you can find your saved PowerPoint document alongside other saved Office documents (see Figure 20-15).
Tapping the document will open it, while pressing and holding the document for a moment will bring up the menu shown in Figure 20-16. This menu lets you send the document via email, delete the document from your device, or view the document's properties. These properties display the document's name and file size.


PowerPoint is a versatile and fun tool to use. And with Windows Phone 7, you're never far from your PowerPoint documents. Not only can you view such documents on your phone, but you can also edit them, save them, and send them to others!