Note that, before Oracle Web Services Manager 11g can be implemented to secure OSB services, certain pre-configuration steps must be done. These steps are:
- Ensuring that WSM and Fusion Middleware Control are properly configured to work with OSB. For this you may refer to section 50.2 Setting Up and Using Oracle Web Services Manager with Oracle Service Bus of the Developers Guide for OSB: http://docs.oracle.com/cd/E28280_01/dev.1111/e15866/owsm.htm#CHDDEAJG.
- Creating a Keystore and configuring it on EM. For this you may refer to the Configuring Keystores for Message Protection section of OFM Security and Administrator's Guide for Web Services: http://docs.oracle.com/cd/E28280_01/web.1111/b32511/setup_config.htm#BAJJHHII.
Tip
Additionally, the following link is a good video demonstration showing how to secure OSB services using WSM 11g: https://blogs.oracle.com/owsm/entry/osb_security_using_owsm_11g
Note that the following sections assume that this configuration has been successfully completed.
Expanding on the example described in the previous section, Implementing WSM Policies in Composites, we will demonstrate how a WSM username client policy can be attached to the OSB Business Service consuming the PurchaseOrderEBS composite, and subsequently how to secure the OSB Proxy Service fronting the same business service.
Sometimes, it is necessary to call the SOA composites from OSB for which WSM security policies have been applied. In these scenarios, it is easy to comply with such policies by attaching the equivalent client policy of the server policy appliedto the target composite. In the following example, we will show how to attach the wss_username_token_client_policy to an OSB Business Service that consumes an SOA composite that has been secured with the wss_saml_or_username_token_service_policy.
- Log in to the OSB console using the WebLogic user and URL:
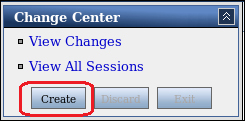
http://<osb managed server url>:<osb managed server port>/sbconsole - On the top right-hand side of the screen, under the Change Center section, Create a new session:
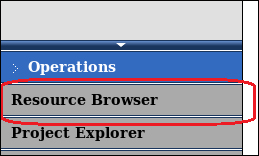
- Under the Operations menu, click on Resource Browser:
- Under the Service section located on the right-hand side of the screen, click on the Business Services link, and then on the central page click for the business service to which the policy will be applied:

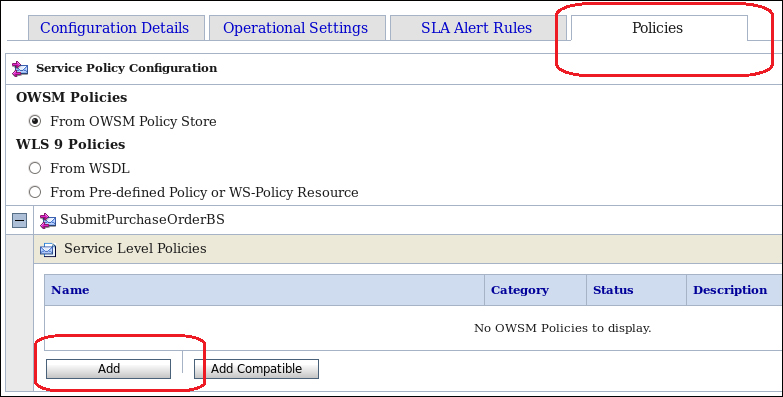
- Click on the Policies tab. Ensure that the option From OWSM Policy Store under OWSM Policies is selected, and then click on the Add button:
- Search for the policy you wish to be attached. In our example, we searched using wildcards (
*) for any WSM policy that contained the textusernamein the policy name. Once a policy has been selected click on Submit:
- Ensure that the selected policy appears under the Service Level Policies section. Then click on Update:

- Click on the Security tab. In the csf-key field, enter the name of the key used when configuring WSM to work for OSB. Then click on Update:

Tip
This section assumes that WSM has been configured to work with OSB. For information on how to do this you may refer to:
Section 50.2 Setting Up and Using Oracle Web Services Manager with Oracle Service Bus of the Developers Guide for OSB:
http://docs.oracle.com/cd/E28280_01/dev.1111/e15866/owsm.htm#CHDDEAJG
Section Configuring Keystores for Message Protection of the OFM Security and Administrator's Guide for Web Services:
http://docs.oracle.com/cd/E28280_01/web.1111/b32511/setup_config.htm#BAJJHHII
- Finally activate all changes made by clicking on the Activate button located on the top right-hand side, under the Change Center section.

The implementation of WSM Client Policies allows OSB Business Service to comply (without any extra coding) with policies implemented in target services. In this example, the WSM Username Client Policy allows the OSB Business Service to invoke an SOA Composite that is secured using the WSM SAML or Username Service Policy. The application of this policy does not require any complex mappings or coding, in order to include the username token into the SOAP header of the message.
The next step is to implement a second line of defense, by applying a WSM security policy to the OSB Proxy Service. This will add an additional layer of security, therefore ensuring that any calls coming from the DMZ (for example, the API Gateway) are from the trusted parties.
- Log in to the OSB console using the WebLogic user and the URL:
http://<osb managed server url>:<osb managed server port>/sbconsole. - On the top right-hand side of the screen under the Change Center section, Create a new session.
- Under the Operations menu click on Resource Browser.
- Under the Service section located on the right-hand side of the screen, click on the Proxy Services link and then on the center page and click on the proxy service to apply the policy to:

- Click on the Policies tab. Ensure that the option From OWSM Policy Store under OWSM Policies is selected, and then click on the Add button:

- Search for the policy you wish to be attached. In our example, we searched using wildcards (
*) for any WSM policy that contained the text username in the policy name. Once a policy has been selected click on Submit: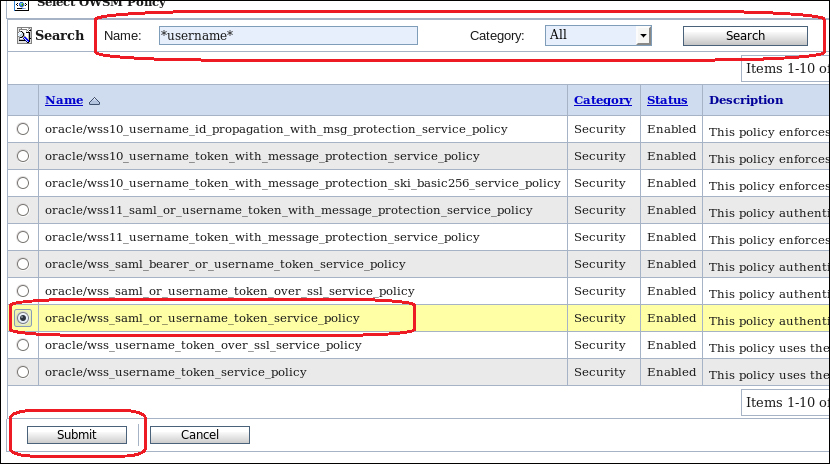
- Ensure that the selected policy appears under the Service Level Policies section. Then click on Update:

- Activate all changes made by clicking on the Active button located on the top right-hand side under the Change Center section.
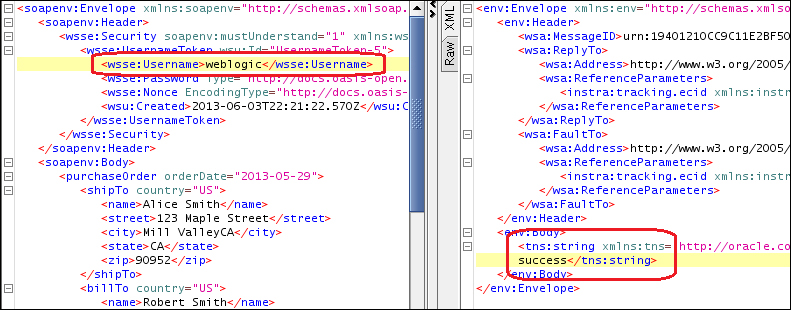
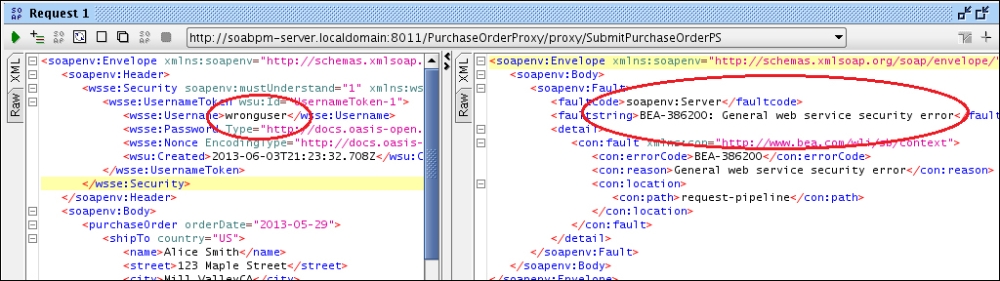
- Test the proxy service using SoapUI or a similar tool. The following example shows that, by making an invocation to the proxy service using a non-existent username in the WS-Security username token that OSB responds with a SOAP fault:
- The next example demonstrates that by sending an existing username, we get a successful SOAP response from OSB: