When a fiscal year reaches its end and accountants have finished posting all the needed transactions, it is time to perform the required tasks to close the year.
In Dynamics NAV, this can be accomplished in just a couple of steps: closing the accounting periods and running the Close Income Statement batch process. After that, it is advisable to restrict allowed posting dates to prevent users from posting any transaction in a closed year. If needed, though, further transactions can be posted.
To close the accounting periods, we perform the following steps:
- Navigate to Financial Management | Periodic Activities | Fiscal Year | Accounting Periods.
- Run the Close Year process found on the ribbon.
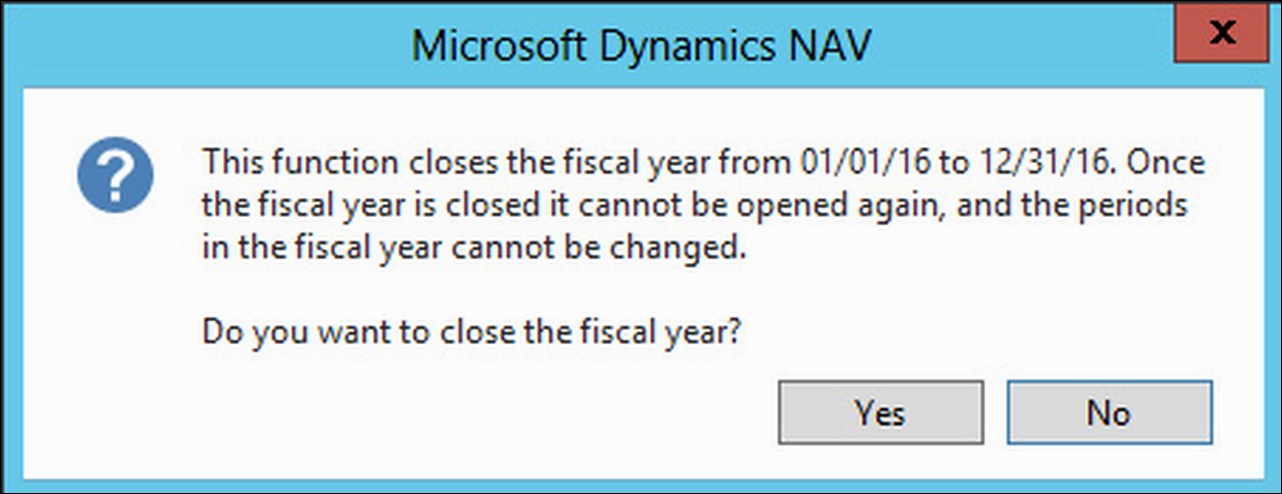
- You will be prompted to confirm that you want to close the fiscal year. You cannot choose which fiscal year to close. The system will close the first open fiscal year. Click on Yes. Refer to the following screenshot:
- The fiscal year has been closed. Notice that all the accounting periods (which usually correspond to months) that have been closed now have a checkmark on the Closed and Date Locked fields.
At the end of each fiscal year, accounting rules specify that income account balances must be transferred to a balance sheet account. The Close Income Statement batch process is used to accomplish this task by calculating and creating the transaction that will transfer these balances. This process leaves the transaction on a general journal so that you can review and post it afterwards.
To run the Close Income Statement batch process, perform the following steps:
- Navigate to
Financial Management/Periodic Activities/Fiscal Yearand click on Close Income Statement. - Choose which general journal and section you want to use (Gen. Journal Template and Gen. Journal Batch fields). This is where the transaction will be created.
- Choose to which account the income account balances will be transferred. You do it by selecting an account on the Retained Earnings Acc. field as shown in the following screenshot:

Note
Even if not mandatory, if you use dimensions it is highly recommended you select them all when running the Close Income Statement batch process. If you choose not to do it, when running financial reports by dimensions, you will be carrying balances from one year to another because the closing transaction will not be posted using dimensions.
- Click on OK.
- Navigate to the journal you have chosen when running the process.
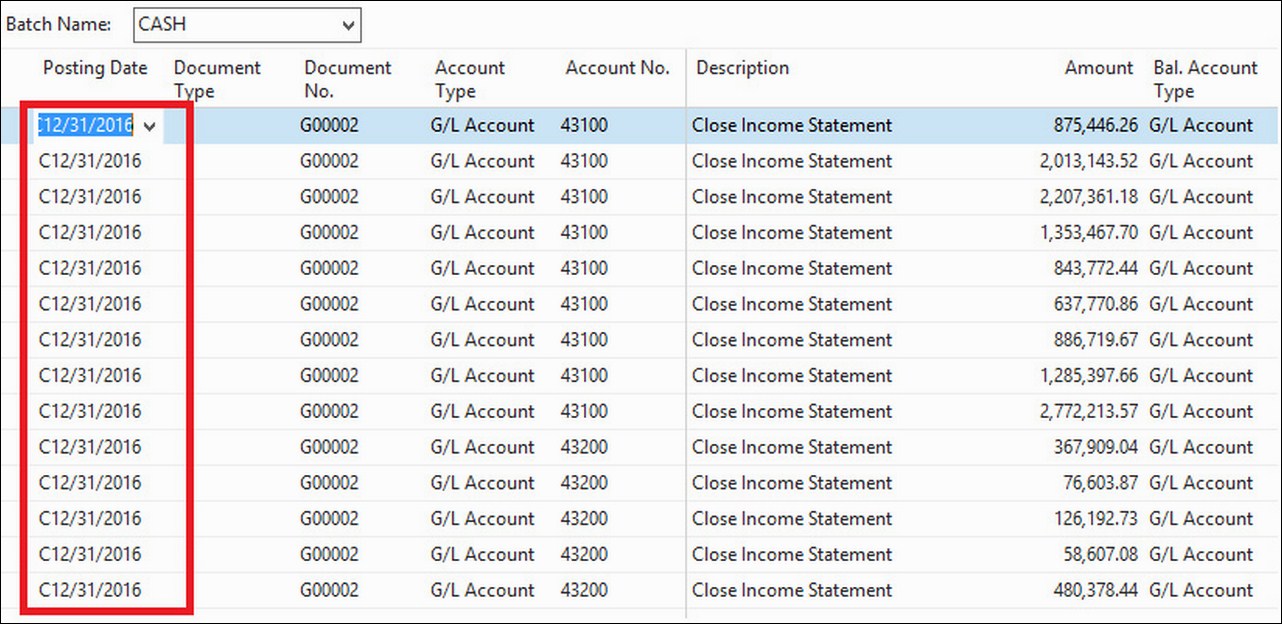
- Notice that a special date is used in the Close Income Statement. It has the C letter in front of it and it is a closing date. It is a fictitious date between the last day of the old fiscal year and the first day of the new fiscal year. Using this kind of date, balances for the ordinary dates of the fiscal year are maintained. Take a look at the following screenshot:
- Post the journal.
It is highly recommended you restrict allowed posting dates after a period has been closed. That way, you prevent users from accidentally posting transactions to an incorrect date.
Posting dates can be restricted at the company level or at the user level.
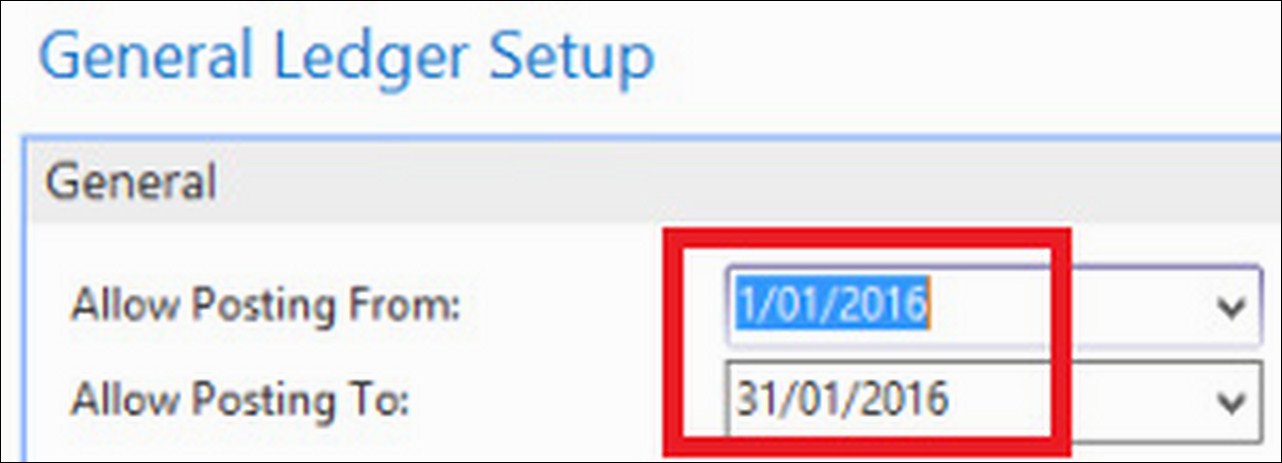
To restrict allowed posting dates at the company level, navigate to Financial Management | Administration and click on General Ledger Setup. Use the Allow Posting From and Allow Posting To fields to specify the period in which it is allowed to post transactions as shown in the following screenshot:
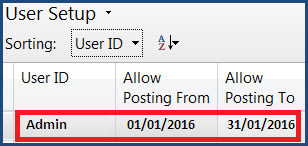
To restrict allowed posting dates at the user level, navigate to Administration | Application Setup | Users and click on User Setup. Use the Allow Posting From and Allow Posting To fields to specify the period in which it is allowed to post transactions. Take a look at the following screenshot: