
It's always better to meet rather than just hear about. I cannot imagine a person who is familiar with Redmine but who has never seen it. So, let's start by checking out the Redmine interface.
As mentioned earlier, Redmine has an easy-to-use and simple user interface. The following screenshot shows its Home page:

In the top-left corner of the page, we have the global menu (Home, My page, and so on). To the right-hand side of the global menu, we have the account menu (Logged in as). These menus are repeated on every page of Redmine. The blue area below these menus contains the site title. The content area contains the site introduction and recent news for all projects.
Generally, a page in Redmine can be either a global one (the previous screenshot) or a project one:

This is the start page of the project, which is also referenced as the project home page. Most of the time, when working with Redmine, you will be interacting with project pages. The blue top area on a project page contains the project title. The project menu is displayed in this area below the title. The project home page contains the description of the project, issues summary, members summary, and latest news of the project. Most project pages also include the sidebar with some contextual information, such as links, and sometimes forms.
As one of the primary features of Redmine is issue tracking, let's check out the issue list:

As you can see, the layout is quite simple and friendly. Collapsible boxes such as Filters and Options are used all over Redmine to hide rarely used elements. If table headers contain links, as in this case, they can be used to change the order of rows. Below the issue listing, you can see export links (near Also available in:). Such links are usually provided if the content can be exported to other formats.
The following screenshot illustrates the issue page:

In the top-right corner of the content area of this page, you can see the contextual menu, which is also duplicated at the bottom of the page. Similar contextual menus are also used for many other Redmine objects such as projects, Wiki pages, and so on.
The issue page is an example of a Redmine page that contains multiple hidden forms. Thus, such a form can be activated if you click on the Edit, Quote, and Add links (all three links open the same form). Trash icons near Watchers are another common Redmine interface element that can be used to delete an object.
By the way, some hidden forms, such as the one that can be activated by clicking on the Add link to the right of the Watchers heading on the sidebar, are shown in a light box:

Another interface element that is used extensively in Redmine is the tabular menu. Such a menu can be found on, for example, the project's Settings page:
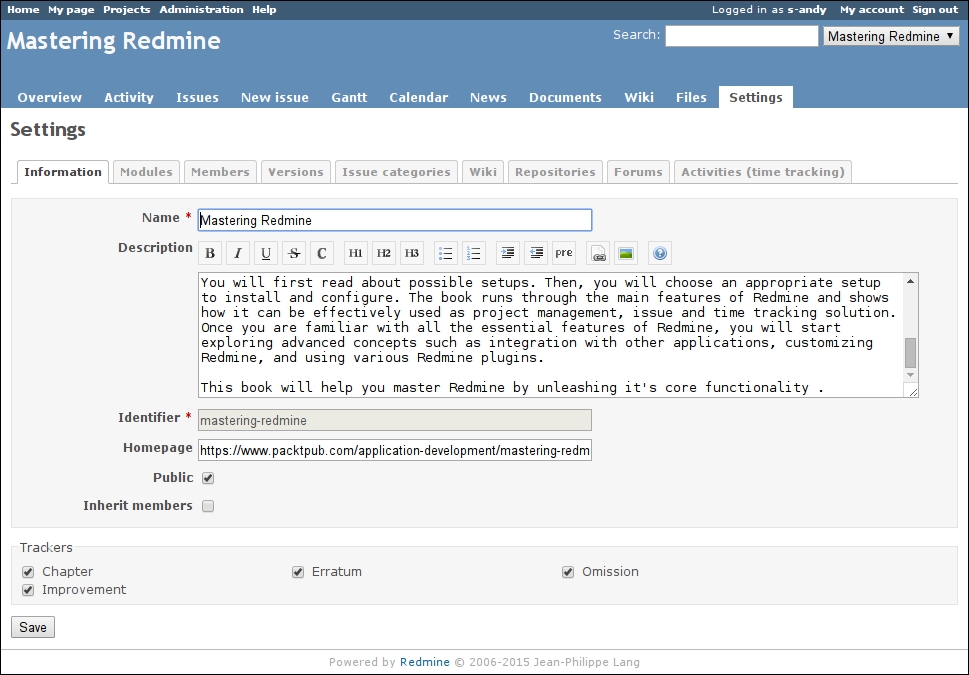
Here, you can see another interface element that is widely used in Redmine—the text area, which supports Wiki syntax. Such a text area usually comes with the text formatting toolbar.
The following screenshot illustrates the administration settings:

Links to administration pages are located on the sidebar. The current page, which is Settings, uses the tabular menu that we saw in the project settings. On the General tab of this menu, you can see the Wiki-enabled Welcome text field.
This was a short walkthrough of the Redmine interface to let you get used to it and understand its basic concepts. I hope you see that it is easy to use. We will review the interface in detail in subsequent chapters.