
Reminders
Reminders is another newcomer to the world of OS X, helping us to remember important dates and tasks. You can keep as many to-do lists as you can type.
Create and edit reminders
The Reminders window is split into two parts: The left side is a listing of Lists and Reminders, and the right side (notepad) is where you enter items into the list selected on the left.
To add a new list, just click the + button at the bottom of the Reminders window (shown in Figure 8.21), or press ![]() +l, and then give it a descriptive name.
+l, and then give it a descriptive name.
Add items to your list just by typing them on the first available line on the notepad. Notice the check box to the left of each item. Click that box when you have finished a task, and it will move to the Completed list. Should you accidentally move something to the Completed list, it’s simple to retrieve:
1. Select the Completed list on the left side of the Reminders window.
2. Find the item you accidentally marked as completed.
3. Click the box to deselect the item, and it will be moved back to its parent list.
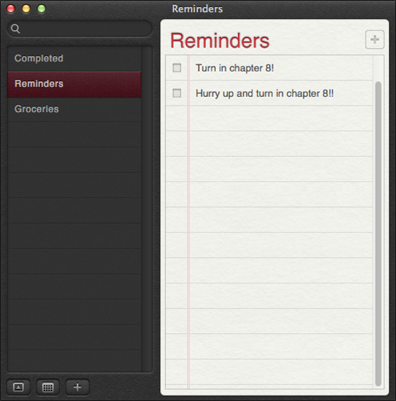
8.21 Reminders provides a list of items you need to tend to.
In addition to making lists for things like groceries and goals, you can create reminders based on calendar dates:
1. Click the Calendar icon at the bottom left of the Reminders window.
2. Select the date for your reminder.
3. Type the reminder’s title in the first available space on notepad. If you need to edit the reminder information, hold your mouse or trackpad pointer over the reminder and note the Inspector button (looks like a small circle containing a lowercase “i”) that appears to the right of it.
4. Click the Inspector button to see the reminder’s information. When the Inspector window opens (shown in Figure 8.22), type the required data. You can choose from the following:
• On a Day. Check this option to be reminded of the item on a certain day and time.
• At a Location. Choose this option to be reminded of the item after you’ve arrived at or left a particular location. For this notification to work, you must have Location Services turned on for Reminders in the Privacy pane of the Security & Privacy preferences (System Preferences→Security & Privacy→Privacy→Location Services→Enable Location Services→Reminders).
• Repeat. If this is a reminder that will be occurring regularly, click the Repeat pop-up and select the appropriate interval.
• Priority. Use the Priority pop-up to designate the importance of a reminder.
• Note. Add any notes you feel necessary for the item.
5. Click Done and the new reminder appears in the Reminders list.

8.22 Update the information for reminders by clicking the Inspector button.
Reminders can be easily deleted by selecting the reminder (click below its name or to its right) and pressing the Delete key on your keyboard.
Reminders accounts
Reminders is intelligent enough to allow the use of several different accounts for your reminders, so you can have separate accounts for work and personal items. It’s simple enough to set Reminders to use a particular account:
1. Choose Reminders→Accounts from the menu to open the Mail, Contacts & Calendars preferences pane.
2. If you don’t have an account set up, or the account that you need isn’t set up, click the account type from the list and follow the instructions to add it.
3. Select the account from the list on the left side of the preferences pane.
4. Select the check box next to Calendars & Reminders to begin syncing with the account, as shown in Figure 8.23.

8.23 Sync Reminders with several different account types.