176 Tivoli Business Systems Manager Version 2.1: End-to-End Business Impact Management
6. In the Options dialog, choose the Connection Properties tab as shown in
Figure 6-25, clear the checkboxes for Set ansi_nulls, Set ansi_null_dflt_on,
Set ansi_padding, Set ansi_warnings and Set quoted_identifier. This
should also clear Set ansi_defaults automatically. Click Apply and then OK.
Figure 6-25 Tools Options dialog
This concludes all the necessary steps for SQL Server installation and
customization in preparation for IBM Tivoli Business Systems Manager base
services installation.
6.3 Database server installation
The installation discussion in this chapter is used to set up and configure IBM
Tivoli Business Systems Manager base services for a database server. The IBM
Tivoli Business Systems Manager installation is performed in two steps. The first
step updates some system files, extracts the main installation file into a
temporary directory (typically C: emp empinstall), and may reboot the machine
if necessary. Then the main installation is performed.
Note: It would be advisable, though not necessary, to reboot the server before
proceeding with base services installation.

Chapter 6. Base services implementation 177
The first step takes place as follows:
1. Start the IBM Tivoli Business Systems Manager installation program from the
IBM Tivoli Business Systems Manager base services CD. Run setup.exe from
the <CD drive>:BaseServices directory. First, select the language used as
shown in Figure 6-26.
Figure 6-26 Language selection dialog
2. After the initial preparation for the InstallShield, a welcome dialog from the
System File upgrade appears as shown in Figure 6-27 on page 177. Click
Next to continue.
Figure 6-27 System File Update welcome screen

Chapter 6. Base services implementation 179
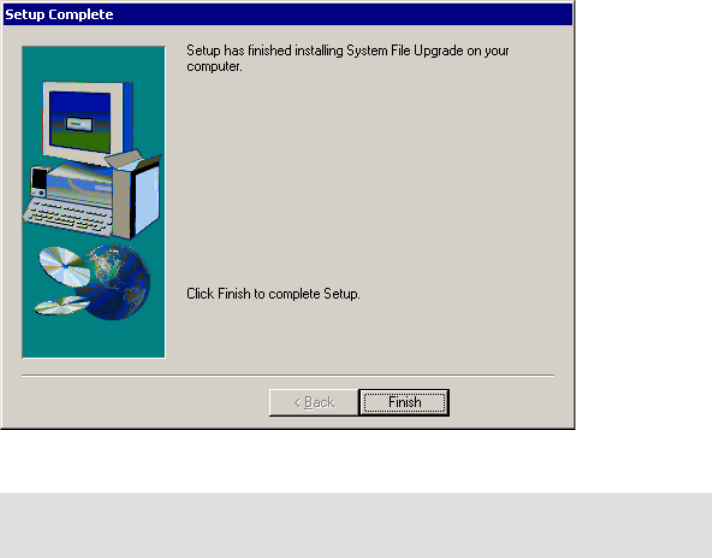
4. The installation progresses, and after all files have been extracted, the Setup
Complete dialog opens, as shown in Figure 6-29. Click Finish.
Figure 6-29 System File Upgrade complete
5. The second step of the installation begins with another language selection
screen similar to Figure 6-26 on page 177. Then the Welcome dialog appears
as shown in Figure 6-30 on page 180. Click Next to continue.
Important: If you have to reboot the computer to re-do these steps, you
should not have to reboot again the next time you reach this point.
..................Content has been hidden....................
You can't read the all page of ebook, please click here login for view all page.


