
Gradle Inc. provides the Gradle tools and plugins for the Eclipse IDE. This tool allows you to create and import Gradle enabled projects into the Eclipse IDE. In addition, it allows you to run Gradle tasks and monitor the execution of the tasks.
There are two options for installing Gradle plugins on Eclipse. These are as follows:
- Via the Eclipse Marketplace
- Via the Eclipse Update Manager
First, let's see how to install Buildship plugins for Grade build on Eclipse using Marketplace: Eclipse | Help | Eclipse Marketplace:

The second option for installing the Gradle plugins on Eclipse is from the Help | Install New Software... menu path to install the Gradle tooling as shown in the following figure:

Once you have installed the Gradle plugins by following any one of the methods described earlier, Eclipse Gradle helps you to set up Scala based Gradle projects: File | New | Project | Select a wizard | Gradle | Gradle Project.
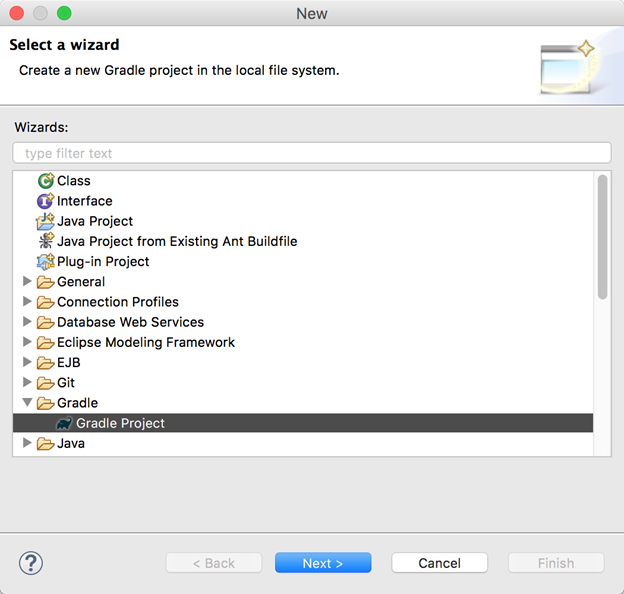
Now, if you press Next>, you will get the following wizard to specify the name of the project for your purpose:

Finally, press the Finish button to create the project. Pressing the Finish button essentially triggers the Gradle init --type java-library command and imports the project. However, if you would like to get a preview of the configuration before the it is created, press Next > to get the following wizard:

Finally, you will see the following project structure on Eclipse. However, we will see how to build Spark applications using Maven, SBT, and Gradle in a later chapter. The reason is that, before starting your project, it is more important to learn Scala and Spark together.

In this section, we have seen three build systems, including SBT, Maven, and Gradle. However, throughout the chapters, I will try to mainly use Maven because of its simplicity and better code compatibility. However, in later chapters, we will use SBT to create JARS from your Spark application.