
Let's take a look at the prerequisites for setting up packages in ROS Melodic.
The commands given here will install the ROS Gazebo controller manager:
$ sudo apt-get install ros-melodic-controller-manager
$ sudo apt-get install ros-melodic-ros-control ros-melodic-ros-controllers
$ sudo apt-get install ros-melodic-gazebo-ros-control
After installing this, we can install the Velodyne simulator packages in Melodic using the following command:
$ sudo apt-get install ros-melodic-velodyne
This project uses SICK laser scanners, so we have to install the SICK ROS toolbox packages. We do a source installation by cloning the package into the workspace and compiling:
$ git clone https://github.com/ros-drivers/sicktoolbox.git
$ cd ~/workspace_ws/
$ catkin_make
After installing all of these dependencies, we can clone the project files into a new ROS workspace. Use these commands:
$ cd ~
$ mkdir -p catvehicle_ws/src
$ cd catvehicle_ws/src
$ catkin_init_workspace
We have created a new ROS workspace, and now it's time to clone the project files to the workspace. The following commands will do this:
$ cd ~/catvehicle_ws/src
$ git clone https://github.com/sprinkjm/catvehicle.git
$ git clone https://github.com/sprinkjm/obstaclestopper.git
$ cd ../
$ catkin_make
If all packages have compiled successfully, you can add the following line to the .bashrc file:
$ source ~/catvehicle_ws/devel/setup.bash
You can launch the vehicle simulation using the following command:
$ roslaunch catvehicle catvehicle_skidpan.launch
This command will only start the simulation in the command line. And in another Terminal window, run the following command:
$ gzclient
We get the following robot car simulation in Gazebo:
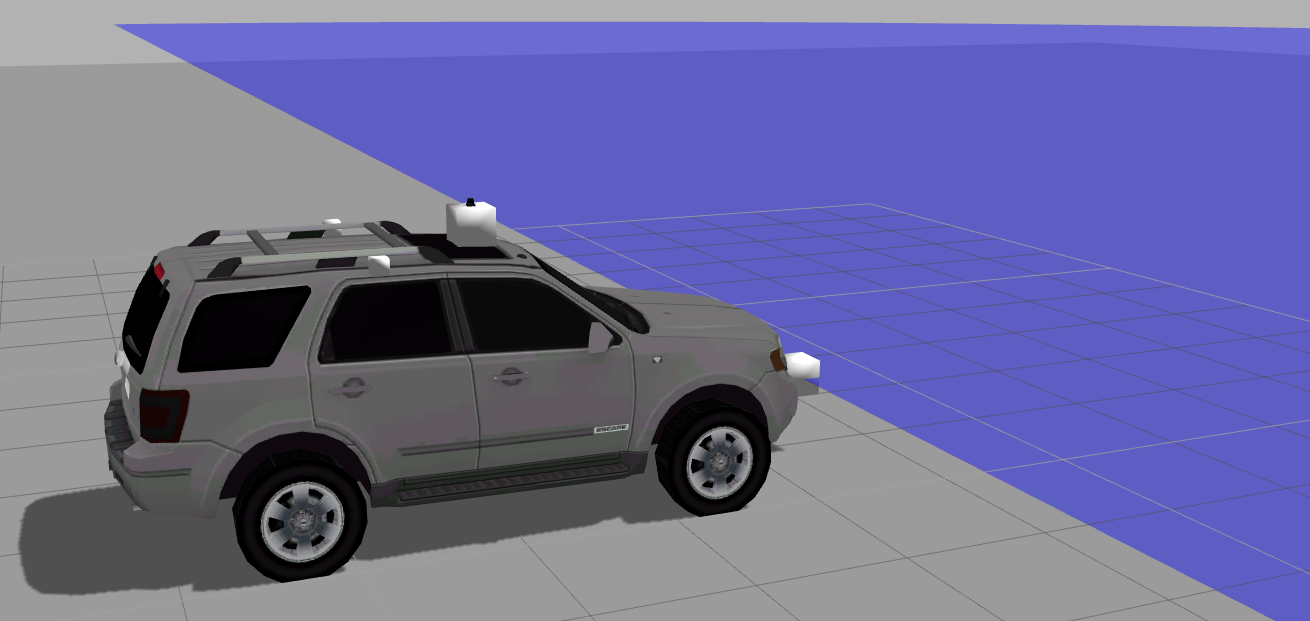
You can see the Velodyne scan in front of the vehicle. We can list out all ROS topics from the simulation using the rostopic command.
Here are the main topics generated in the simulation:

Let's now see how to visualize our robotic car sensor data.