
It is known that one of the most important things to do (working in every workflow with every 3D package) is to give all the assets proper and explicative names; that is, in our case, to the materials and to the textures.
- Start Blender, go to the File menu in the top-left corner of the screen, and choose Load Factory Setting (this is just to be sure to start with the default Blender/Cycles settings):

- Now, if you are in Blender Internal mode, switch to Cycles Render.
- Select the default Cube and go to the Material window in the Properties panel: the default cube already has a material assigned. This material has already been named by Blender itself, yes, Material:

- When you create a new material, for example by clicking on the + symbol on the side of the material data block (Add a new material) under the Properties panel, Blender automatically assigns a new name to this material, usually something like Material.001, Material.002, Material.003, and so on:
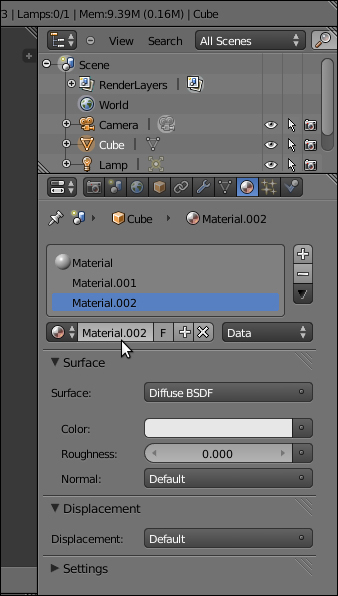
To have an automatic nomenclature can be handy in most cases but can become really confusing as a scene grows in complexity or if you have to reuse some of the materials in other situations. If this is the case then we'd better rename all our materials with significant names.
- To rename a material it's enough to click with the left mouse button in the material name data block and define a new name, then press Enter to confirm:

- This can be done both in the Properties panel as in the Material data block button on the header of the Node Editor window.
Things are a little different for textures; in Cycles textures are no more data blocks but nodes, so every time we add a texture node to a material network it gets automatically named accordingly to the kind of texture we added. That is, if we add a Voronoi Texture, the texture node is named Voronoi Texture and actually there should be no reason to change it.
But it is always possible to find a reason to rename it; in this case:
- Put the mouse in the Node Editor and press N on the keyboard, a new panel appears on its right side. The first two slot in this panel, Label and Name, are meant exactly for this purpose.
- By clicking in the texture name in the Textures window under the Properties panel, we see that a second Voronoi texture we just added has been automatically renamed by Blender as Voronoi Texture.001.
- At least at the moment this isn't reflected in the Node Editor but only in the Active Node panel on its right. If we need a different name for that texture we can change it by clicking in the Name slot and by entering a new name, then confirmed by pressing Enter.
The same goes for the Label slot, but this time the label name gets reflected only in the Node Editor, exactly as a label applied to the node.