Getting Started
If you’ve picked up this book and have read this far, you’re likely interested in being an iPhone and iPad developer. Given the popularity of this platform and the stories of how lucrative development for it can be, you’ve made a great choice. However, you may also have heard stories of how difficult it can be, how you need to learn abstract or difficult languages and concepts, or how you need to use tools that programmers don’t like, or indeed you may have heard how difficult it can be to put your work into the app store, where you can make some money.
Unlearn all that. It’s really not that bad, and it can be a fun journey. In this book, you’ll go through the basics of what you need to know, from getting the developer tools, to learning how to use them to design and code iOS apps, to debugging and fixing your apps before finally deploying them to the app store.
Your focus will be on the brand new iOS 7 platform. iOS is the operating system (O.S.) that powers these devices. It was first released (although called iPhone OS back then) with the first iPhone back in 2007. In 2013, Apple gave iOS its biggest and most revolutionary update with the release of version 7, called iOS7.
This book is designed for iOS7 development, using a programmer’s tool called Xcode and a language called Objective-C. The only thing you’ll need is a Mac computer, because Xcode runs only on the Mac, and you’ll have to ensure that it’s an Intel-based Mac running Mac OS X Snow Leopard or later. Any Mac bought in the last three or four years should be fine. As you’ll see in the “Getting Xcode” section later in this chapter, you get Xcode from the app store, so you’ll need an account there too. It’s free to get an account, and Xcode is free to download.
You don’t need an iPhone or iPad in order to develop for them, as Xcode gives you a simulator for both of these devices. However, if you want to test on a physical device, which sometimes is necessary, you’ll need a developer account for iOS development, at a cost of $99 per year.
In this chapter you’ll get started by downloading and installing Xcode and taking a look at how it works. You’ll also see how to sign up for a developer account and how to access it.
Getting a Mac
First off, you will definitely need a Mac to work with. It doesn’t have to be the latest, most expensive model, but as mentioned in the previous section, it must be an Intel-based Mac running Mac OS X Snow Leopard or later. We wrote this book using two Macs—a 2011 model iMac and a 2011 model MacBook Air.
You can see the different options available to you at http://www.apple.com/mac/ , displayed across the top of the screen, as shown in Figure 1-1.

Figure 1-1. Buying a Mac
At the time of writing, the latest version of OS X, called Mavericks, was in preview, as indicated in Figure 1-1. Of course, you don’t need Mavericks, but if you have it, you’re fine to continue.
When buying a Mac, there are several important attributes that you should consider:
- Processor Speed: The faster the processor, the quicker your programs will load, the quicker they’ll update the screen, and the quicker Xcode will compile your apps
- Memory: The more memory the better. OS X will use memory as it runs applications. If it needs to use more memory than is available, it has to temporarily store information on disk. Accessing the disk is slower than accessing memory, so the more memory, the faster your machine will generally operate
- Disk Space: As you download or create information, you’ll take up disk space. The more space you have, the more time you have before you run out!
- Disk Type: Most machines have a hard disk, but some have a flash drive, also known as a solid state drive (SSD). Hard disks are cheaper, so machines with flash drives tend to be more expensive, or, because of the expense, will have less capacity. The big advantage of flash drives, however, is that they are very fast—in some cases, almost as fast as memory. Thus, a machine with a flash drive can be very responsive, but may have less available storage. MacBook Airs use flash drives, which are generally optional on the other machines.
- Screen Resolution: Screen resolution is the number of dots on your screen in width and height. So, for example, you might see 1366x768 as the resolution on a machine, indicating that the screen has 1366 dots (pixels) across and 768 down. The bigger the resolution, the more you’ll see. When developing, it’s good to have a big screen resolution, giving you plenty of room to view Xcode, the simulator, and a browser for the documentation all at the same time.
We like to use an iMac for our main development, because it comes with a large monitor that offers very high resolution. We use a MacBook Air as a backup, because it’s light and very fast (due to its flash drive).
Getting Xcode
OSX Snow Leopard and later include an app store application through which you can get free software or purchase paid software. Apple distributes Xcode using the app store. If you’re not familiar with the app store, you can see its icon in Figure 1-2. It’s the one in the center with the pencils and ruler arranged like the letter “A.”

Figure 1-2. The Mac app store
When you launch the app store, you’ll see a home screen with the latest “Editor’s Choice” applications, as well as others that are new and noteworthy. At the top right side of the screen you’ll see a search box. Type “Xcode” into this box and press the “Enter” key. See Figure 1-3.

Figure 1-3. Searching for Xcode
The app store will return a bunch of apps that match this search term. It should look something like Figure 1-3, but don’t worry if it’s a little different—apps are being added all the time. Just make sure that you can see Xcode itself, with its “hammer” icon, as shown in Figure 1-4.

Figure 1-4. Searching for Xcode
If you have a store account, you can go ahead and get Xcode now. If not, read the next section, where you’ll see how to get an account that you can use to acquire and download Xcode.
Getting a Store Account
With the app store open, select the “Store” menu at the top of the screen, and from this select “Create Account….” See Figure 1-5.

Figure 1-5. Getting a store account
You’ll be taken to the “Welcome to the App Store” screen. From here, you can click “Continue.” You can see it in Figure 1-6.

Figure 1-6. Step 1 of setting up an app store account
The next step gives you the terms and conditions of the store, as well as Apple’s privacy policy. If you agree to the terms, check the box and then click the “Agree” button. See Figure 1-7.

Figure 1-7. Step 2 of the app store signup
On the following screen, you will set up the details of your Apple ID. You need to provide an email address, security information, a backup email address, and your date of birth. Fill out values for the security info that you’ll remember (and not silly answers like ours), and when you’re done, click “Continue.” You can see all this in Figure 1-8.

Figure 1-8. Setting up your Apple details
When you’re done with this, you’ll reach the final screen, where you will set up your payment method. Fill out the details as shown and click “Create Apple ID.” Your Apple ID will be created, and Apple will send an email to the address of the ID. You’ll have to click on a link in this email to confirm your address, and then you’ll be ready to use your new Apple ID.
Downloading and Installing Xcode
When you search for Xcode in the app store, you’ll see it with a link that allows you to install it (if you’ve downloaded it before), or notifies you that it’s free, as in Figure 1-9.
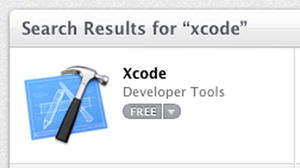
Figure 1-9. Accessing Xcode in the app store
Click on the button, and it will change to a green “Install App” button. Click on this, and you’ll be asked to log in with your Apple ID.

Figure 1-10. Signing into the store
Use your Apple ID and password. Xcode will begin to download. You’ll see its progress from within LaunchPad. See Figure 1-11.
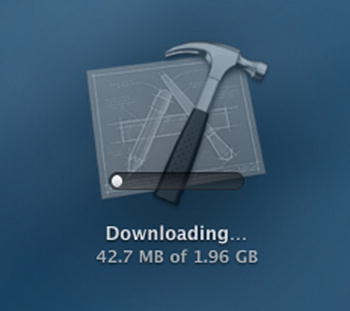
Figure 1-11. Downloading Xcode
It’s a big download, so it will take a bit of time. While you’re waiting, you could check out the page for Xcode in the app store. You can get this by clicking on the word “Xcode” in the search results. Its page looks like Figure 1-12.
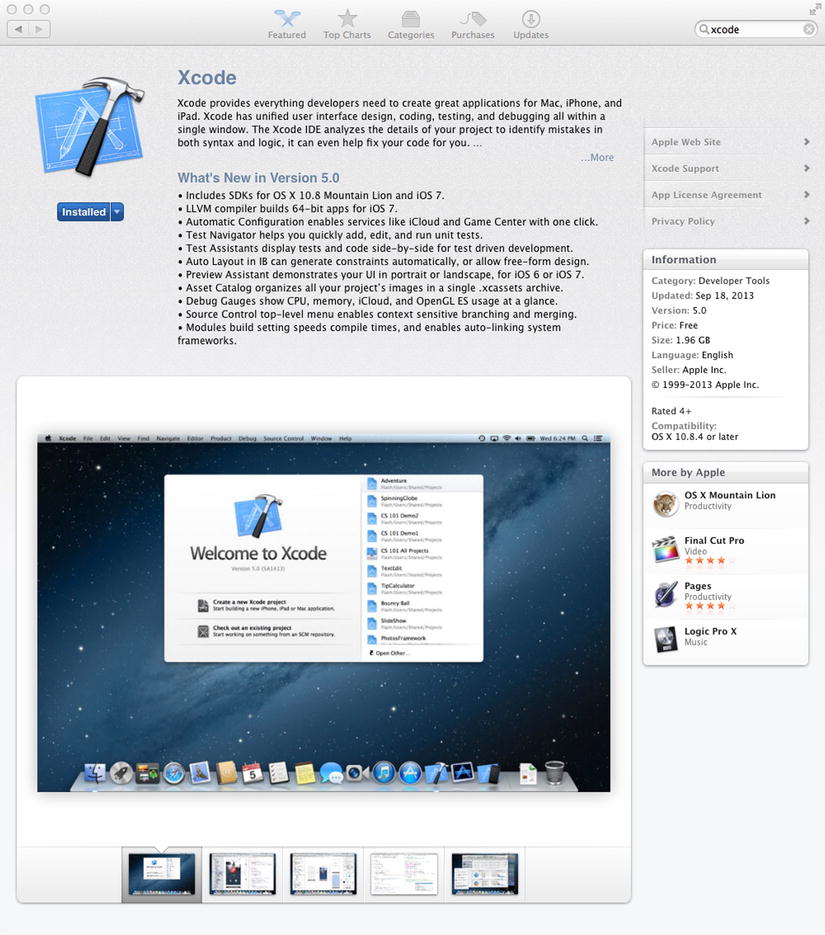
Figure 1-12. Xcode’s app store page
Here you can learn about the features of Xcode, as well as read reviews that other users have posted about it. Previous versions were a little confusing, as the app store only downloaded the installer, and then you had to install explicitly from the download, which wasn’t documented very well. This led to a lot of negative reviews.
However, version 5, which you should be installing here, doesn’t require this—Xcode will download and install and be ready to use right away!
Running Xcode
You can launch Xcode from launcher. When you do so, and it runs for the first time, you’ll see the “Welcome to Xcode” screen. See Figure 1-13.
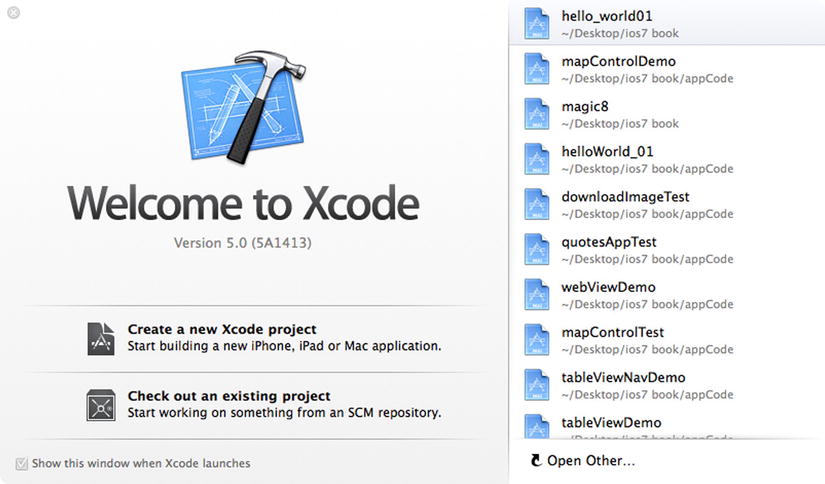
Figure 1-13. Xcode’s welcome screen
This screen allows you to create a new Xcode project, and from there to choose a number of different project types. You’ll learn about these starting in Chapter 2, where you’ll create your first application. Before doing that, it’s good to switch gears for a moment and take a look at Apple’s developer portal, which is a great source of information and resources for you as you develop applications.
Apple’s developer portal is at https://developer.apple.com. It has sections for iOS7, OS X Mavericks, and Xcode 5. See Figure 1-14.

Figure 1-14. The Apple developer portal
Click on the iOS dev center link, and you’ll be taken to the iOS dev center page, which contains documentation, videos, and more. Most of the information is freely available—you don’t need a developer account. If you want to test on physical devices or deploy to the app store, you’ll need to register as a developer. This costs $99 per year. You’ll step through how to do that in Chapter 3.
The documentation and videos section (see Figure 1-15) is particularly useful, giving you “Getting Started” guides as well as sample code and other references. If you are an absolute beginner, once you’ve gone through this book and gained some confidence in building iOS apps, go back and visit that section—it’s really good, but does require you to have a little knowledge.

Figure 1-15. Development resources
At the very least, consider looking at the “Getting Started” section once you’ve worked through the tutorials in this book; you’ll find it very rewarding!
Summary
This chapter was your introduction to development for iOS 7 using Xcode. From it you learned where the tools are available and how to download and install them. Starting in the next chapter, you’ll use these tools to build your first app, and in Chapter 3 you’ll learn how to deploy it to your hardware using a developer account.