Running Your App on a Device
In Chapter 1 you learned how to get the requisite tools to become an iOS developer, and in Chapter 2 you saw how to build your first (albeit very simple) app. Before you go further into app development, this chapter will show you how to sign up for a developer account on apple.com and how to use that account to authorize your device for development work. You’ll see how to deploy an application to a device and how to run it on your device from within Xcode.
You don’t need to work through this chapter if you just want to learn development. If you don’t want to subscribe to Apple’s service and just want to continue building apps that run on the simulator, feel free to skip ahead to Chapter 4. You might want to come back here when you’ve finished some later chapters, particularly those on debugging, so that you can see how to debug an app running on a physical device.
Signing Up as an Apple Developer
The journey begins at http://developer.apple.com. You saw this site back in Chapter 1. This site is the overall Apple developer site, with resources for iOS, OS X, and Safari development. While it is free to be a Safari developer, OS X and iOS development memberships each cost $99 per year. They are completely separate, so if you only want to develop for one of these, ensure you sign up for the right one!
You can see a section of the site in Figure 3-1.
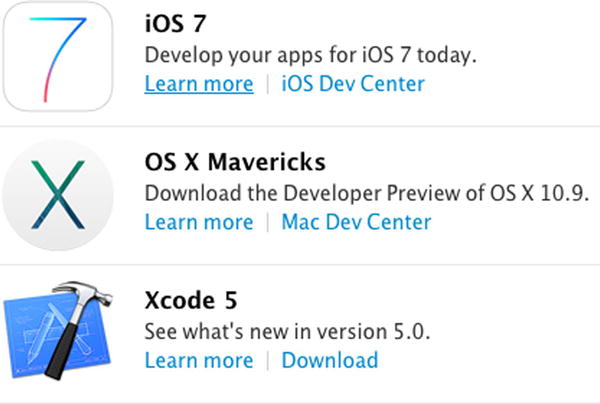
Figure 3-1. Apple’s developer site
Be sure to click on the iOS dev center link to be taken to https://developer.apple.com/devcenter/ios/index.action. This is the hub of the iOS developer world. At the top, you’ll see a section that reads “Access additional resources in the iOS Dev Center.” See Figure 3-2.

Figure 3-2. The sign-in banner
It’s a little confusing, as the words “register for free” appear. This is to register for a free Apple ID, as you did in Chapter 1 to use the store. Once you have an Apple ID, and have signed in with it, you will be given the option of registering for an iOS (or OS X, if you like) developer account.
If you don’t already have an Apple ID, go ahead and sign up for one with the “register for free” link in the banner, as shown in Figure 3-2. Once you have it, sign in with the blue ‘“Sign in” button.
Once you sign in with your Apple ID, you’ll be asked to review your agreement with Apple. Read through it, and, if you agree, check the box and click the “Agree” button.
You’ll be asked to fill out a brief survey about yourself and the type of apps you’re developing. See Figure 3-3.
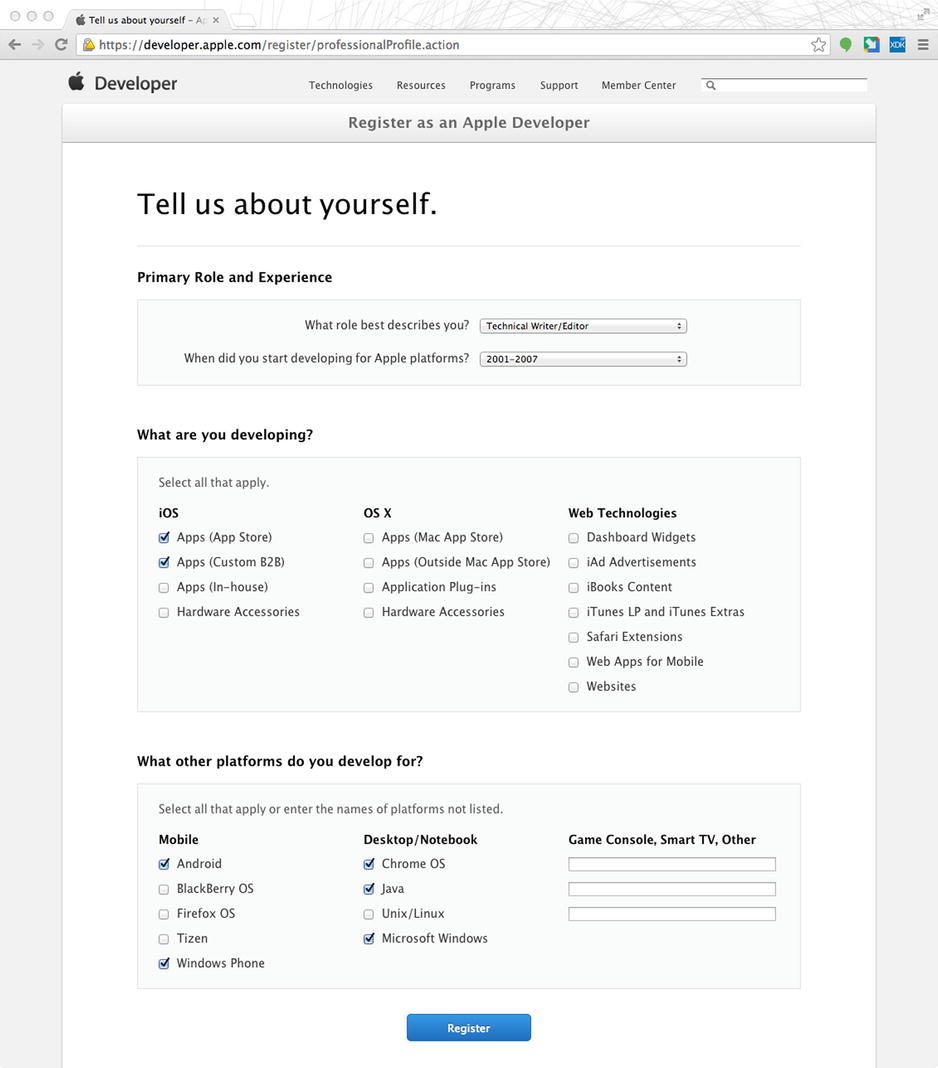
Figure 3-3. Developer survey
Fill it out with the appropriate information and click the “Register” button. You’ll be returned to the developer center, but it’ll look a little different now. On the right-hand side, you’ll see a section that reads “Join the iOS Developer Program.” See Figure 3-4.
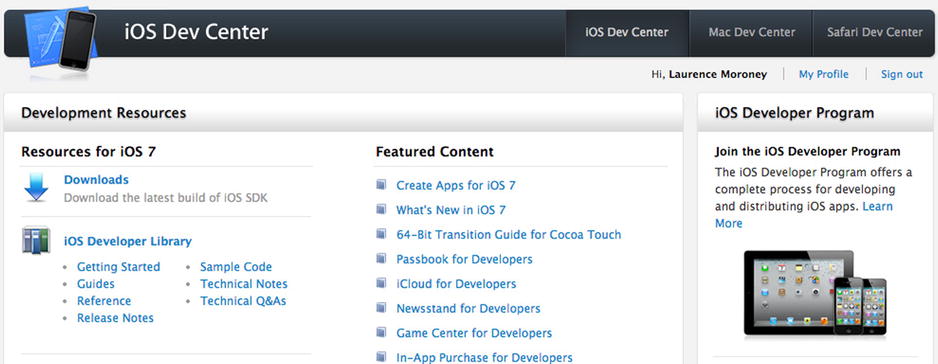
Figure 3-4. The iOS dev center
Click on the “Learn More” link, and you’ll be taken to the sign-up screen for iOS development. The URL is https://developer.apple.com/programs/ios/ if you want to go there directly.
Being a member of the program allows you to develop and test your apps on hardware, as well as giving you the ability to distribute iOS applications via the app store. Remember that if you only want to develop without physical distribution, you don’t need to join.
To join, click the “Enroll Now” button, and you’ll be taken through a process to enroll. This process lets you enroll as an individual or as a company and shows you how to set up details such as banking, through which you’ll receive payment as people buy your app through the app store.
The first step is at https://developer.apple.com/programs/start/standard, and it looks like Figure 3-5.

Figure 3-5. Enrolling in the Apple developer program
When you click “Continue,” you’ll be given a chance to sign in with your existing Apple ID or to create a new one. By now you should have an Apple ID, so go ahead and use that to sign in.
You’ll then be asked if you are enrolling as an individual or an organization. See Figure 3-6.
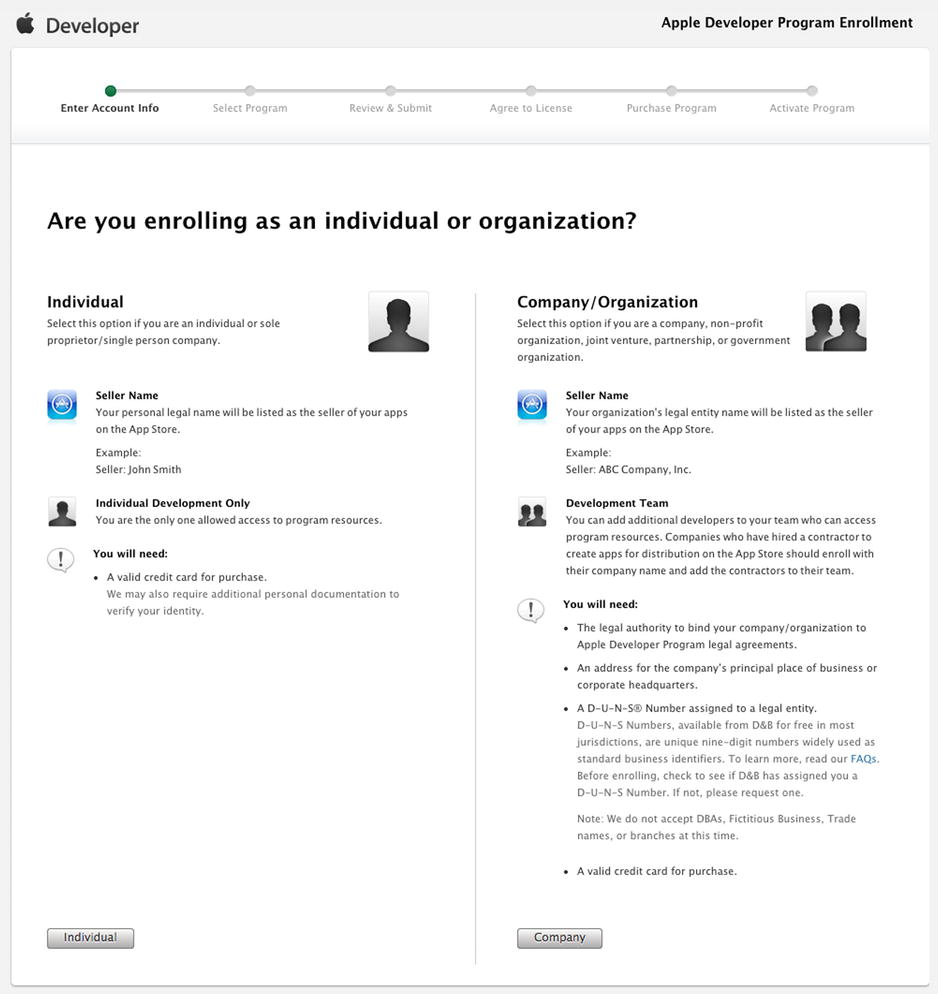
Figure 3-6. Enrolling in the developer program
The rest of the enrollment is shown in the steps at the top of the screen. You first have to enter your billing information in order to verify your identity. After that you’ll select your desired program, so be sure, for instance, that for iOS development you pick that program. Once you’re done, you’ll purchase and activate the program.
Once you’ve signed up for the iOS development program, when you sign into the portal, you’ll see that the dev center looks like Figure 3-7.
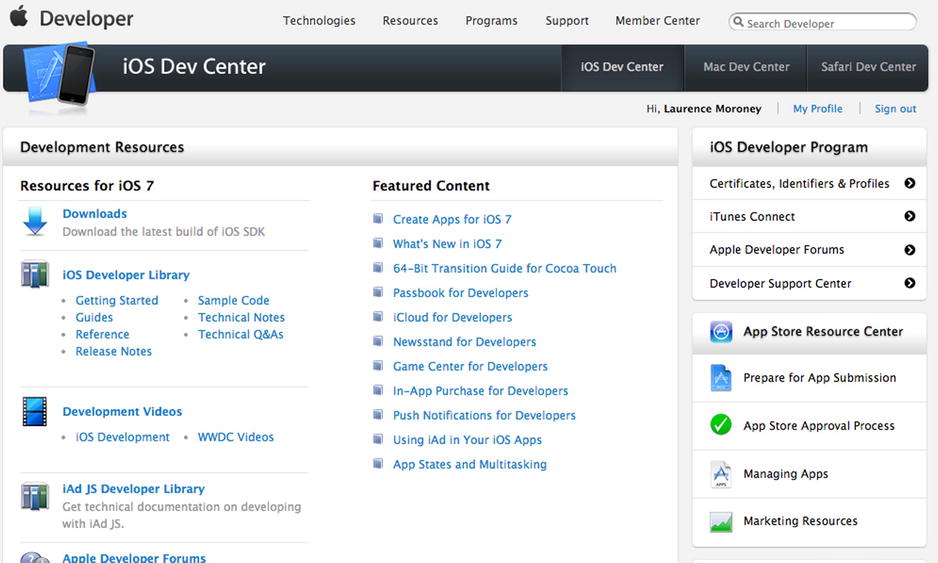
Figure 3-7. The developer portal
You’ll notice that the right-hand side of the screen has changed; it now gives you options for the likes of Certificates, Identifiers & Profiles, as well as iTunes Connect, Apple Developer Forums, and the Developer Support Center. There’s also a resource center, which gives you details on how to handle app submission.
Take a look at the “Certificates, Identifiers & Profiles” link, and you’ll be taken to https://developer.apple.com/account/overview.action. You can see this in Figure 3-8.
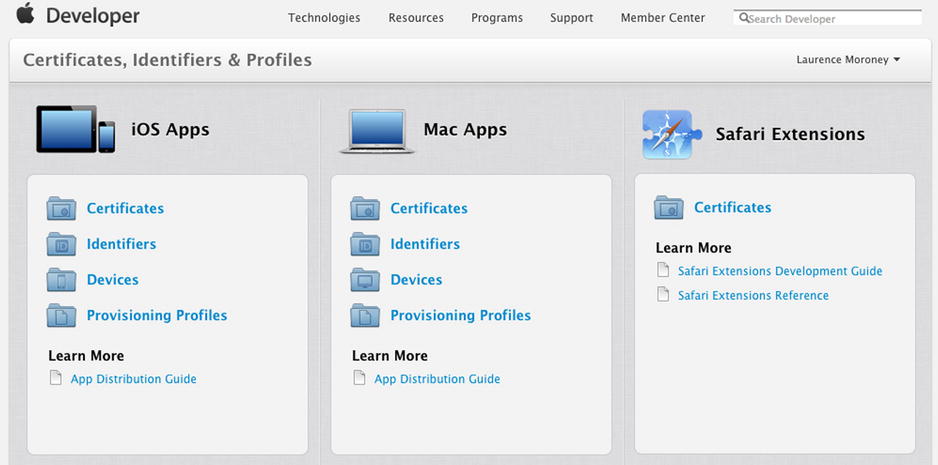
Figure 3-8. Certificates, Identifiers & Profiles screen
“Certificates” are used to identify who you are when you are building for a device. They are matched with devices through the “Provisioning Profile” so that the apps that you build (as signed by the certificates) can run only on the devices for which those certificates have been loaded on (as defined by the provisioning profile), unless, of course those apps are deployed from the app store.
As a developer, you are allowed to deploy your code to 100 devices for testing. So, in the next steps you’ll create the provisioning profile for an attached device that contains the certificate that works with your developer profile, as well as an application identifier, which signs that this app will work on this device.
Conceptually it’s very confusing. It’ll make more sense as you work through the example. Fortunately Xcode 5 does a lot of the heavy lifting for you.
Deploying to a Device with Xcode
In this section you’ll create a new, simple Xcode application and deploy it to an iOS device. The device can be an iPod, iPhone, or iPad. As we work through the examples, we’ll be using an iPhone.
Launch Xcode, and you’ll see the “Welcome to Xcode” screen. See Figure 3-9.
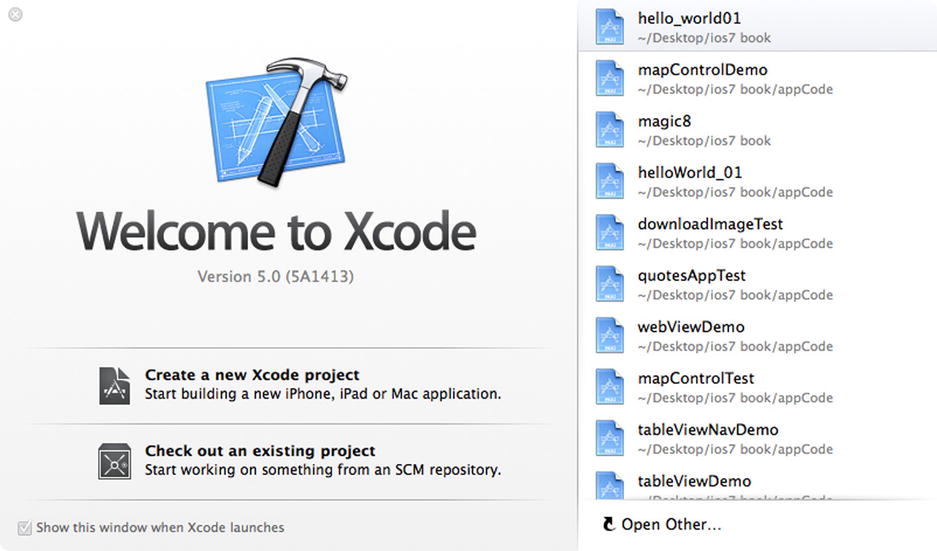
Figure 3-9. Welcome to Xcode screen
Select the “Create a new Xcode project” link, and you’ll be asked to choose a template for your new project, as shown in Figure 3-10.
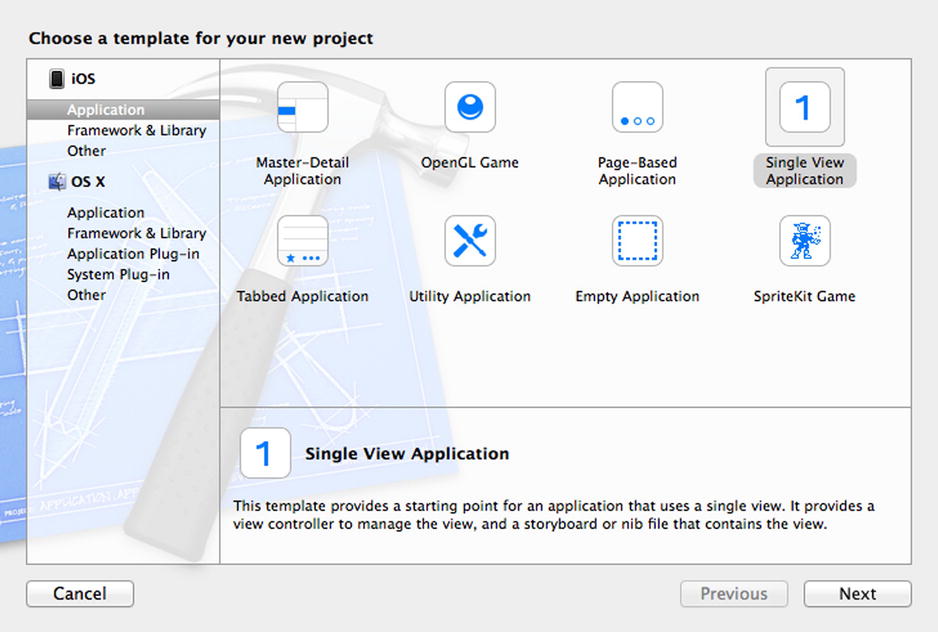
Figure 3-10. Choosing a template for your project
Choose the “Single View Application” template, as shown in Figure 3-10, and click “Next.” You’ll see a dialog asking you to choose options for your new project.
Fill it out as shown in Figure 3-11, but use your own organization name and company identifier. The company identifier is reverse-domain-name style, so if your domain name is foo.com, you should use com.foo as the company identifier.
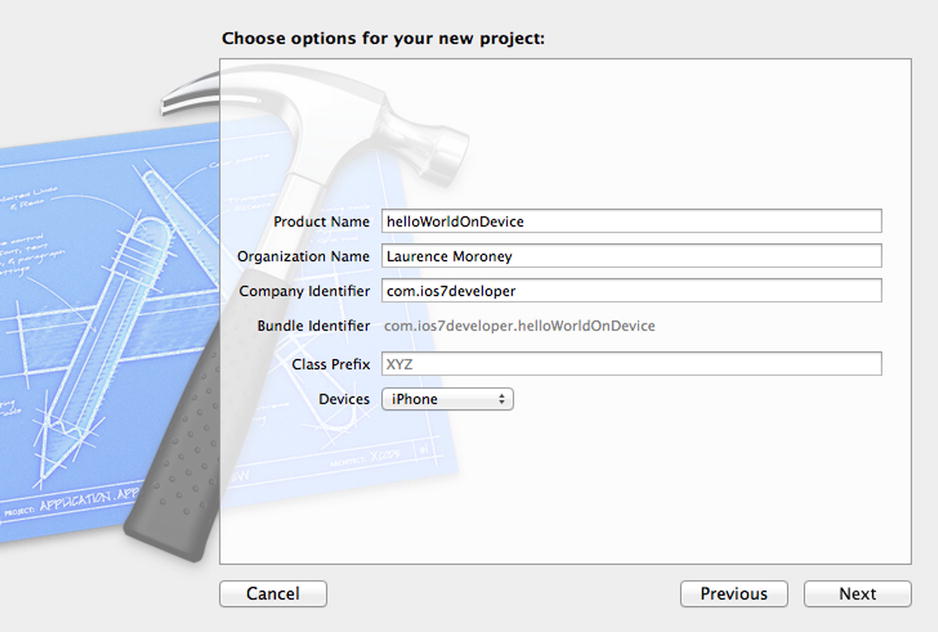
Figure 3-11. Setting the project options
Click “Next,” and you’ll be asked where you want to store your code. Leaving it on the desktop is fine for now. When you click “Create,” Xcode will launch.
On the left-hand side of the screen, you’ll see your app code in the project navigator. See Figure 3-12 for the list of files.

Figure 3-12. List of files in the project navigator
Select “Main.storyboard,” and you’ll see the storyboard open in the storyboard editor. On the left-hand side of the storyboard editor, if the “View Controller” section is closed, open it and make sure that “View” is selected. See Figure 3-13.

Figure 3-13. Selecting the view
With the view selected, take a look at the attributes inspector on the right-hand side of the screen. It should look like Figure 3-14.
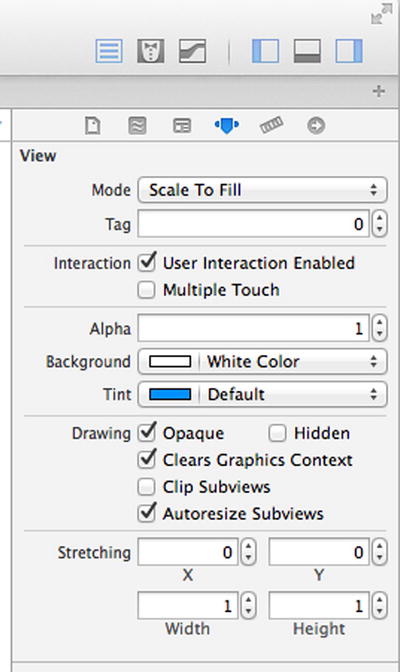
Figure 3-14. Attributes for the view
Select the “Background” setting and change the color from “White Color” to something else. In our case, we chose a blue color.
If you run the app now, it will run in the simulator. You should see a simple app with a blue screen. See Figure 3-15.
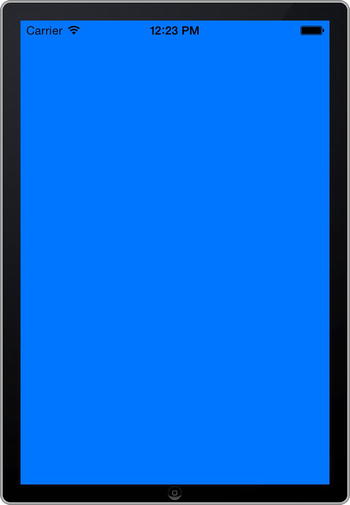
Figure 3-15. Running your app in the simulator
Now that you know what the app looks like, let’s see about getting it to run on your device. Make sure that your device is connected before continuing.
At the top of the Xcode window, you can specify the run target for your app. By default it reads “iPhone Retina (3.5 inch),” indicating that it will run on the simulator for the iPhone. See Figure 3-16.

Figure 3-16. Finding the run target
Click on where it says “iPhone Retina (3.5-inch)” and a menu will pop up. At the top of this menu, you should see an entry that reads “iOS Device.” See Figure 3-17.

Figure 3-17. Selecting the iOS device
If you try to run the app, you’ll now get a message that says there isn’t a provisioned iOS device attached. As mentioned earlier, you have a limit of 100 devices that you can deploy apps to, unless you go through the app store, in which case there is no limit. These 100 devices are identified using their provisioning profile.
The message will look like Figure 3-18.

Figure 3-18. No provisioned device is attached
Next, you’ll provision a device. To do this, look at the “Window” menu at the top of the screen while Xcode is selected. You’ll see an option to load the Organizer. See Figure 3-19.
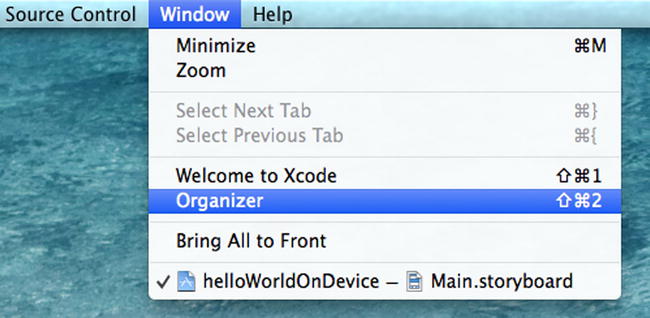
Figure 3-19. Launching the organizer
Select “Organizer” on this menu, and it will launch. Across the top of the screen, you’ll see icons for “Devices,” “Projects,” and “Archives.” Make sure that “Devices” is selected, and you’ll see a list of connected devices. See Figure 3-20, where you can see what the organizer looks like on our machine, with an iPhone 4 device attached.

Figure 3-20. Using the organizer
When your device is selected, you’ll see a button that says “Use for Development.” Click this button, and you’ll see the dialog from Figure 3-21.
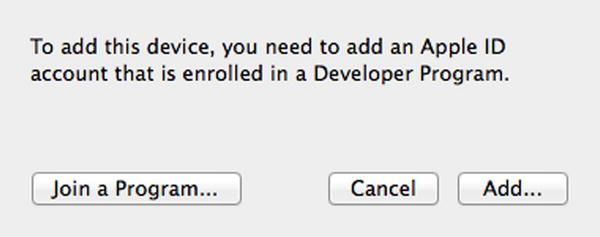
Figure 3-21. Dialog to assign your developer program
Click the “Add…” button, and you’ll be asked to sign in with your Apple ID. When you sign in, you’ll see the “Accounts” screen. It should look something like Figure 3-22.

Figure 3-22. The accounts screen
This is a useful screen for monitoring stuff about your apps, but right now you don’t need it. However, it is most likely obscuring a dialog on the organizer because it popped up after you signed in from that app. Switch back to the organizer, or move the accounts screen out of the way, and you’ll see something like Figure 3-23.
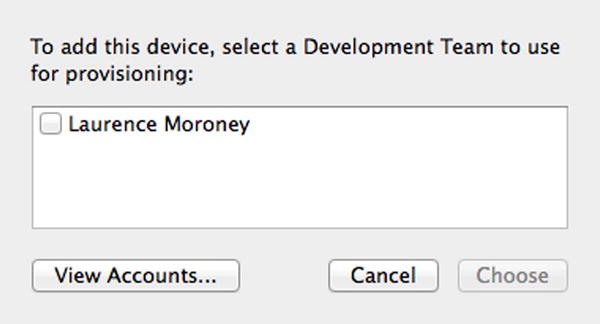
Figure 3-23. Developer IDs for provisioning
The name(s) on your dialog will match those in your developer account. Pick one of them and click “Choose.”
Xcode will begin the process of provisioning, but it needs a certificate in order to do so. It will give you a dialog like that in Figure 3-24.
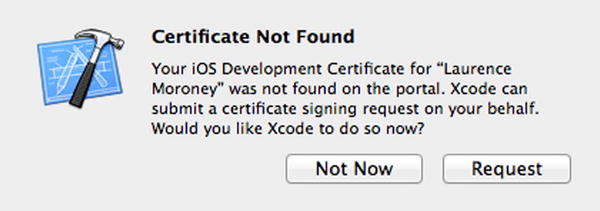
Figure 3-24. Getting a certificate
Clicking the “Request” button will cause Xcode to submit a certificate request on your behalf. Once it’s done, the organizer screen will update, with the option to set the phone up as a developer machine removed. See Figure 3-25.

Figure 3-25. The updated organizer screen
Now, close the organizer and return to Xcode, where you’ll see that the option at the top of the screen has changed from the generic “iOS Device” to the specific name of your device. See Figure 3-26.

Figure 3-26. Your device is now available to Xcode
Now run your app, and it will compile and begin deploying to your device. It will give a dialog that looks something like Figure 3-27.
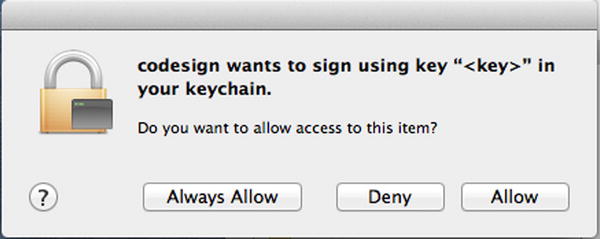
Figure 3-27. The codesign dialog
Once you click “Allow,” your app will be signed with your certificate, and the iPhone will recognize the app using that certificate as one that you have built. And as the phone is provisioned to be your development device, iOS will allow the code to run.
Within a moment the app will execute on your device. One problem that might stop it from running is if your device is locked, so be sure to unlock it with your passcode before deploying and running the app.
Congratulations! Your app is now running on your device. You’ve just provisioned the device, created a certificate, and compiled your app with that certificate. It’s a complex process, but hopefully, with the assistance of the tools, and this book, you’ve succeeded in doing it.
Summary
Applications are deployed to iOS devices from the app store. A user can either purchase your app or, if it is free, download it directly, and the app store manages downloading and deploying it to their device. However, before you deploy the app to the store, you might need to test it on a device. In this chapter you learned how to do that. For that you needed a developer account, and in this chapter you saw how to sign up to get one. With this developer account you could get certificates of identity and use these certificates to sign your applications to verify that you have developed them. It also allows you to provision a physical device to be used as a test device on your account. You saw how to do that by creating a simple application and using the organizer to set your device up as a developer device. You then used Xcode to request a certificate from the developer portal on your behalf. Xcode then signed your app and deployed it to the device. In the next few chapters you’ll continue learning iOS development, and you can test your code using either the simulator or a device.