To make a UFO Tube, follow these steps.
Take an 8 1/2″×11″ sheet of paper and fold it once diagonally (Figure 19-8).
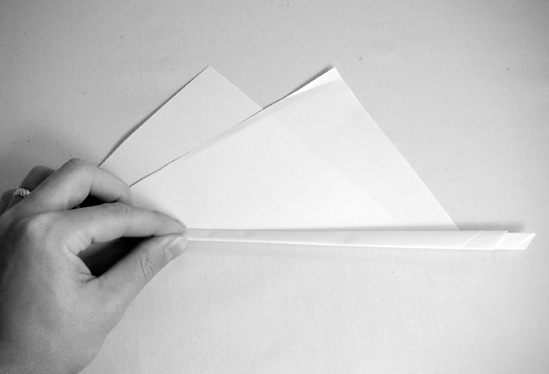
Make a 1/2″ fold along the length of this diagonal crease (Figure 19-9). Repeat this three times, for a total of four 1/2″ folds. This will form the plane’s leading edge. You may want to run the side of a pen or marker along the crease, making a nice sharp leading edge for your flyer.
Pinch the leading edge and run your fingers along it several times to curve the paper (Figure 19-10).
Tuck the ends of the creased leading edge into each other (Figure 19-11). If necessary, you can add a single staple or small strip of tape to hold them tight (you don’t want to add much weight at this joint, as that leads to the flyer twisting and nose-diving soon after launch). It’s best to tuck, if you can, so that you can adjust the diameter of the flyer in order to address launch problems.
To launch NASA’s Finest Paper Airplane, either throw it like the Pop Can Flyer (remember to give it plenty of spin) or hold it between its two tail points (as shown in Figure 19-12) and toss it with a straight push from the elbow.