
The previous recipes in this chapter provided simple examples with the logcat output only. This recipe will discuss how to manage the native window at Android NDK.
Readers are recommended to read the following recipes before going through this one:
- Creating a native activity with the native_activity.h interface
- Creating a native activity with the Android native app glue
Also recall that native window management has been introduced briefly in the Displaying graphics with EGL recipe in Chapter 4, Android NDK OpenGL ES API.
The following steps create the sample application:
- Create an Android application named
NativeWindowManagement. Set the package name ascookbook.chapter5.nativewindowmanagement. Please refer to the Loading native libraries and registering native methods recipe of Chapter 2, Java Native Interface, if you want more detailed instructions. - Right-click on the
NativeWindowManagementproject, select Android Tools | Add Native Support. - Update
AndroidManifest.xml. Please refer to previous recipe or the downloaded code for details. Note that the metadataandroid.app.lib_namemust have its value asNativeWindowManagement. - Add two files named
NativeWindowManagement.cppandmylog.hunder thejnifolder.NativeWindowManagement.cppis modified based on previous recipe. The following code snippet shows the updated part:void drawSomething(struct android_app* app) { ANativeWindow_Buffer lWindowBuffer; ANativeWindow* lWindow = app->window; ANativeWindow_setBuffersGeometry(lWindow, 0, 0, WINDOW_FORMAT_RGBA_8888); if (ANativeWindow_lock(lWindow, &lWindowBuffer, NULL) < 0) { return; } memset(lWindowBuffer.bits, 0, lWindowBuffer.stride*lWindowBuffer.height*sizeof(uint32_t)); int sqh = 150, sqw = 100; int wst = lWindowBuffer.stride/2 - sqw/2; int wed = wst + sqw; int hst = lWindowBuffer.height/2 - sqh/2; int hed = hst + sqh; for (int i = hst; i < hed; ++i) { for (int j = wst; j < wed; ++j) { ((char*)(lWindowBuffer.bits))[(i*lWindowBuffer.stride + j)*sizeof(uint32_t)] = (char)255; //R ((char*)(lWindowBuffer.bits))[(i*lWindowBuffer.stride + j)*sizeof(uint32_t) + 1] = (char)0; //G ((char*)(lWindowBuffer.bits))[(i*lWindowBuffer.stride + j)*sizeof(uint32_t) + 2] = (char)0; //B ((char*)(lWindowBuffer.bits))[(i*lWindowBuffer.stride + j)*sizeof(uint32_t) + 3] = (char)255; //A } } ANativeWindow_unlockAndPost(lWindow); } void handle_activity_lifecycle_events(struct android_app* app, int32_t cmd) { LOGI(2, "%d: dummy data %d", cmd, *((int*)(app->userData))); switch (cmd) { case APP_CMD_INIT_WINDOW: drawSomething(app); break; } } - Add the
Android.mkfile under thejnifolder, which is similar to the one used in the previous recipe. You just need to replace the module name asNativeWindowManagementand the source file asNativeWindowManagement.cpp. - Build the Android application and run it on an emulator or device. Start a terminal and display the logcat output by using the following command:
$ adb logcat -v time NativeWindowManagement:I *:S
When the application starts, we will see the following logcat:

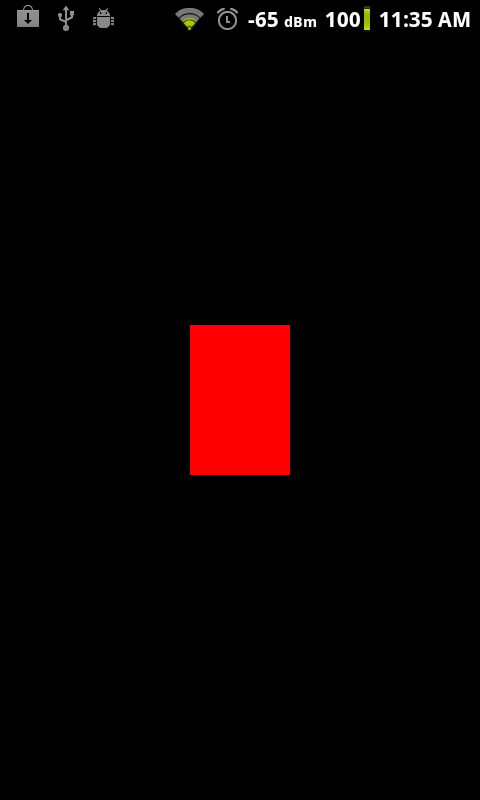
The device screen will display a red rectangle at the center of the screen, as follows:
The NDK interface for native window management is defined in the window.h, rect.h, native_window_jni.h, and native_window.h header files. The first two simply define some constants and data structures. native_window_jni.h defines a single function named
ANativeWindow_fromSurface, which helps us to obtain a native window from a Java surface object. We have illustrated this function in the Displaying graphics with EGL recipe in Chapter 4, Android NDK OpenGL ES API. Here, we focus on the functions provided in native_window.h.
Perform the following steps to draw a square on the phone screen:
- Set the window buffer format and size:This is done by the
ANativeWindow_setBuffersGeometryfunction:int32_t ANativeWindow_setBuffersGeometry(ANativeWindow* window, int32_t width, int32_t height, int32_t format);
This function updates the native window buffer associated with the native window referred by the window input argument. The window size and format are changed according to the rest of the input arguments. Three formats are defined in
native_window.h, includingWINDOW_FORMAT_RGBA_8888,WINDOW_FORMAT_RGBX_8888, andWINDOW_FORMAT_RGB_565. If the size or the format is set to0, then the native window's base value will be used. - Lock the window's next drawing surface: This is done by the
ANativeWindow_lockfunction:int32_t ANativeWindow_lock(ANativeWindow* window, ANativeWindow_Buffer* outBuffer, ARect* inOutDirtyBounds);
After this call is returned, the input argument
outBufferwill refer to the window buffer for drawing. - Clear the buffer: This is optional. Sometimes we may just want to overwrite a part of the window buffer. In our example, we called
memsetto set all the data to0. - Draw something to the buffer: In our example, we first calculate the start and end width and height of the rectangle, and then set the red and alpha bytes of the rectangle area as
255. This will show us a red rectangle. - Unlock the window's drawing surface and post the new buffer to display: This is done with the
ANativeWindow_unlockAndPostfunction:int32_t ANativeWindow_unlockAndPost(ANativeWindow* window);