
The previous recipe discusses how to build an Android NDK application in the command line. This recipe demonstrates how to do it in the Eclipse IDE.
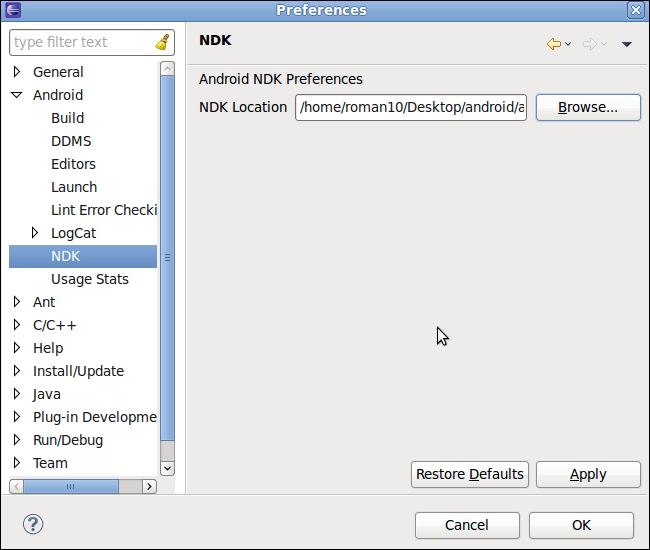
Add NDK Preferences. Start Eclipse, then click on Window | Preferences. In the Preferences window, select NDK under Android. Click on Browse and select the NDK root folder. Click on OK.
The following steps create an NDK project using Eclipse:
- Create an Android application named
HelloNDKEclipse. Set the package name ascookbook.chapter3. Create an activity namedHelloNDKEclipseActivity. Please refer to the Loading native libraries and registering native methods recipe of Chapter 2, Java Native Interface, if you want more detailed instructions. - Right-click on the project
HelloNDKEclipse, select Android Tools | Add Native Support. A window similar to the following screenshot will appear. Click on Finish to dismiss it: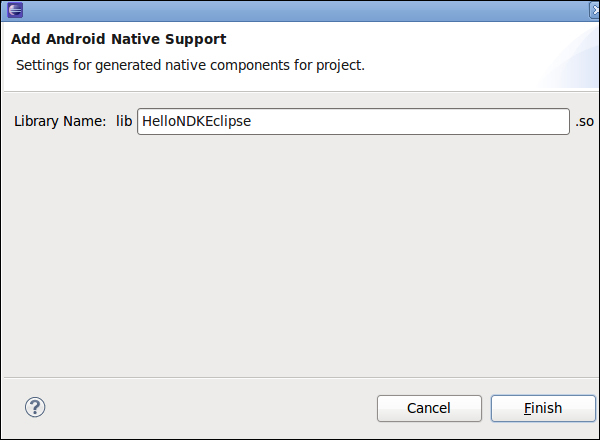
This will add a
jnifolder with two files (HelloNDKEclipse.cppandAndroid.mk) inside, and switch Eclipse to C/C++ perspective. - Add the following content to
HelloNDKEclipse.cpp:#include <jni.h> jstring getString(JNIEnv* env) { return env->NewStringUTF("Hello NDK"); } extern "C" { JNIEXPORT jstring JNICALL Java_cookbook_chapter3_HelloNDKEclipseActivity_getString(JNIEnv* env, jobject o){ return getString(env); } } - Change the content of HelloNDKEclipseActivity.java to below.
package cookbook.chapter3; import android.os.Bundle; import android.app.Activity; import android.widget.TextView; public class HelloNDKEclipseActivity extends Activity { @Override public void onCreate(Bundle savedInstanceState) { super.onCreate(savedInstanceState); TextView tv = new TextView(this); tv.setTextSize(30); tv.setText(getString()); this.setContentView(tv); } public native String getString(); static { System.loadLibrary("HelloNDKEclipse"); } } - Right-click on
HelloNDKEclipseproject, and select Build Project. This will build the native library for us. - Right-click on the project, go to Run As, and select Android Application. The phone screen will display something similar to the following screenshot:

This recipe discusses building the Android NDK application at Eclipse.
We have been using C in all previous recipes. Starting from this recipe, we'll be writing our code in C++.
By default, Android provides minimal C++ support. There's no Run-time Type Information (RTTI) and C++ exceptions support, and even the C++ standard library support, is partial. The following is a list of the C++ headers supported by Android NDK by default:
cassert, cctype, cerrno, cfloat, climits, cmath, csetjmp, csignal, cstddef, cstdint, cstdio, cstdlib, cstring, ctime, cwchar, new, stl_pair.h, typeinfo, utility
It is possible to add more C++ support by using different C++ libraries. NDK comes with the gabi++, stlport, and gnustl C++ libraries, besides the system default one.
In our sample code, we used an external "C" to wrap the C++ method. This is to avoid C++ mangling of the JNI function names. C++ name mangling could change the function names to include type information about parameters, whether the function is virtual or not, and so on. While this enables C++ to link overloaded functions, it breaks the JNI function discovery mechanism.
We can also use the explicit function registration method covered in the Loading native libraries and registering native methods recipe of Chapter 2, Java Native Interface, to get rid of the wrapping.