All preparations for our product catalog have been done. We have made the settings we needed, created attributes and attribute sets and we created a tree structure of categories. Finally, we'll be able to add our very first products.
In this chapter we will learn:
Within Magento you may use various types of products. You'll need them depending on what your store is going to offer. The more complex product types will be discussed in Chapter 5, Beyond Adding Simple Products. In this chapter we'll only discuss the simplest type: Simple Products. A typical example of a Simple Product is one that does not have any options for the buyer. This could be our TV from the previous chapter, a phone, bag, office supplies, and so on. The Simple Product is the most used product type in Magento, especially because other types use the Simple Product to create a new one.
Adding a Simple Product requires several steps. We are going to use the TV example for these steps.
Navigate in the top menu to Catalog | Manage Products and the following dialog will open:

If you're in a Magento instance including the demo content, a list of already existing products will be shown here. In our case we started empty, so we have a completely empty product catalog.
In the top-right corner, click on the Add Product button.
The first thing you need to do know is to select the Product Type and Attribute Set that this product will belong to. So, leave the default value of Simple Product and select the Attribute Set field for your product as shown in the following screenshot. You cannot change that later on!

Lastly, click on Continue.
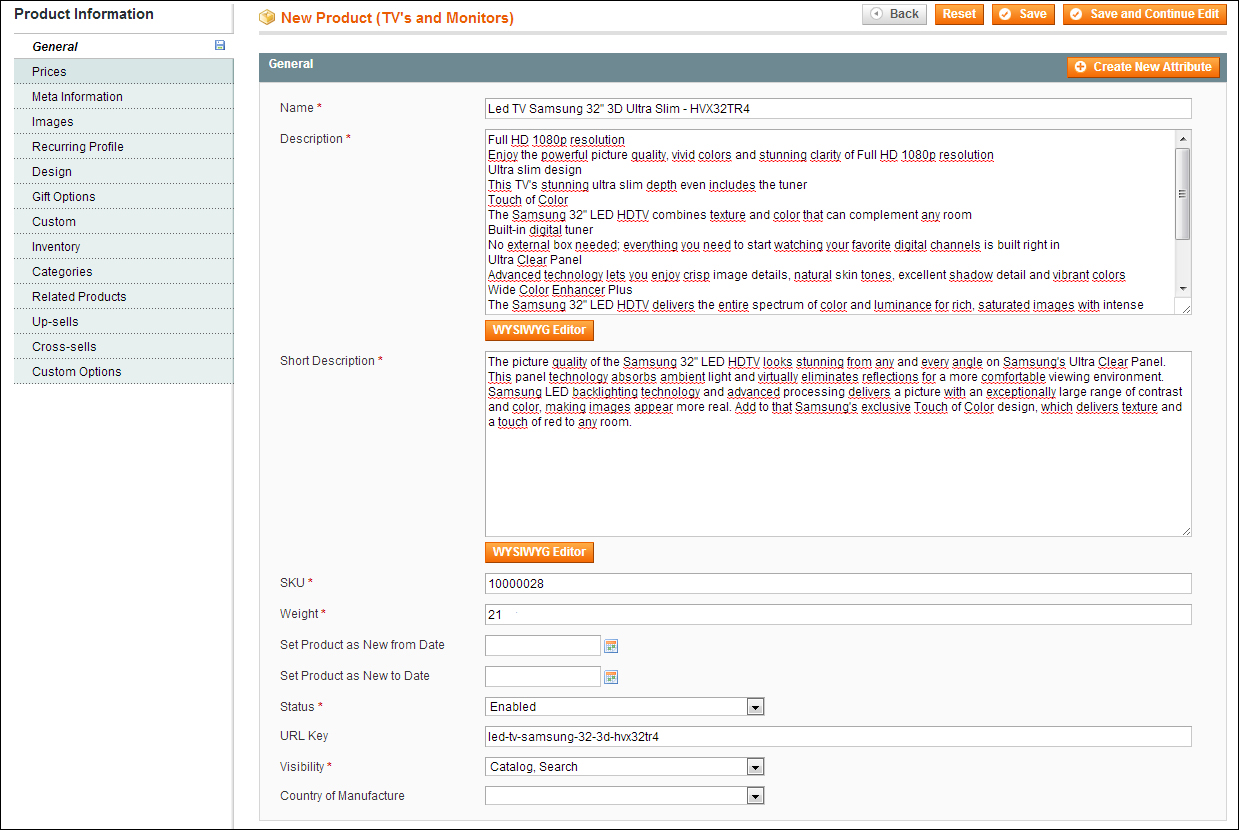
Next, the product maintenance screen appears, starting with an empty page. This is the first tab on the left of the screen, named General. In total there should be 13(!) tabs, giving you a lot of opportunities to do what you need for your product. But, in our situation, we see one additional tab, which isn't there by default, named Custom. This tab exists because we defined it that way in our attribute set for TVs and monitors in the previous chapter. So, the number of available tabs will not always be the same; it depends on the attribute set. We'll not discuss every single tab and field here, but focus on the things that we'll absolutely need to know to be able to create our products.
But let's first focus on our General tab and fill that one with the necessary data. In the following example screenshot, we have already filled in some data to make clear what the fields are used for: