
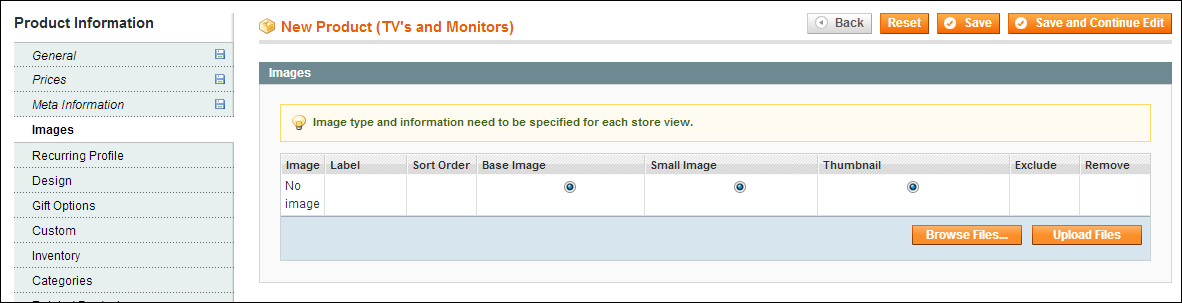
- Opening the Images tab shows an empty screen for a new product. Click on the Browse Files… button to start selecting your images:
- Select the first file you'd like to add using your operating system and open it. Click on the Upload Files button to add your image to Magento. When you're just starting, we recommend you do this image by image. Once you're familiar with this function, you may just as well upload multiple images at once. Magento allows you to do so.
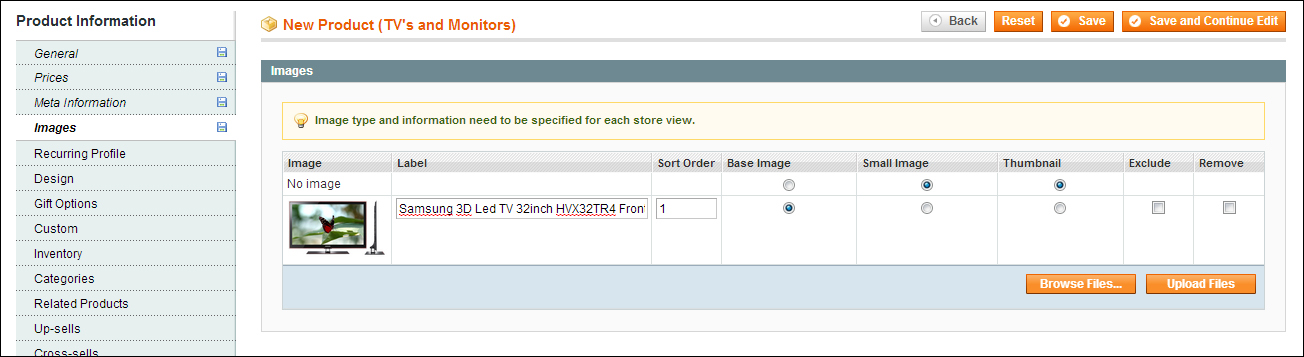
- Now that your image has been uploaded, you can see it on the left of the table by hovering over it with your mouse cursor. You should set the correct radio button for your image type. In this example, I just added our largest image, so I select the Base Image radio button. Technically it's possible to also switch on the other two buttons and only use one image file. However, we recommend that you create separate images for every type, to keep the file size and quality of the images as good as possible.
- Fill the Label field of your image since it will be used as the image's Alt attribute. And that's another field that is important for the search engines. Do not underestimate the power of this field and always enter those labels.
- Add the two other images as well (for the Small Image and Thumbnail) and set the radio buttons accordingly. Next, click on the Exclude checkbox for these two images; otherwise they will be used on the product page as well. If you do not exclude them, you would see three similar images on the product page, but in different quality. Look at the result of our example to see how your fields should be set:

- If you made a mistake with one of your images and added the wrong one, you can remove it again by clicking on the Remove checkbox. Your image will not be deleted immediately; this will happen once you save your product.
- If you have them available, add additional images as well. Normally, these additional images will appear on your product page under the main image. It makes sense to use a higher resolution (preferably 800 pixels of width or more) for these images, so that these can also be used for zooming by the user.
The final result could look something like the following screenshot:

Once our product has been saved, the result in the frontend looks good. Note that the default Magento zoom function will not win any prizes. This is something that can be improved by your theme or by using an extension.

You took the very first steps in creating a product in Magento. You created descriptions, price information, and meta tags for the search engines and images. But we aren't there yet, there are a couple of additional tabs that you should fill before your product will be visible.
For a beginner's guide, the Recurring Profile, Design, and Gift Options tabs are out of scope, but we would still like to mention them briefly, so that you know what they could be used for:
- Recurring Profile: This is a function that can be used to handle recurring payments, for instance, if you're selling a subscription service, where your customers have to pay a monthly fee. The Recurring Profile function gives the possibility to do that, but it's currently only working in combination with the payment method PayPal Express checkout.
- Design: This tab can be used to give the product page for this product a different design compared to the one that is used by default in your theme. This could be useful when you need to create a landing page or special promotion. However, using this technique is not so easy, because you need deeper knowledge about XML and the way Magento themes are built.
- Gift Options: This tab holds only one field, which you can enable to let your customers add a special text to the product. For instance, when they are ordering the product as a gift for someone else. Just set the field to Yes if you want to use it.
The Custom tab will or will not be there, depending on the steps you take when creating your own attribute sets. We've defined a special group named Custom in our attribute set, and it appears here in our product creation page. It even holds a mandatory field, because we defined it to be mandatory, so we cannot ignore it here. But be aware that by default this tab does not exist in Magento.