
Less Mess Soft Chalk Pastels

Genuine chalk pastels can be tricky to make at home. This simple recipe is a great substitute. These faux chalk pastels can be smudged when wet, and they dry to a beautiful chalky finish. Putting the mixture into lip balm containers makes the recipe more forgiving and keeps the mess to a minimum. Each recipe makes just one or two tubes. Make as many or as few colors as you like. You can substitute food coloring for liquid watercolors, but there is more risk of the colors staining clothing and hands.
DIRECTIONS

1. Set out one disposable cup for each color of pastel you’d like to make. Use a plastic spoon to stir together 1/2 teaspoon of flour and 1 1/2 teaspoons plaster of paris in each cup.
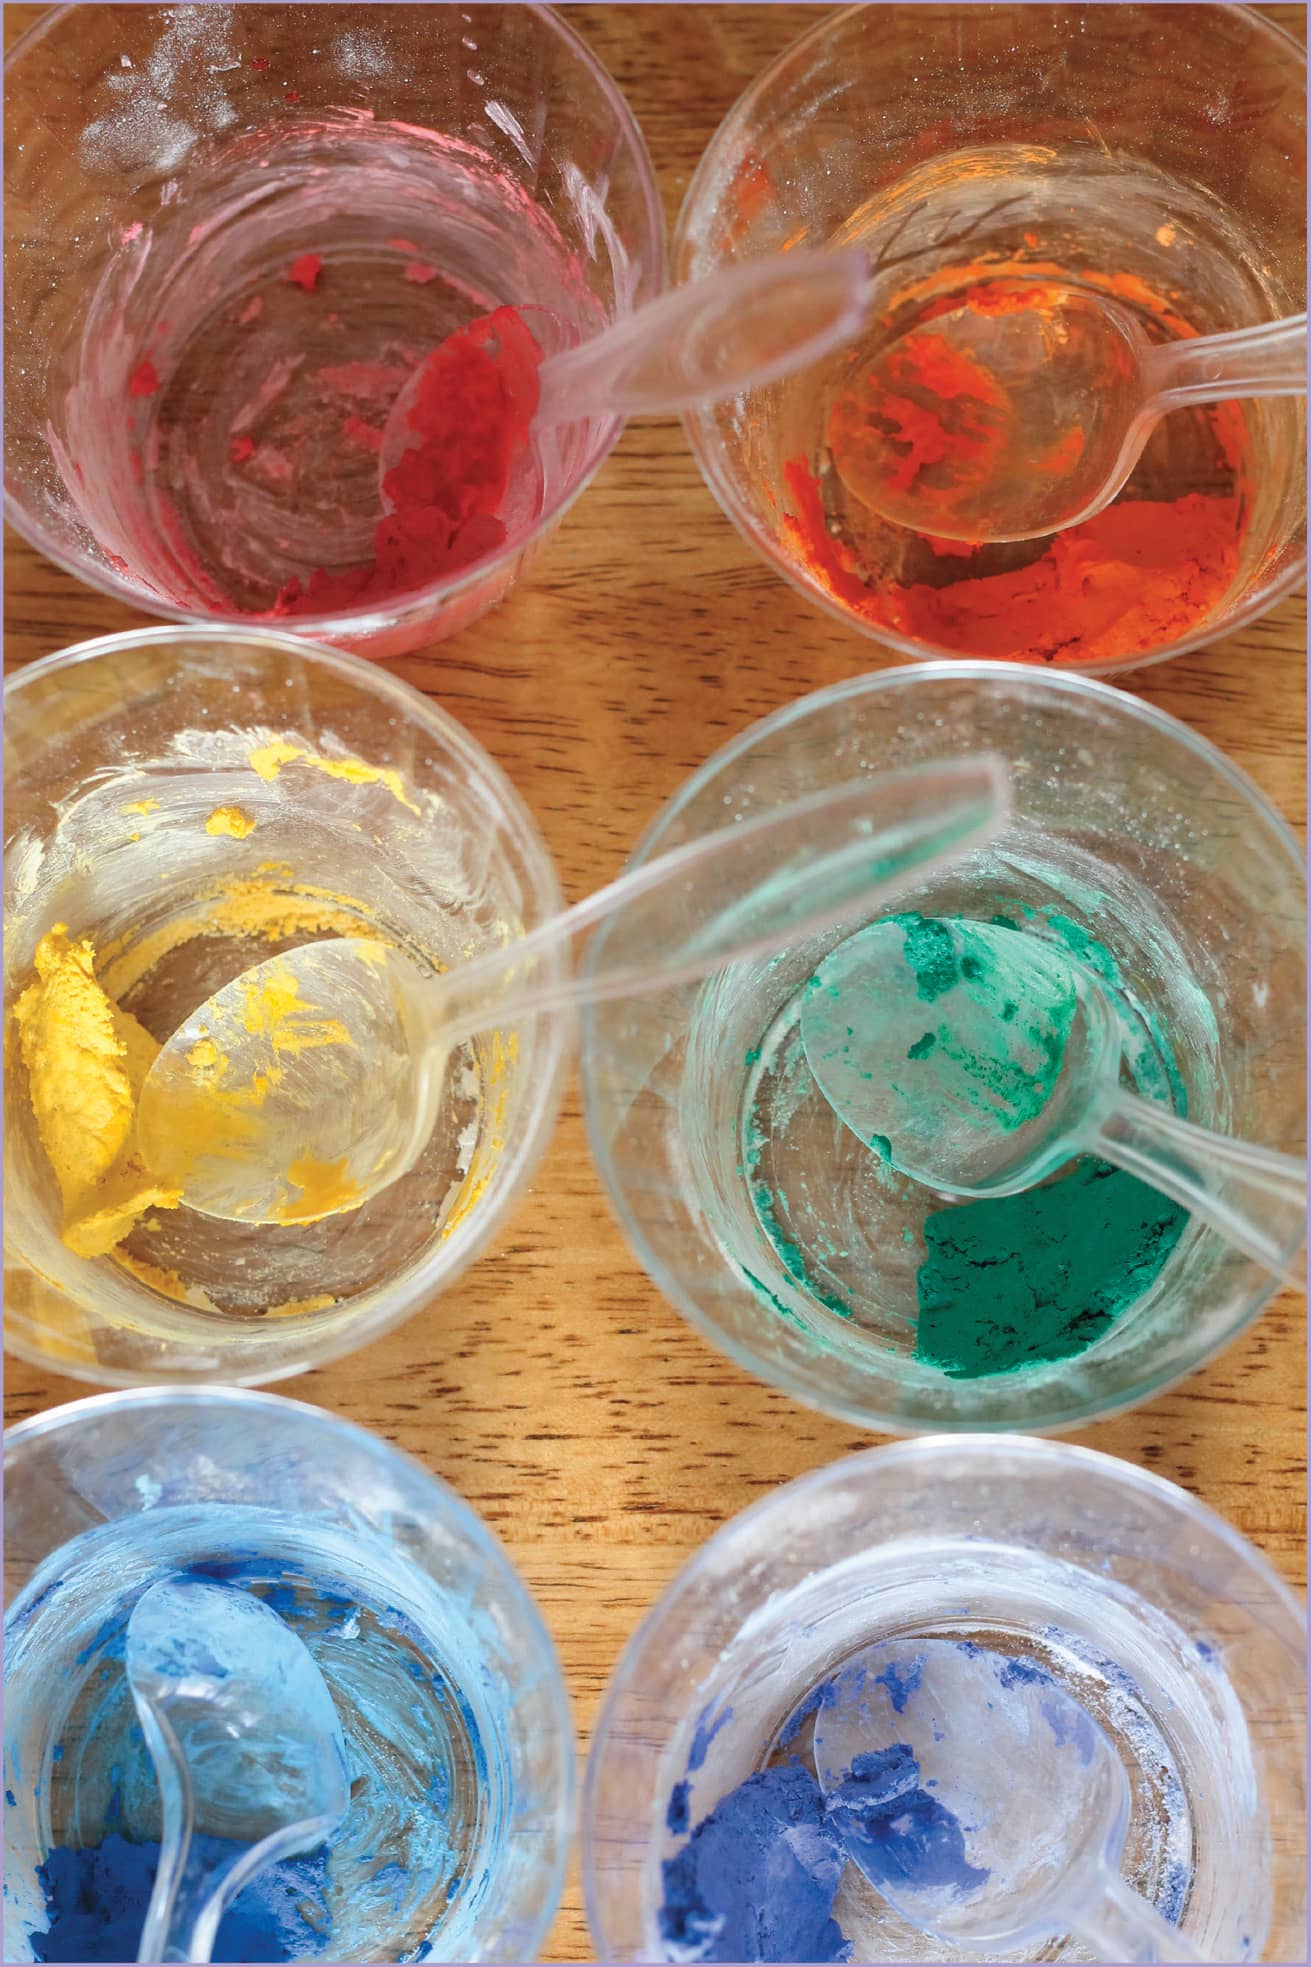
2. Add 1/2 teaspoon liquid watercolor to each cup, and stir well. The mixture will be very crumbly. Use the dropper to add a small amount of water to each cup. Stir. Keep adding water and stirring just until the mixture sticks together. Add as little water as possible.
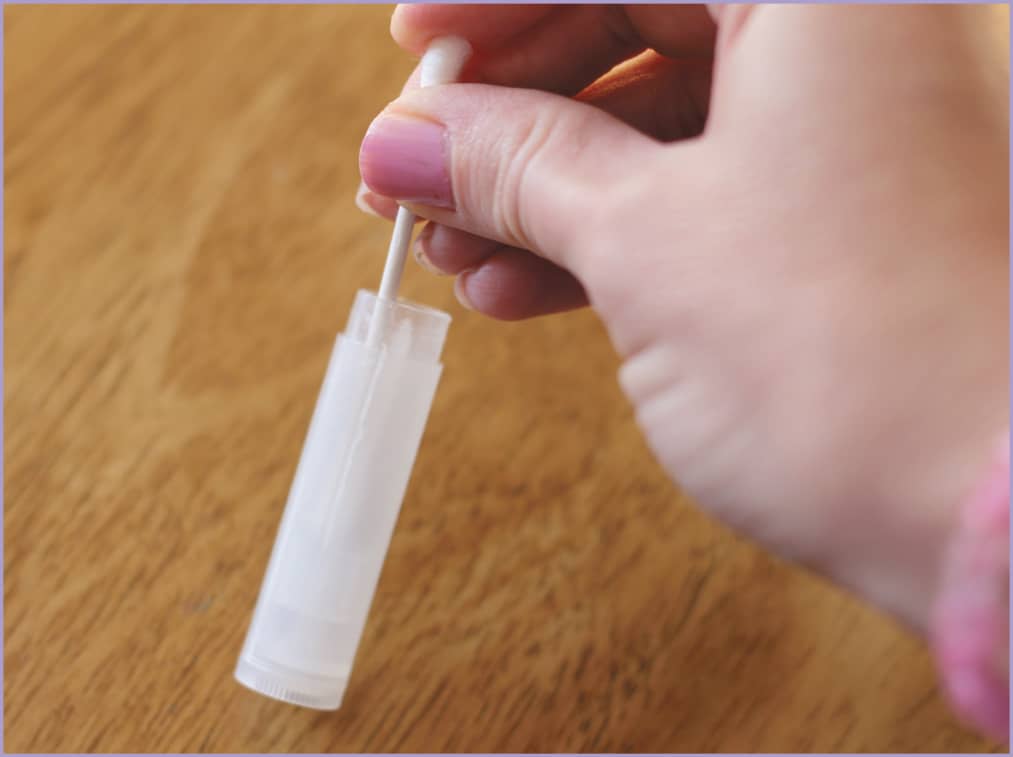
3. Use the cotton swab to coat the inside of the empty lip balm containers with a layer of petroleum jelly.
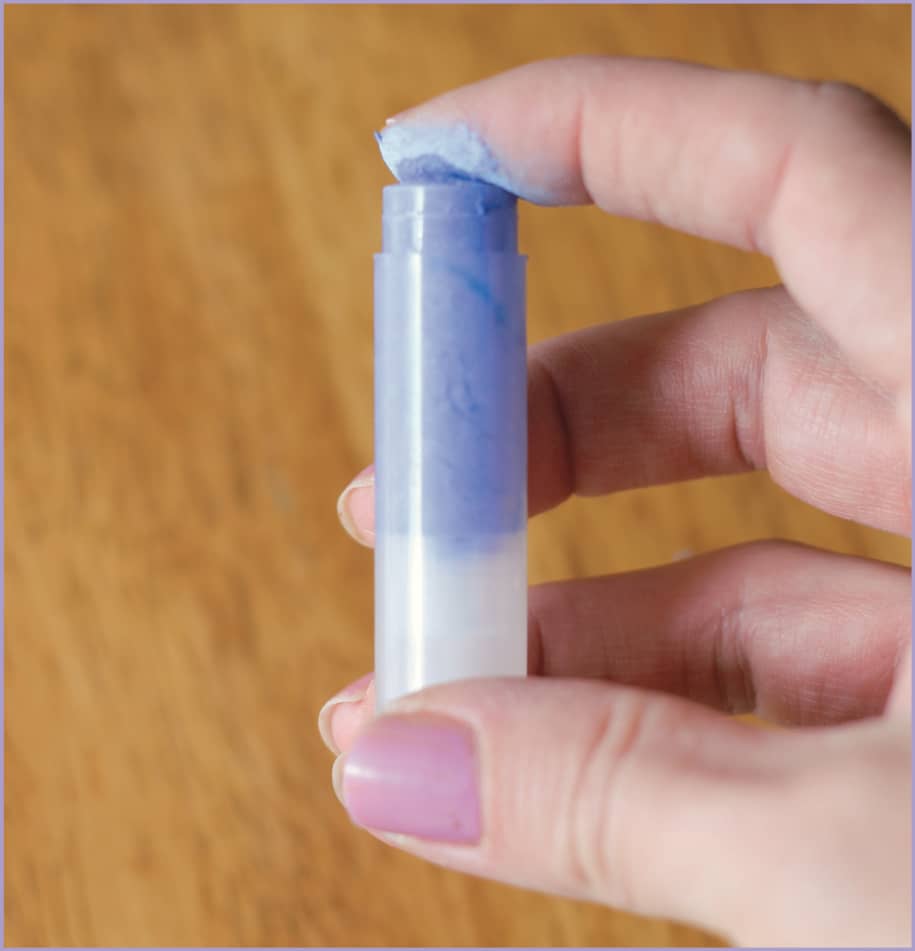
4. Push the chalk mixture firmly into the lip balm tube. Use your finger to force out any spaces or air bubbles in the tube. Wearing disposable gloves for this step is a good idea.

5. Repeat for each color of chalk pastel. Place the cap on each container, and allow to set for 24 hours before using. Storing them in the refrigerator may extend the life of your chalk pastels.
 Tip
Tip

Your new chalk pastels will look especially vibrant when used on dark paper. Periodically dispense more by twisting the bottom of the lip balm container. If you keep the pastels capped when not in use, they will stay soft for a longer period of time. The flour in the recipe keeps the plaster of paris from becoming too hard, but it also may cause the pastels to develop mold. If this happens, it’s time to discard them and make new pastels. Experiment with different amounts of water and paint to get the texture and colors just right.